
The big kitchen reveal, or plywood heaven

It's time for a party as this is my 100th video!! I can't believe I have showed you that many tutorials, DIY projects and simple makes. To celebrate this milestone I have a very special video for you today, it's time for my kitchen reveal!
Over the last couple of weeks you saw me slowly transform my bland and boring kitchen into something more fun and modern. I have finally finished the cupboards, took me a bit longer that anticipated and now I can show you the end result. I hope you like it as much as I do...
To refresh your memory this is what my kitchen looked like before I got my hands on it.
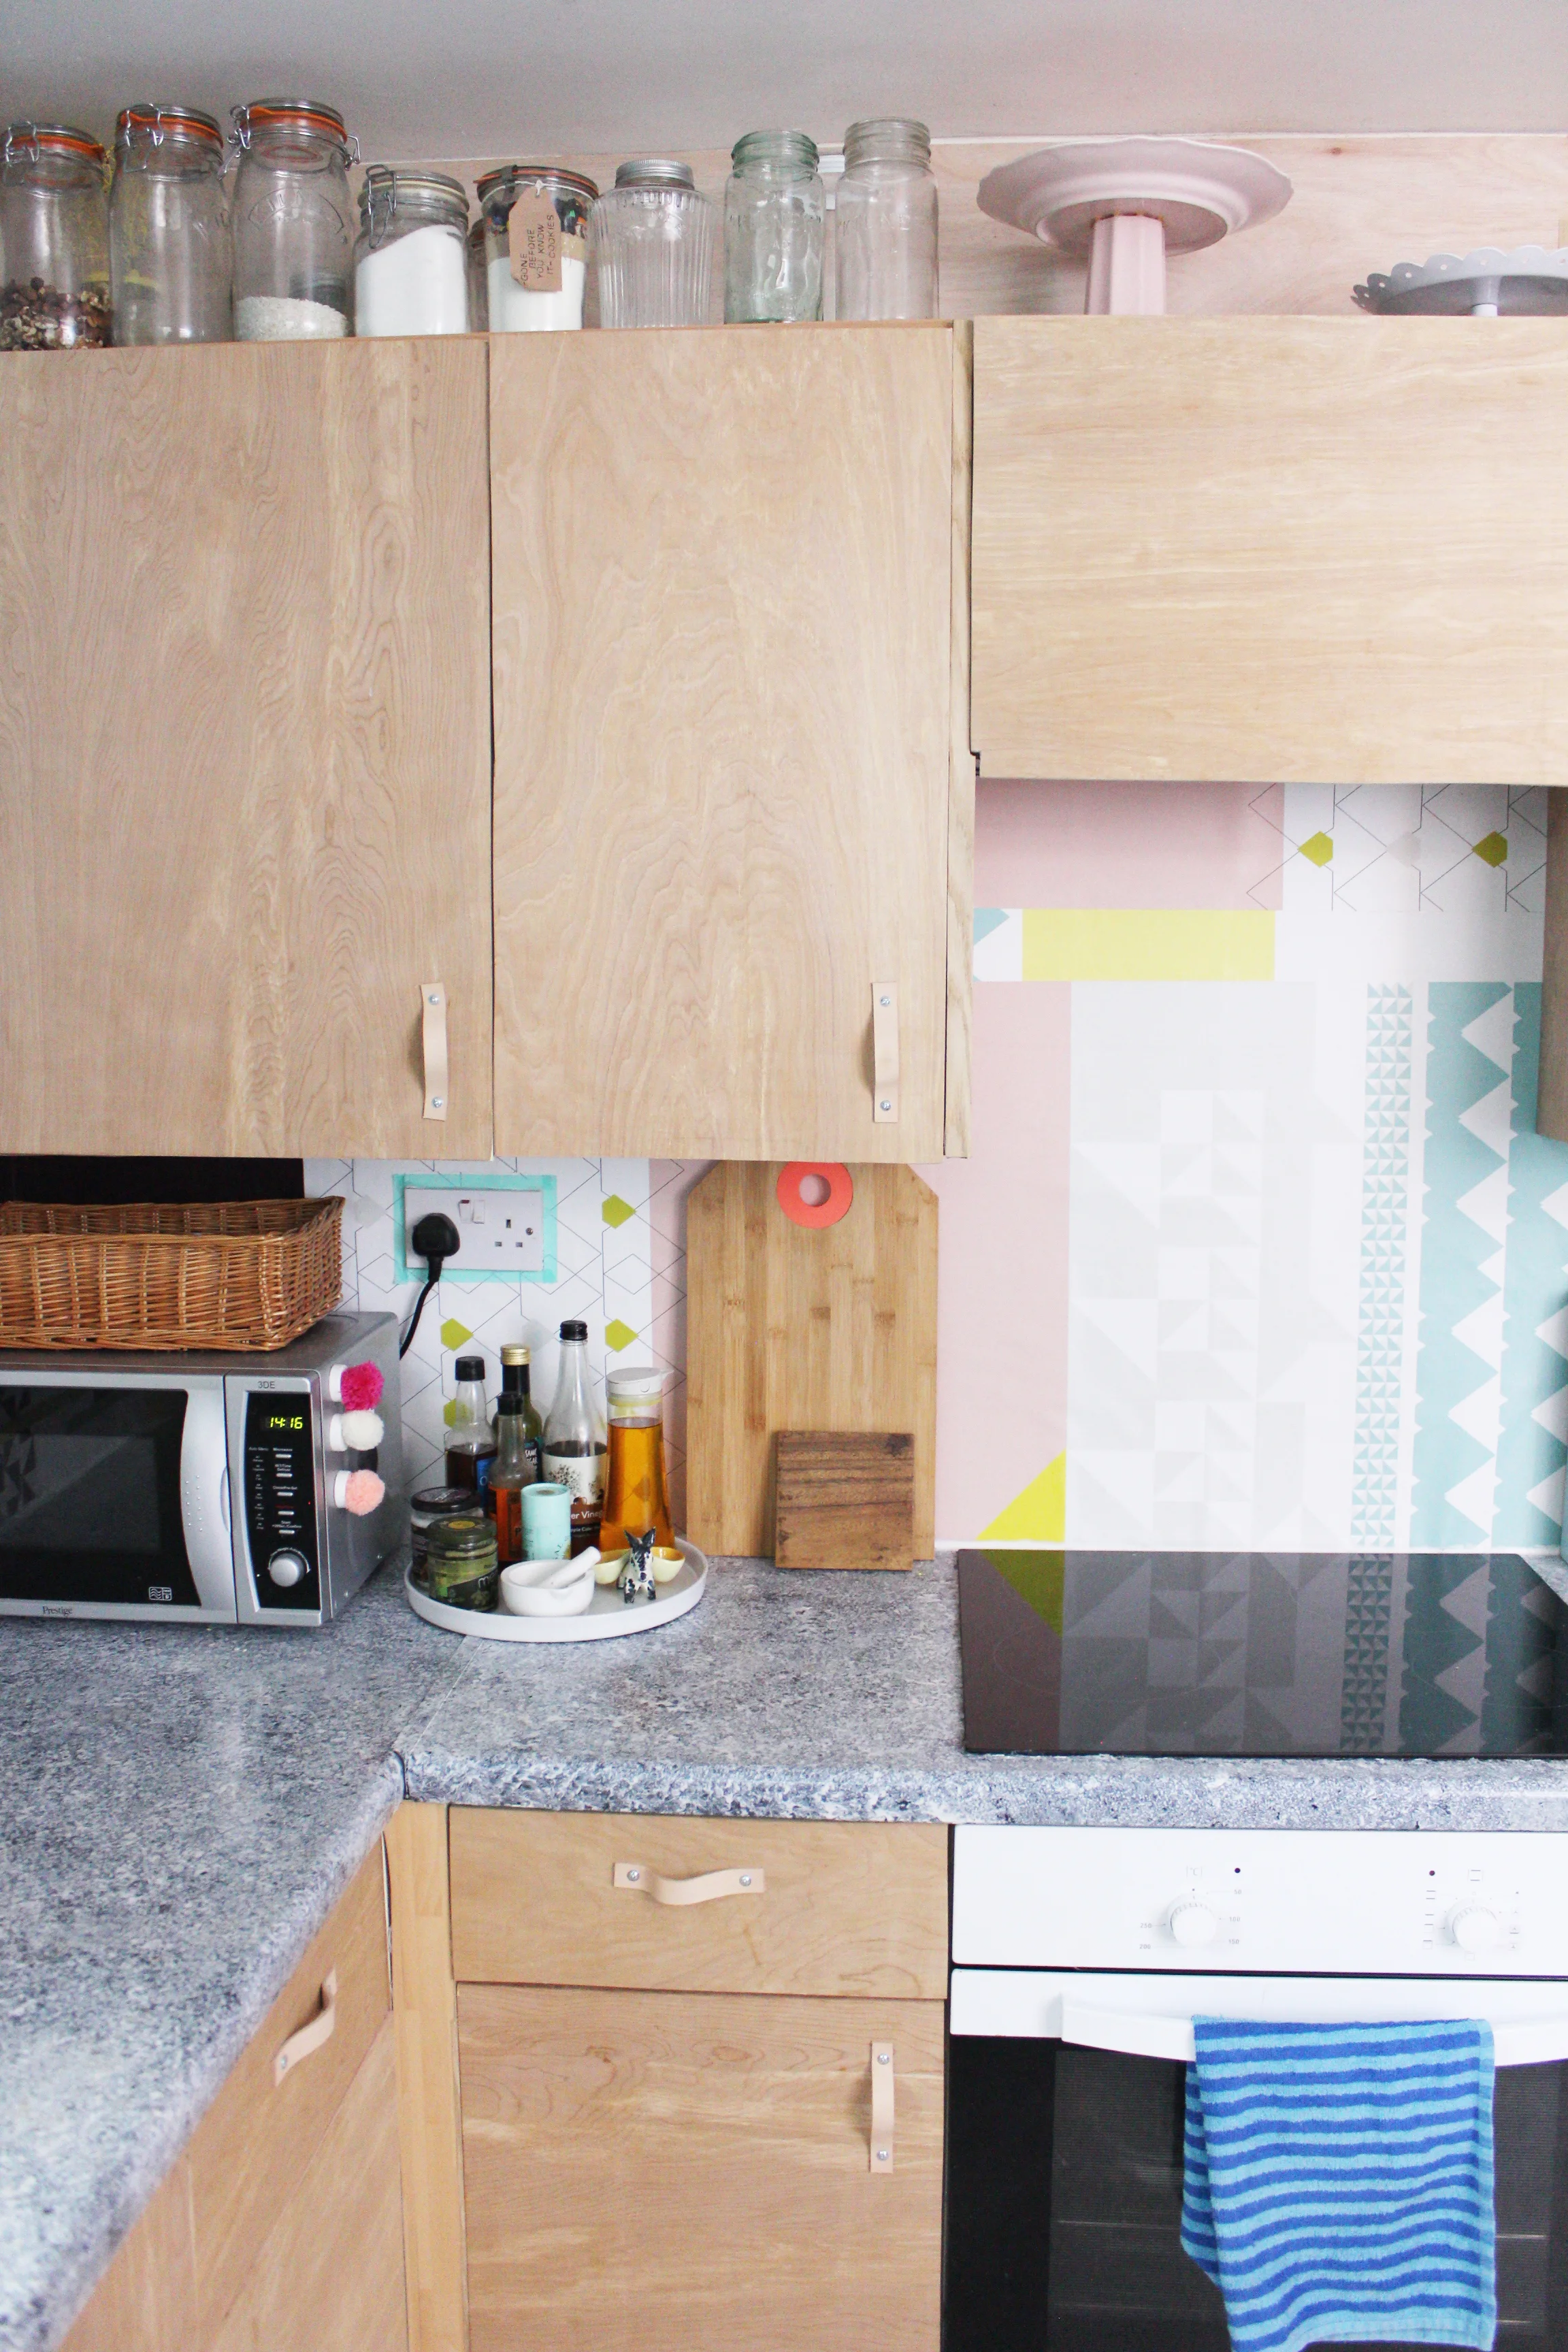
Now it's plywood heaven! :D With a new floor, a lick of paint on the walls and the countertop, a great backsplash and now the new cupboard doors the kitchen looks fresh, happy and modern, I love it!
This was a budget makeover, I didn't had the money to rip out the whole kitchen and replace it with a new one so I looked for products I could use to give the tired looking units a new lease of life. The vinyl floor was easy to lay over the existing tiles as you could see in tutorial one. The blue countertop got a granite makeover with Gianni Granite countertop paint in episode two. I covered up the dated tiles with a kitchen wallpaper by Behang Fabriek n the 3rd tutorial and last week I showed you how to make leather door handles from scraps of leather. But the biggest transformation in the kitchen are the cabinets. I could of course have given the doors a lick of paint but I wanted something more special, more modern. I kept seeing pictures of plywood kitchen in interior magazines and I love their look. Instead of building a new kitchen out of plywood I simply covered the cabinets with a thin layer of ply to get the same effect for a fraction of the price and effort.
The plywood that I used is from B&Q they have a great selection for a very reasonable price, you can update your units for under £150! The sides of the cabinets are clad in a thin ply, you simply cut the wood to the correct size and glue it on. The same goes for the kick boards. I made new cabinet doors out of a thicker ply, a 19mm one. You unscrew the old door and make a replica out of the plywood. The trickiest part is making sure the holes for the hinges are in the same place but you soon get the hang of it. When you have cut the wood and drilled the new holes with a hinge cutter you screw the door back into its hinges and your door is done.

The edges of the cabinets are covered in an iron on veneer, I love this stuff. You will normally use it to neaten the edges of furniture board but in this project it was perfect to add a thin layer of wood the the cabinet edges. I also applied the veneer to the cabinet shelves making the cupboard look a lot more expensive. The back of the veneer is covered in a thin layer of glue, by applying heat of your iron it will stick to the cabinet. Have a look at the image below to see what a difference a little veneer makes!

I created a bit more storage by covering the top of the cupboards in plywood. I never like the look of having pots and pans on top of your units but by covering the wall in plywood you create the look of an extra shelve, giving you a lot more storage. I also build some shelves out of left over pieces of plywood, the bottom shelve has two holes that hold a baton, great kitchen roll storage! I also will hang some S-hooks on the baton but unfortunately they haven't arrived in the mail yet. They will hold a little basket and also a few utensils.


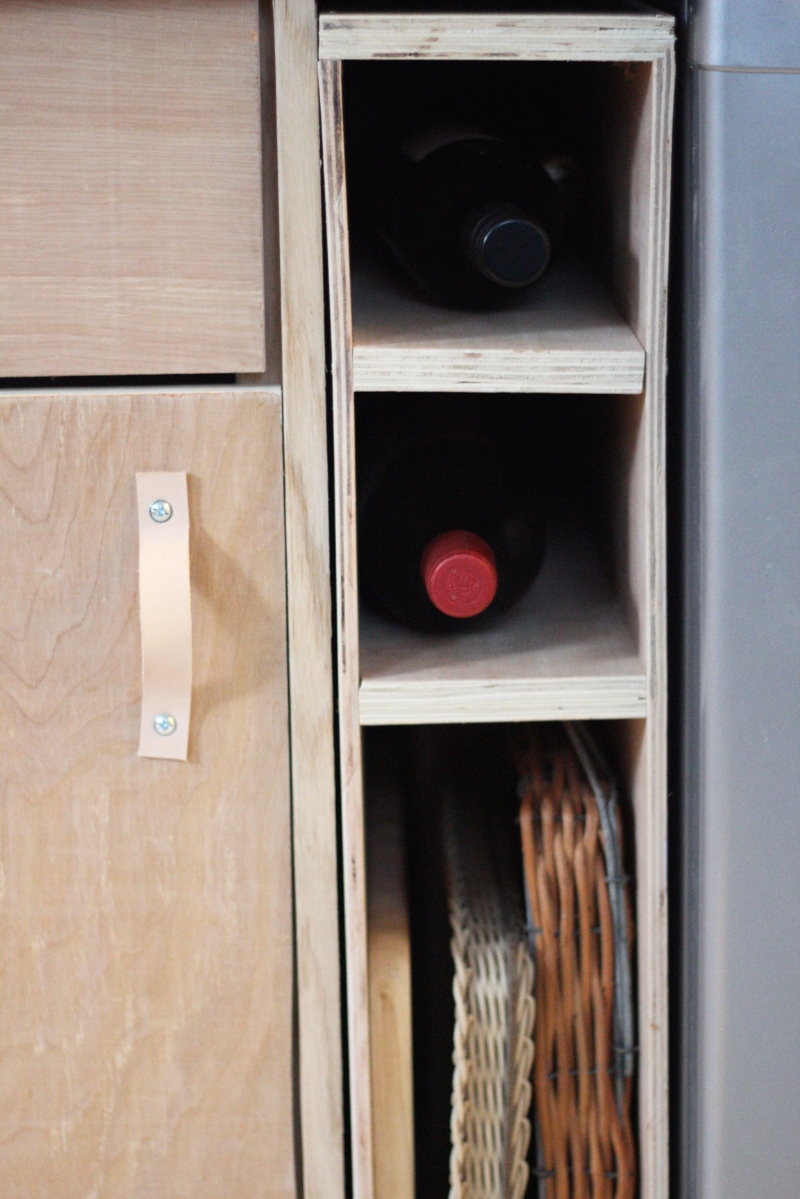
The little gap between my fridge and a base cupboard is now useful storage space as I build a little holder for my serving trays and a tiny wine rack, just space for two bottles in this house hold ;) Two wooden boxes on the fridge provide storage for my cook books and cereal boxes.
Have a look at the video to see the whole look:
What do think? Do you like it's transformation? And all this on a small budget! Are there things you would like to try for your self? Feel inspired to makeover your own kitchen? I would love to see the results!
Next Thursday I will be back with a new video, till then!
xx Hester
This post is brought to you in partnership with B&Q . Partnering with brands that I love and use in my daily life is a great opportunity to share what I love with you! As always, all thoughts are 100% my own.