

Upcycled ladder wardrobe
Sponsored post with Bosch Home & Garden
The lovely people of Bosch Home & Garden asked me to have a go at one of their tutorials, did you know there are lots of DIY tutorials on their website? Its full of lovely projects for you to build from storage boxes to balance boards and garden benches to amazing coffee tables it was tricky picking just the one project.
As I’m currently redecorating our spare bedroom to move Kiki from her attic room nursery to a slightly bigger room I thought a kid project could be fun. This upcycled ladder wardrobe build caught my eye as I thought you guys might like making it too! You don’t need many tools or materials to make it and you can easily build it in an afternoon.
The original tutorial is for a full size adult wardrobe but I scaled everything down to make it suitable for a child bedroom.


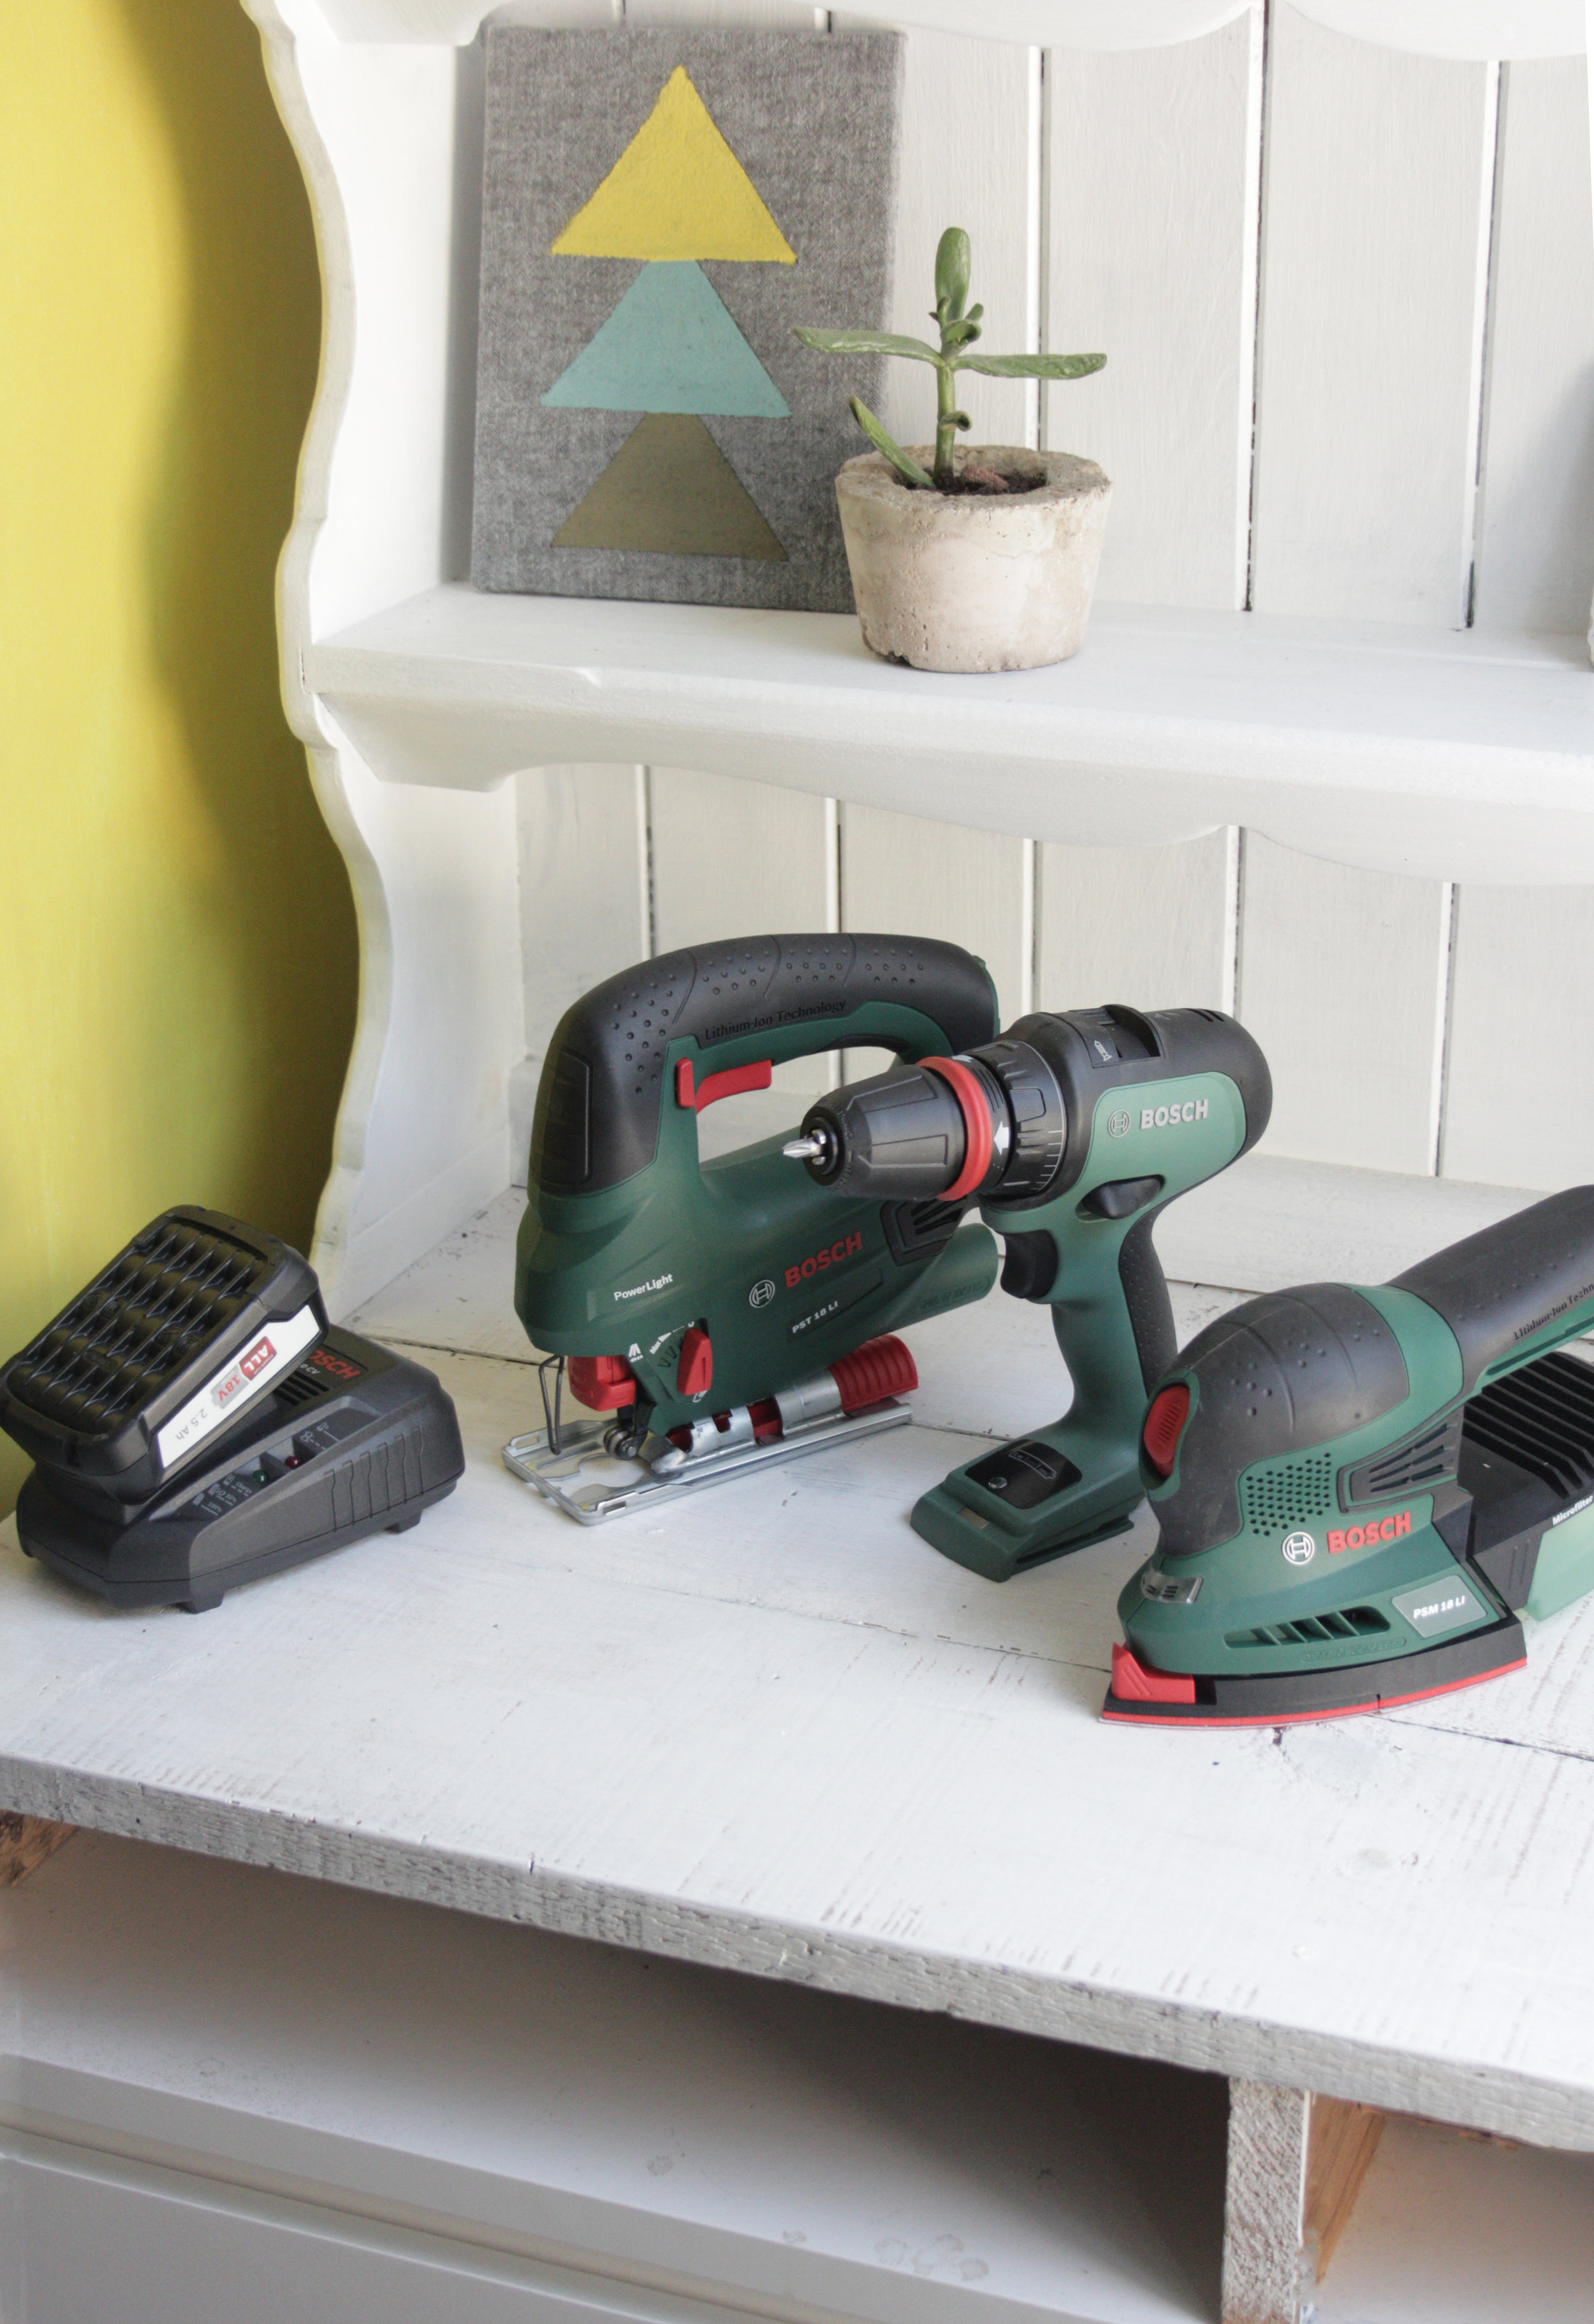
I used the Bosch cord free range for my tutorial, having not to worry about plugs makes building so much easier!
I used the :
I loved how easy it was to clean up sawdust so I can actually build indoors and not be banished to my shed.

Materials:
You will need two ladders, mine are bathroom racks from Wayfair and are 118 cm long
Two planks, I used 19 mm plywood 20 cm wide and 100 cm long
A wooden broom handle
Paint, I used Annie Sloan chalk paint in Pure and Olive
Paintbrush
wood drill bits
8 long screws
2 bolts and nuts (mine are 6 mm and 8cm long)
two clamp
I also used a handsaw, tape measure and a pen
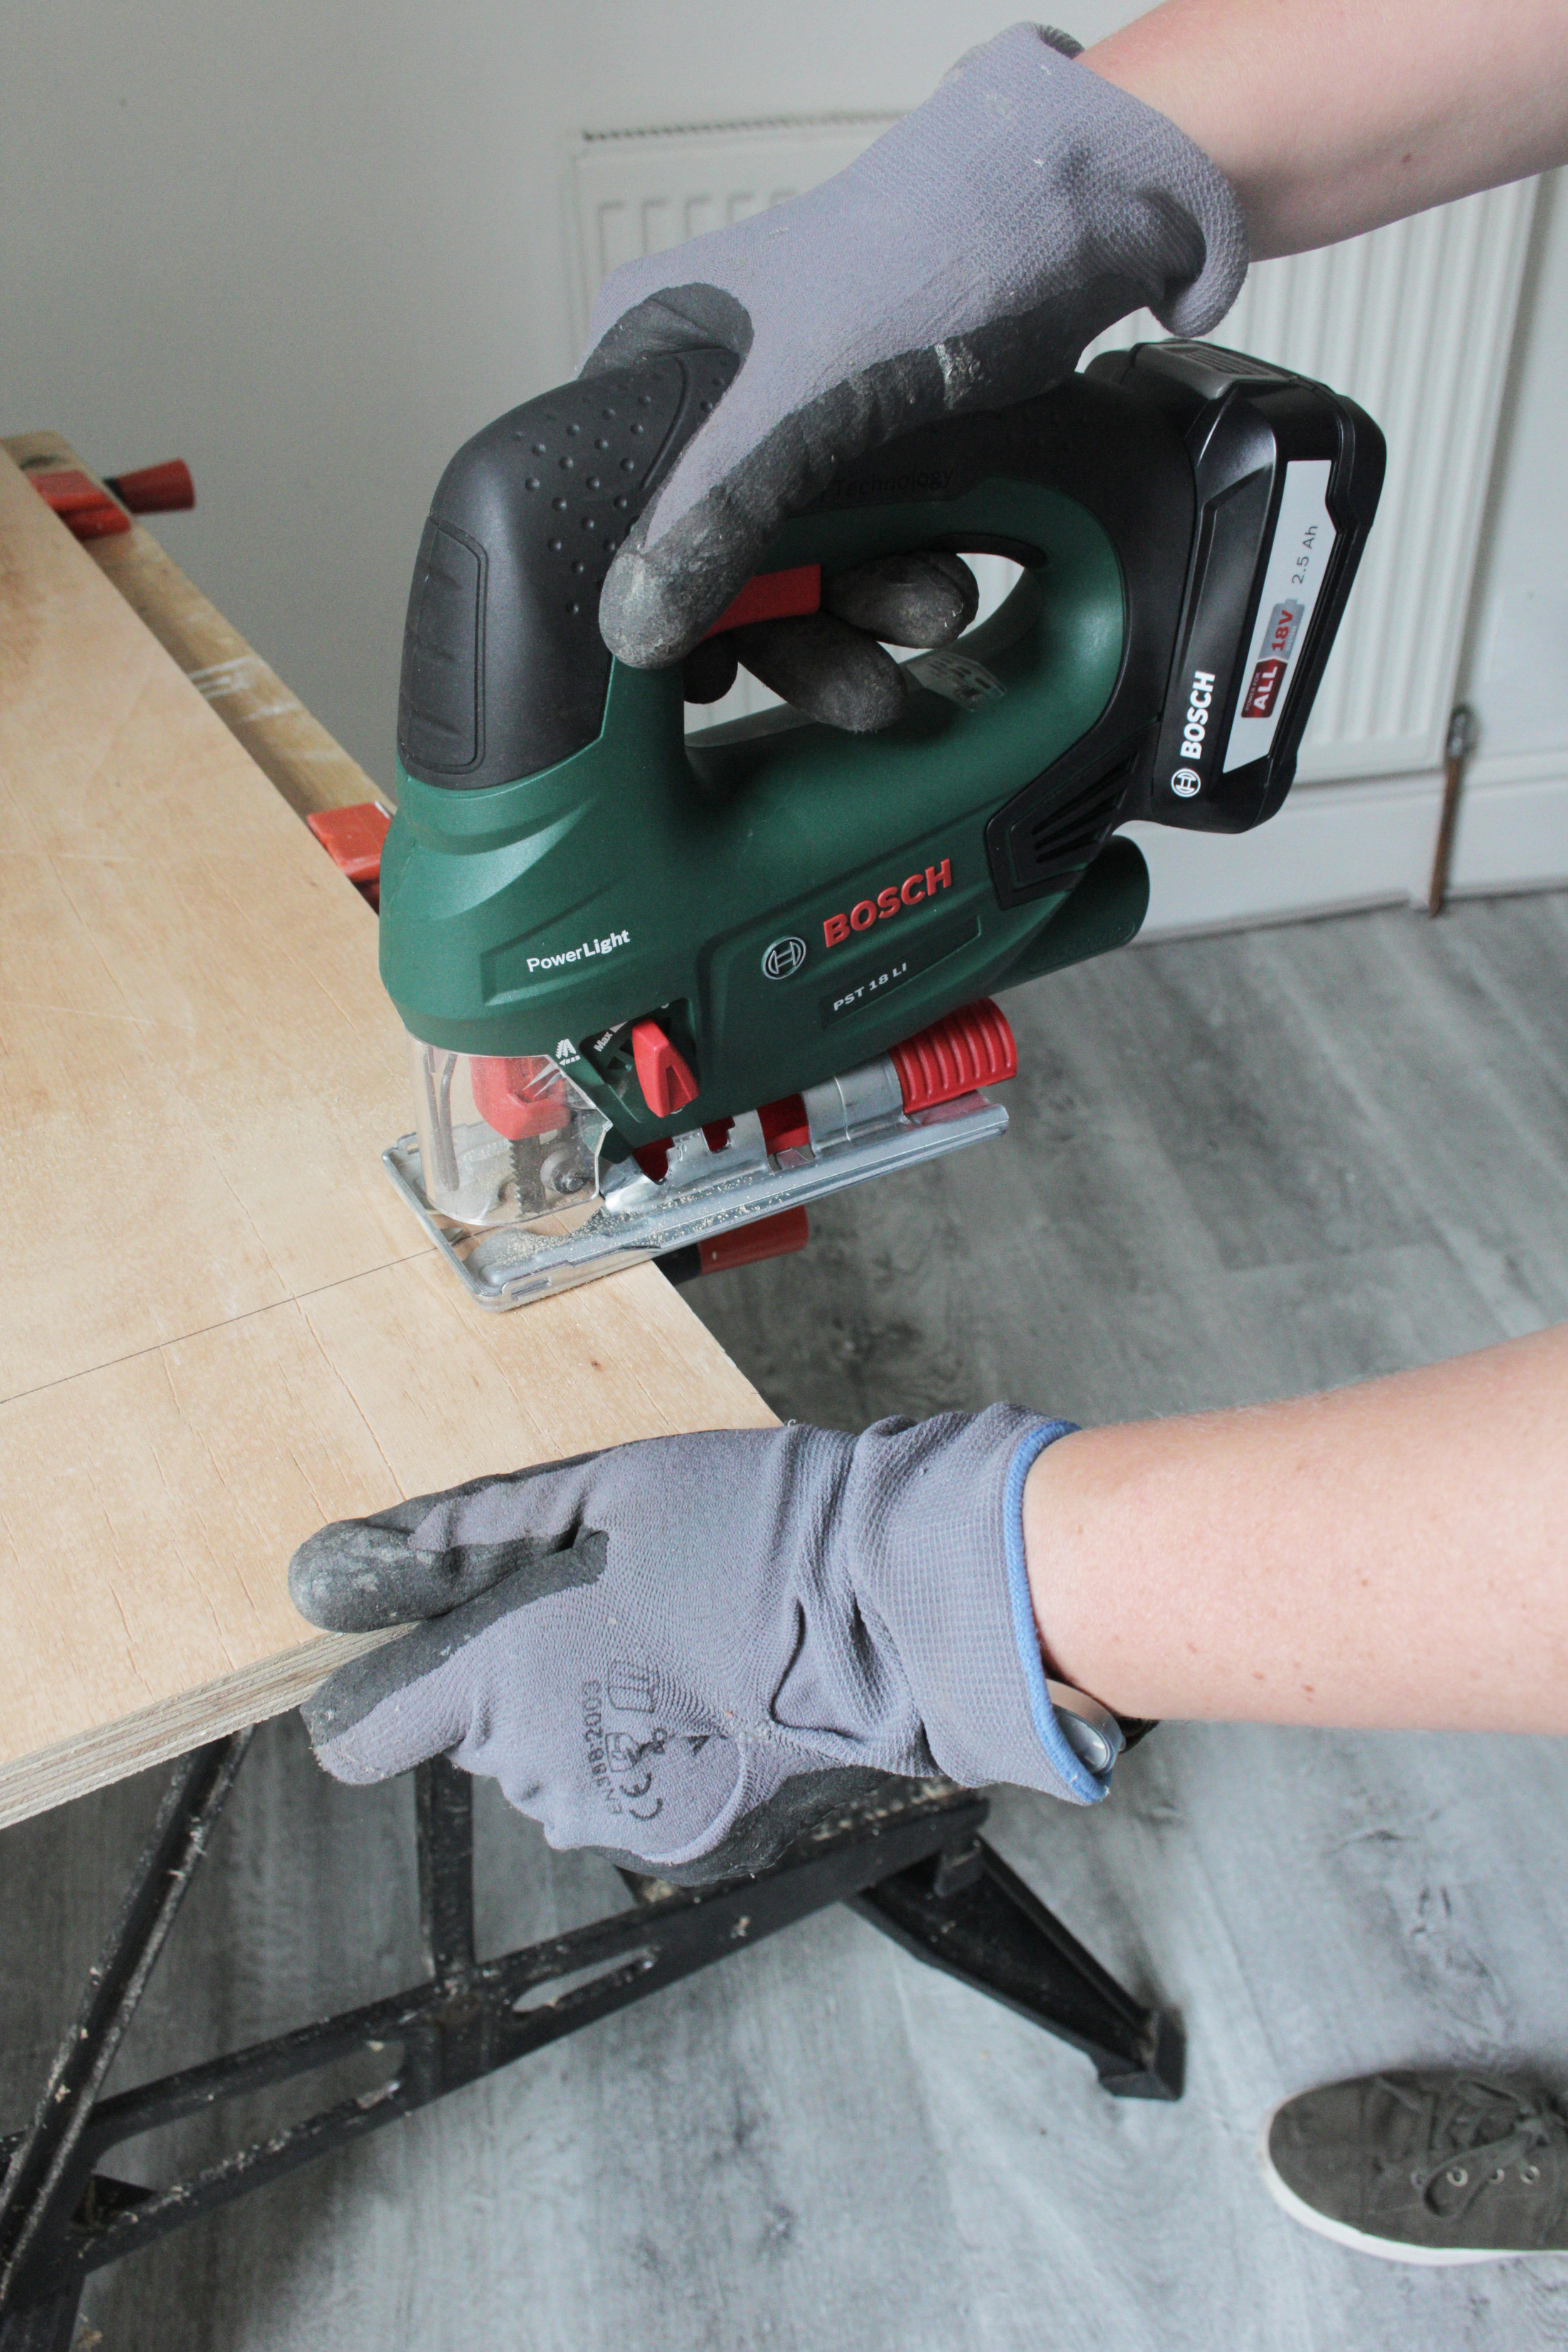
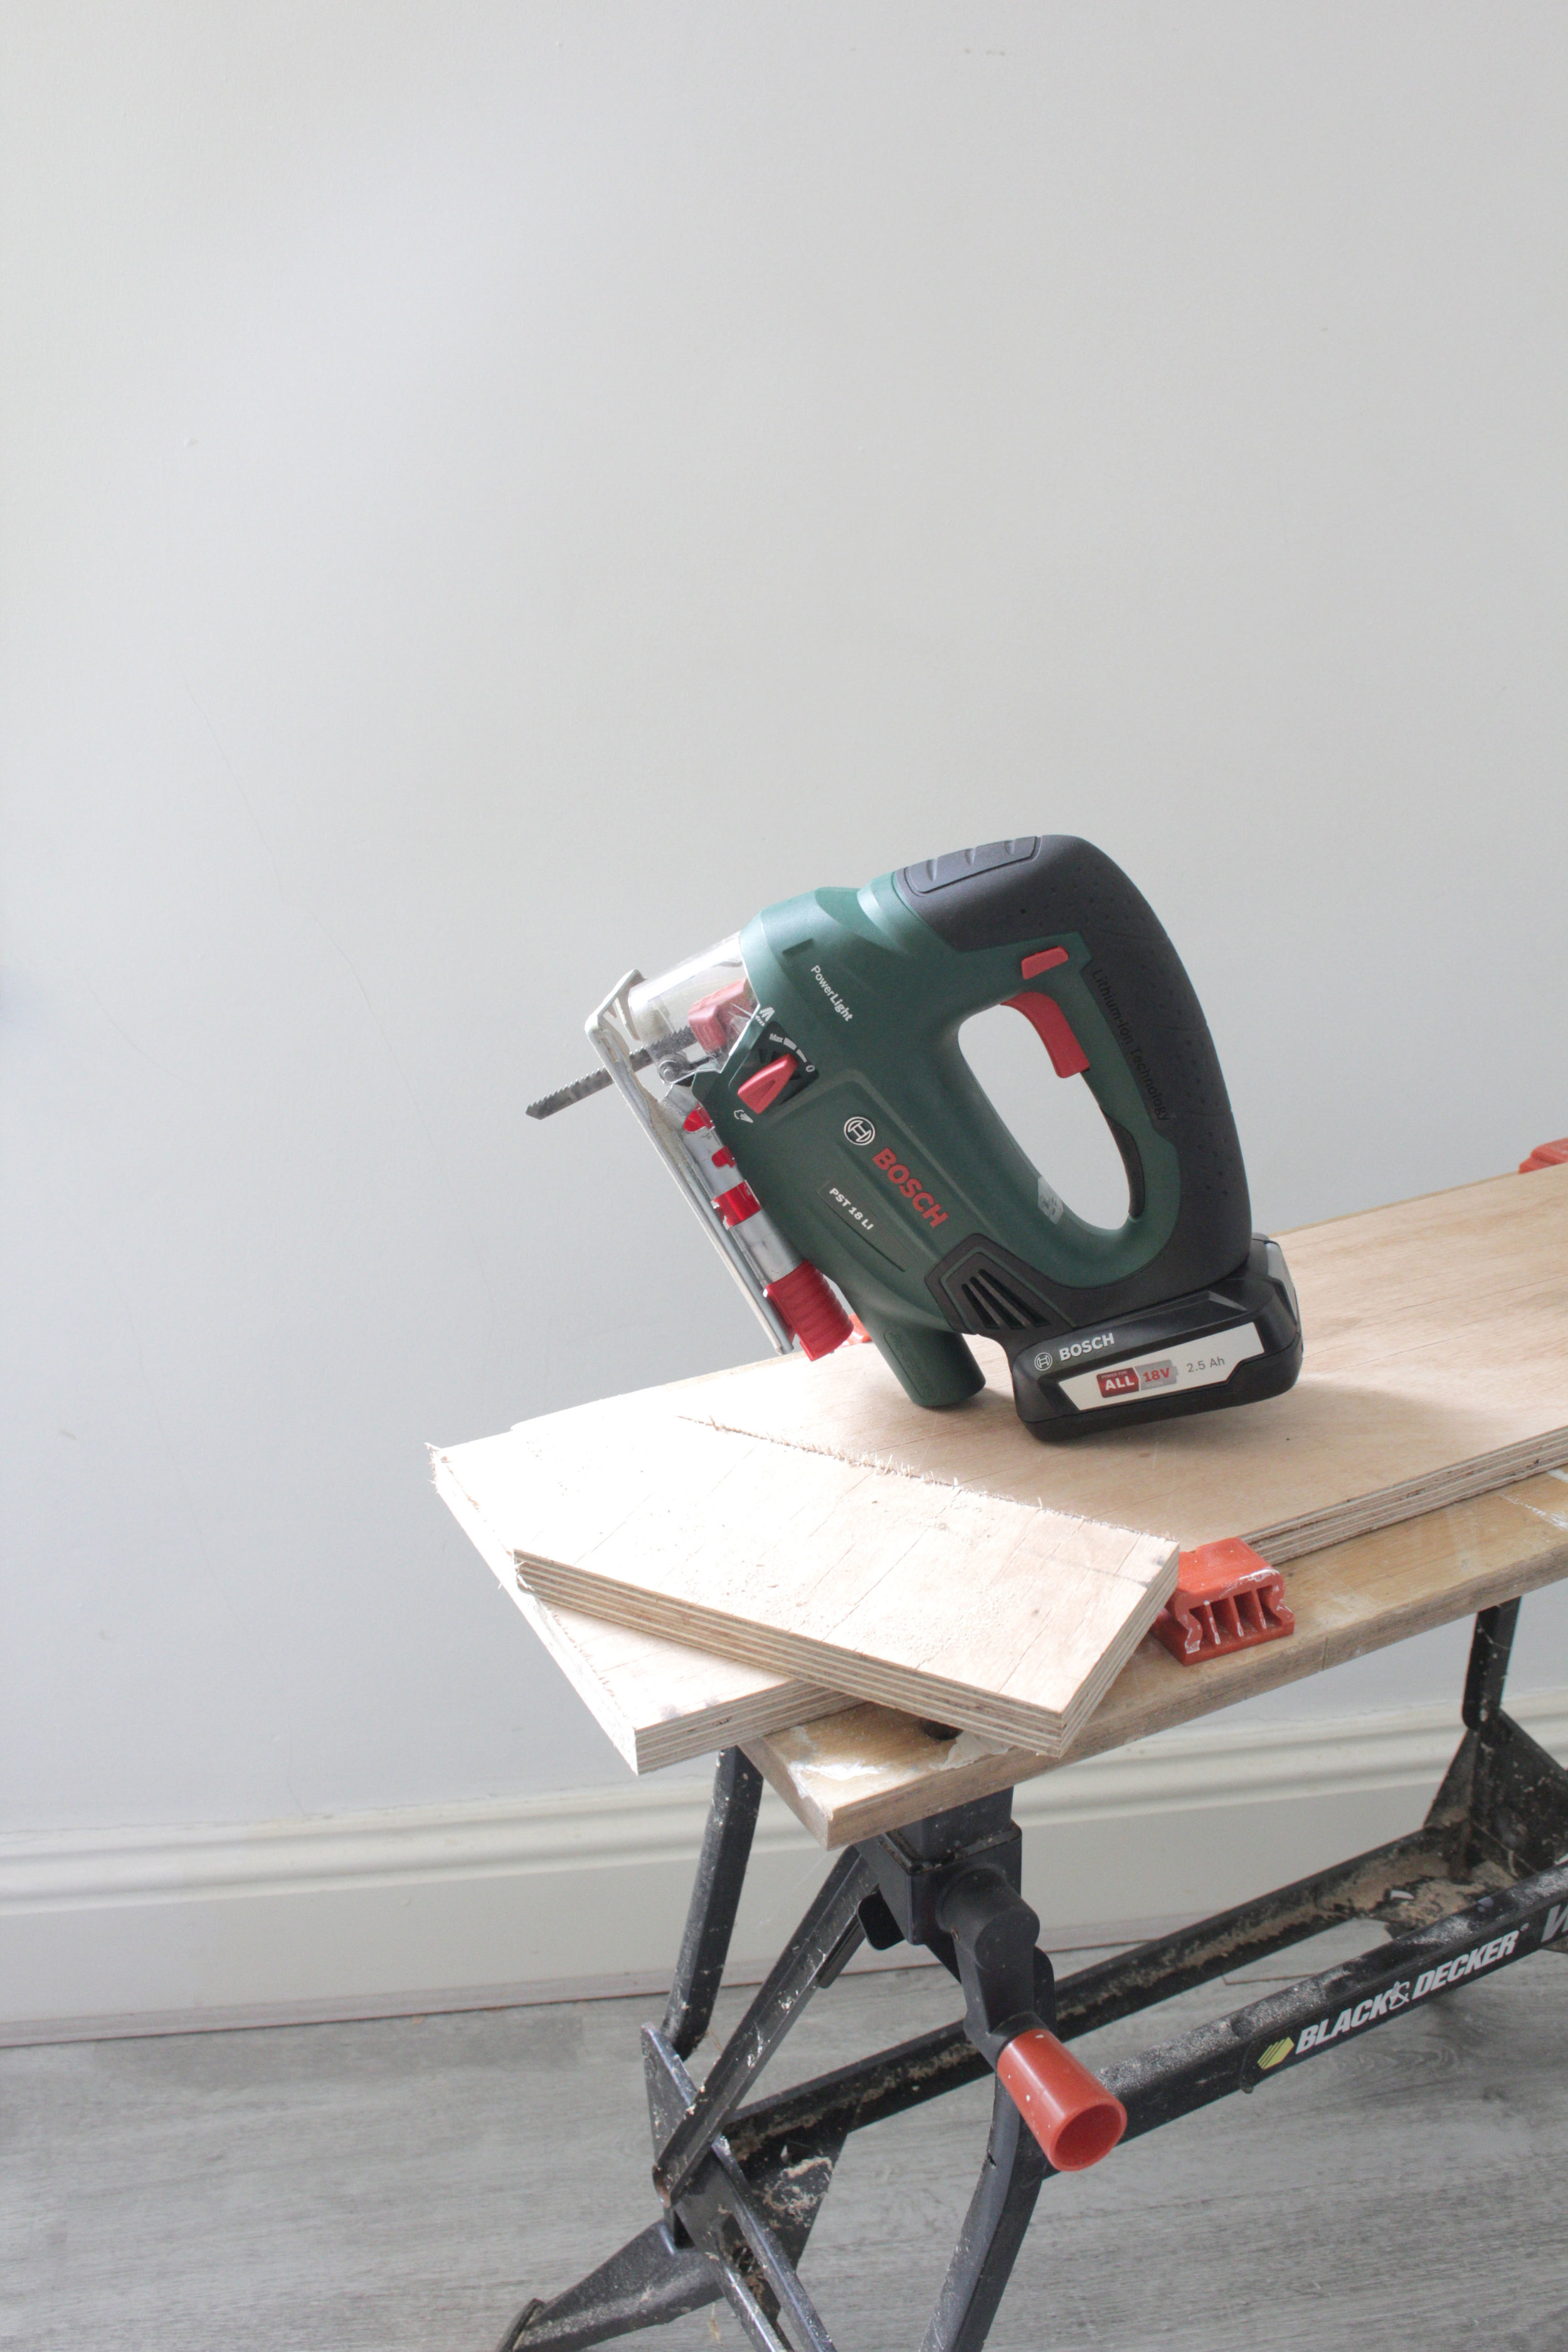
Cut your planks to size, you want one plank to be 10 cm shorter then the other. I used 19 mm thick plywood but you can use any timber you like. A piece of pine will be lovely but even some MDF will work fine. My planks are 20 cm wide and I cut them to 100 and 90 cm long. Before cutting your timber make sure your hair is tied up if its long, you push loose sleeves up, wear eye and ear protectors and work gloves. Always cut our timber on a stable service and clamp it down, I love using my work mate to keep the timber from moving when I cut it to size.
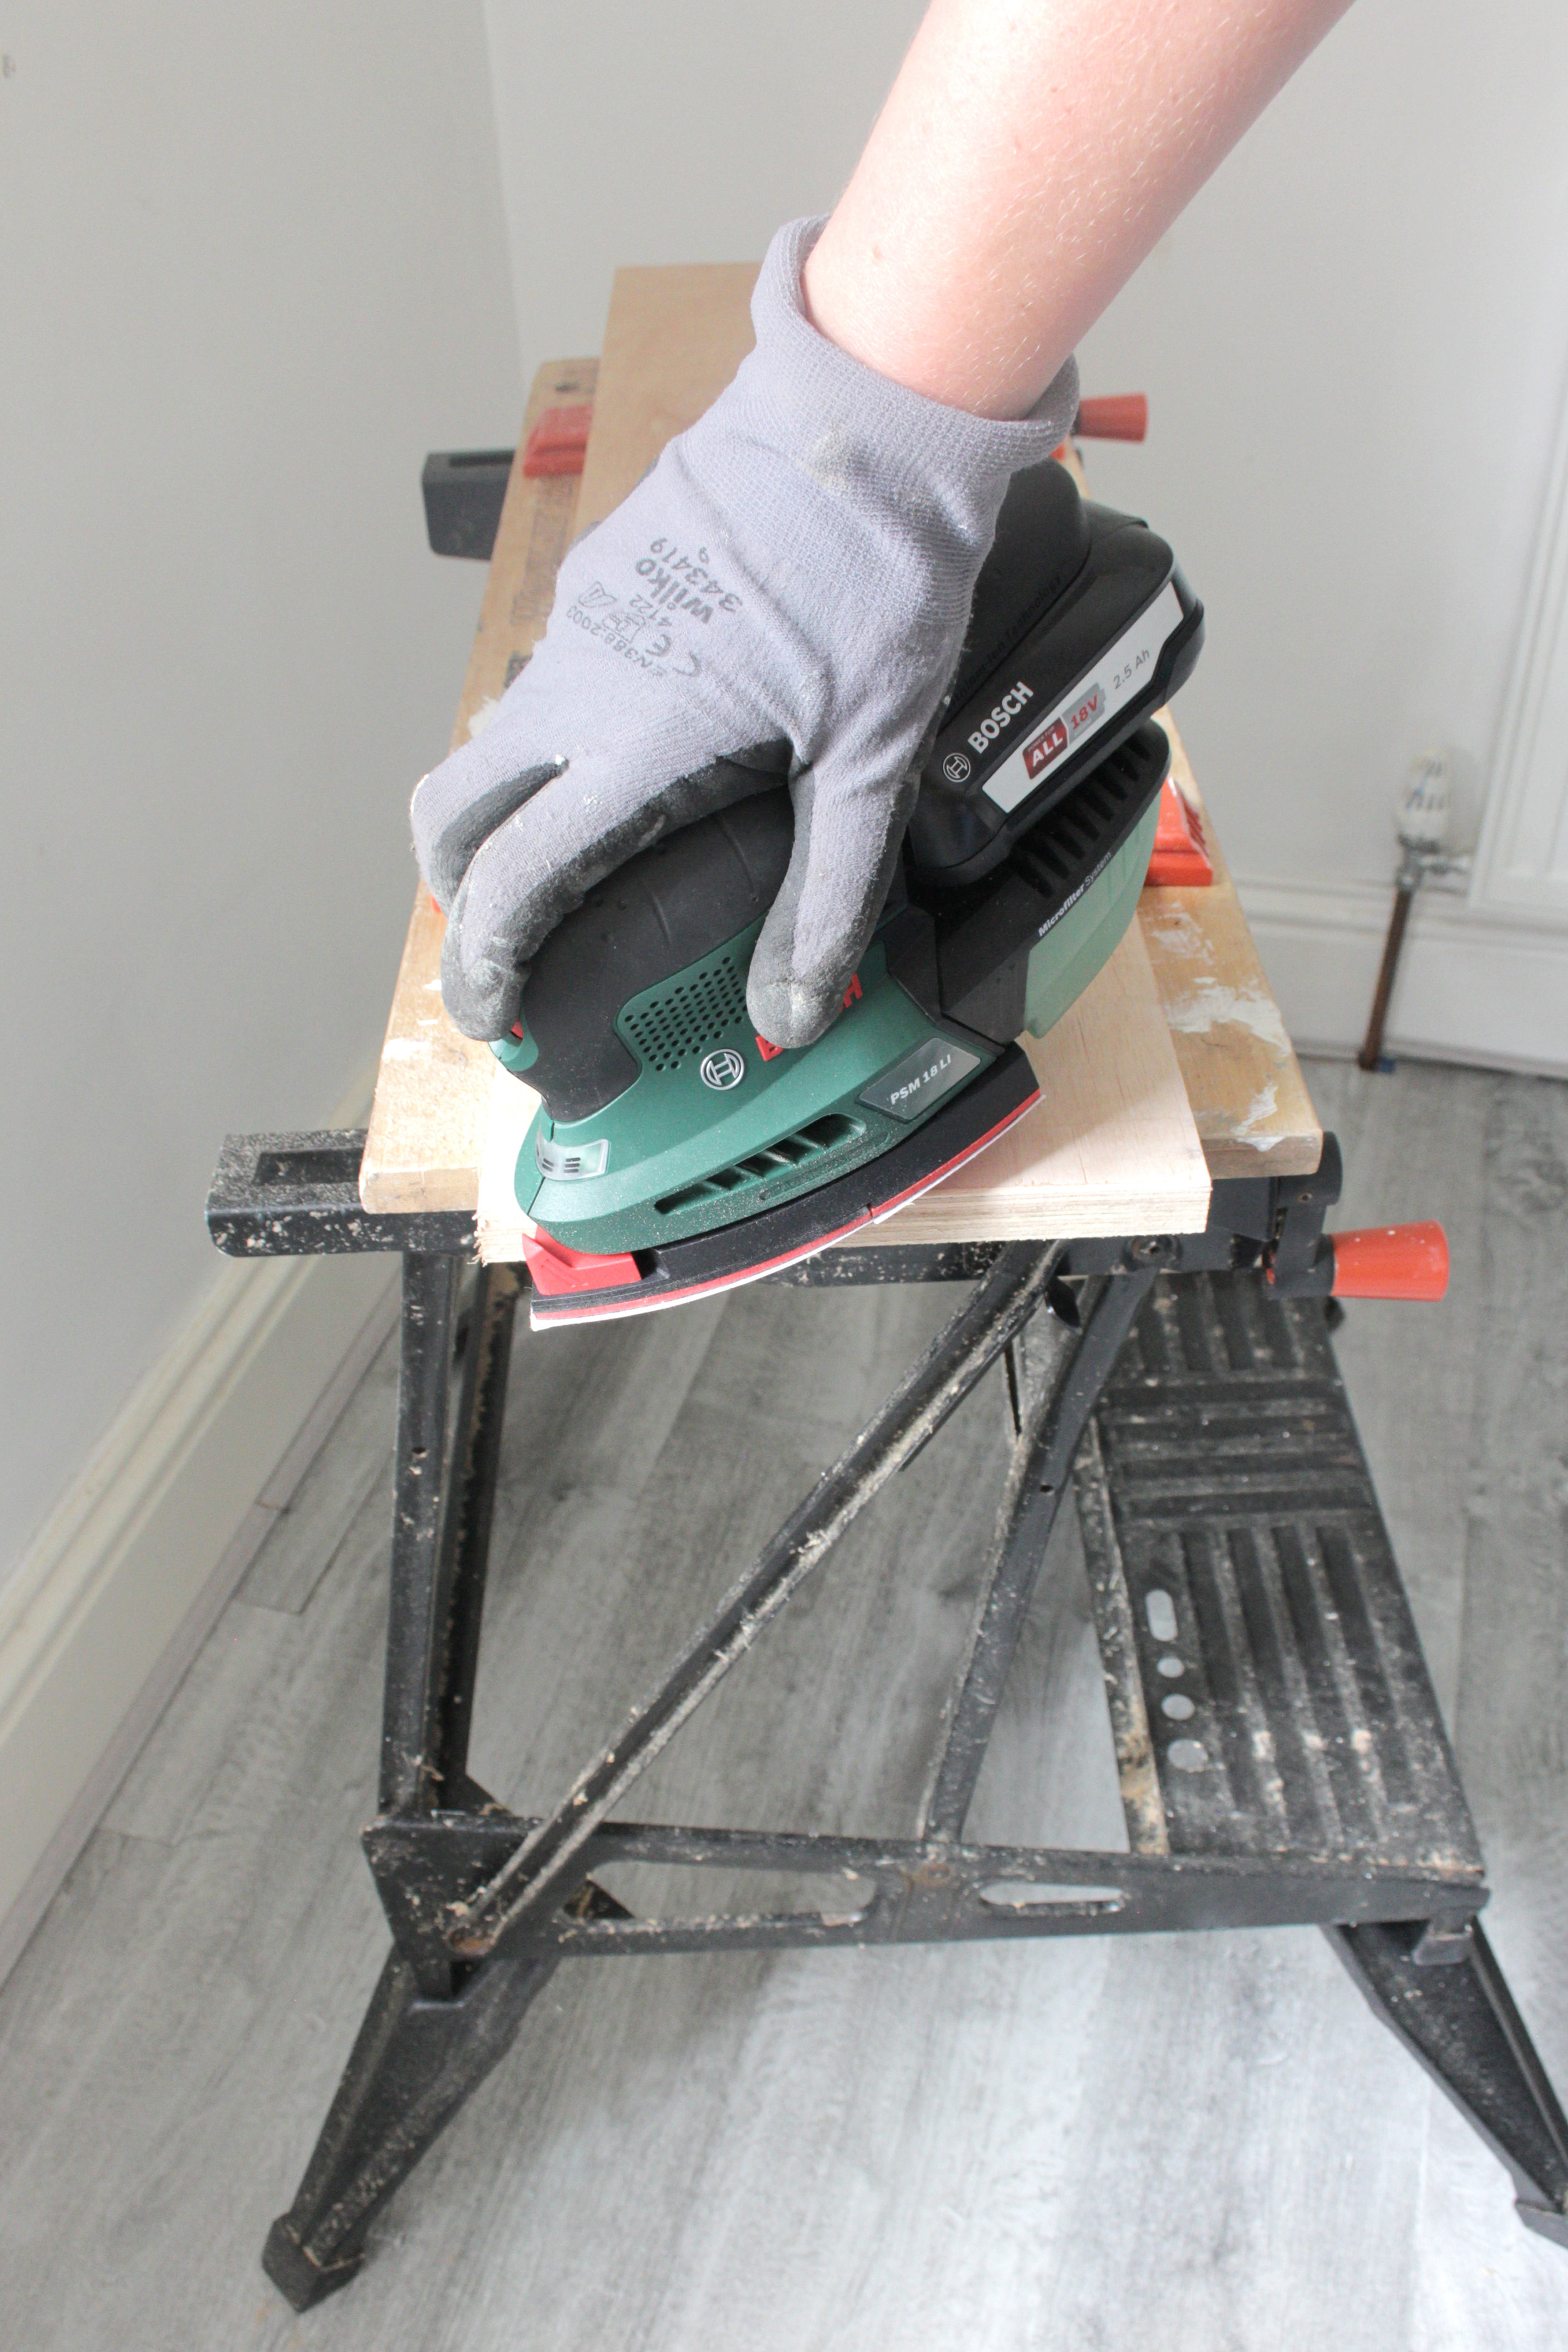
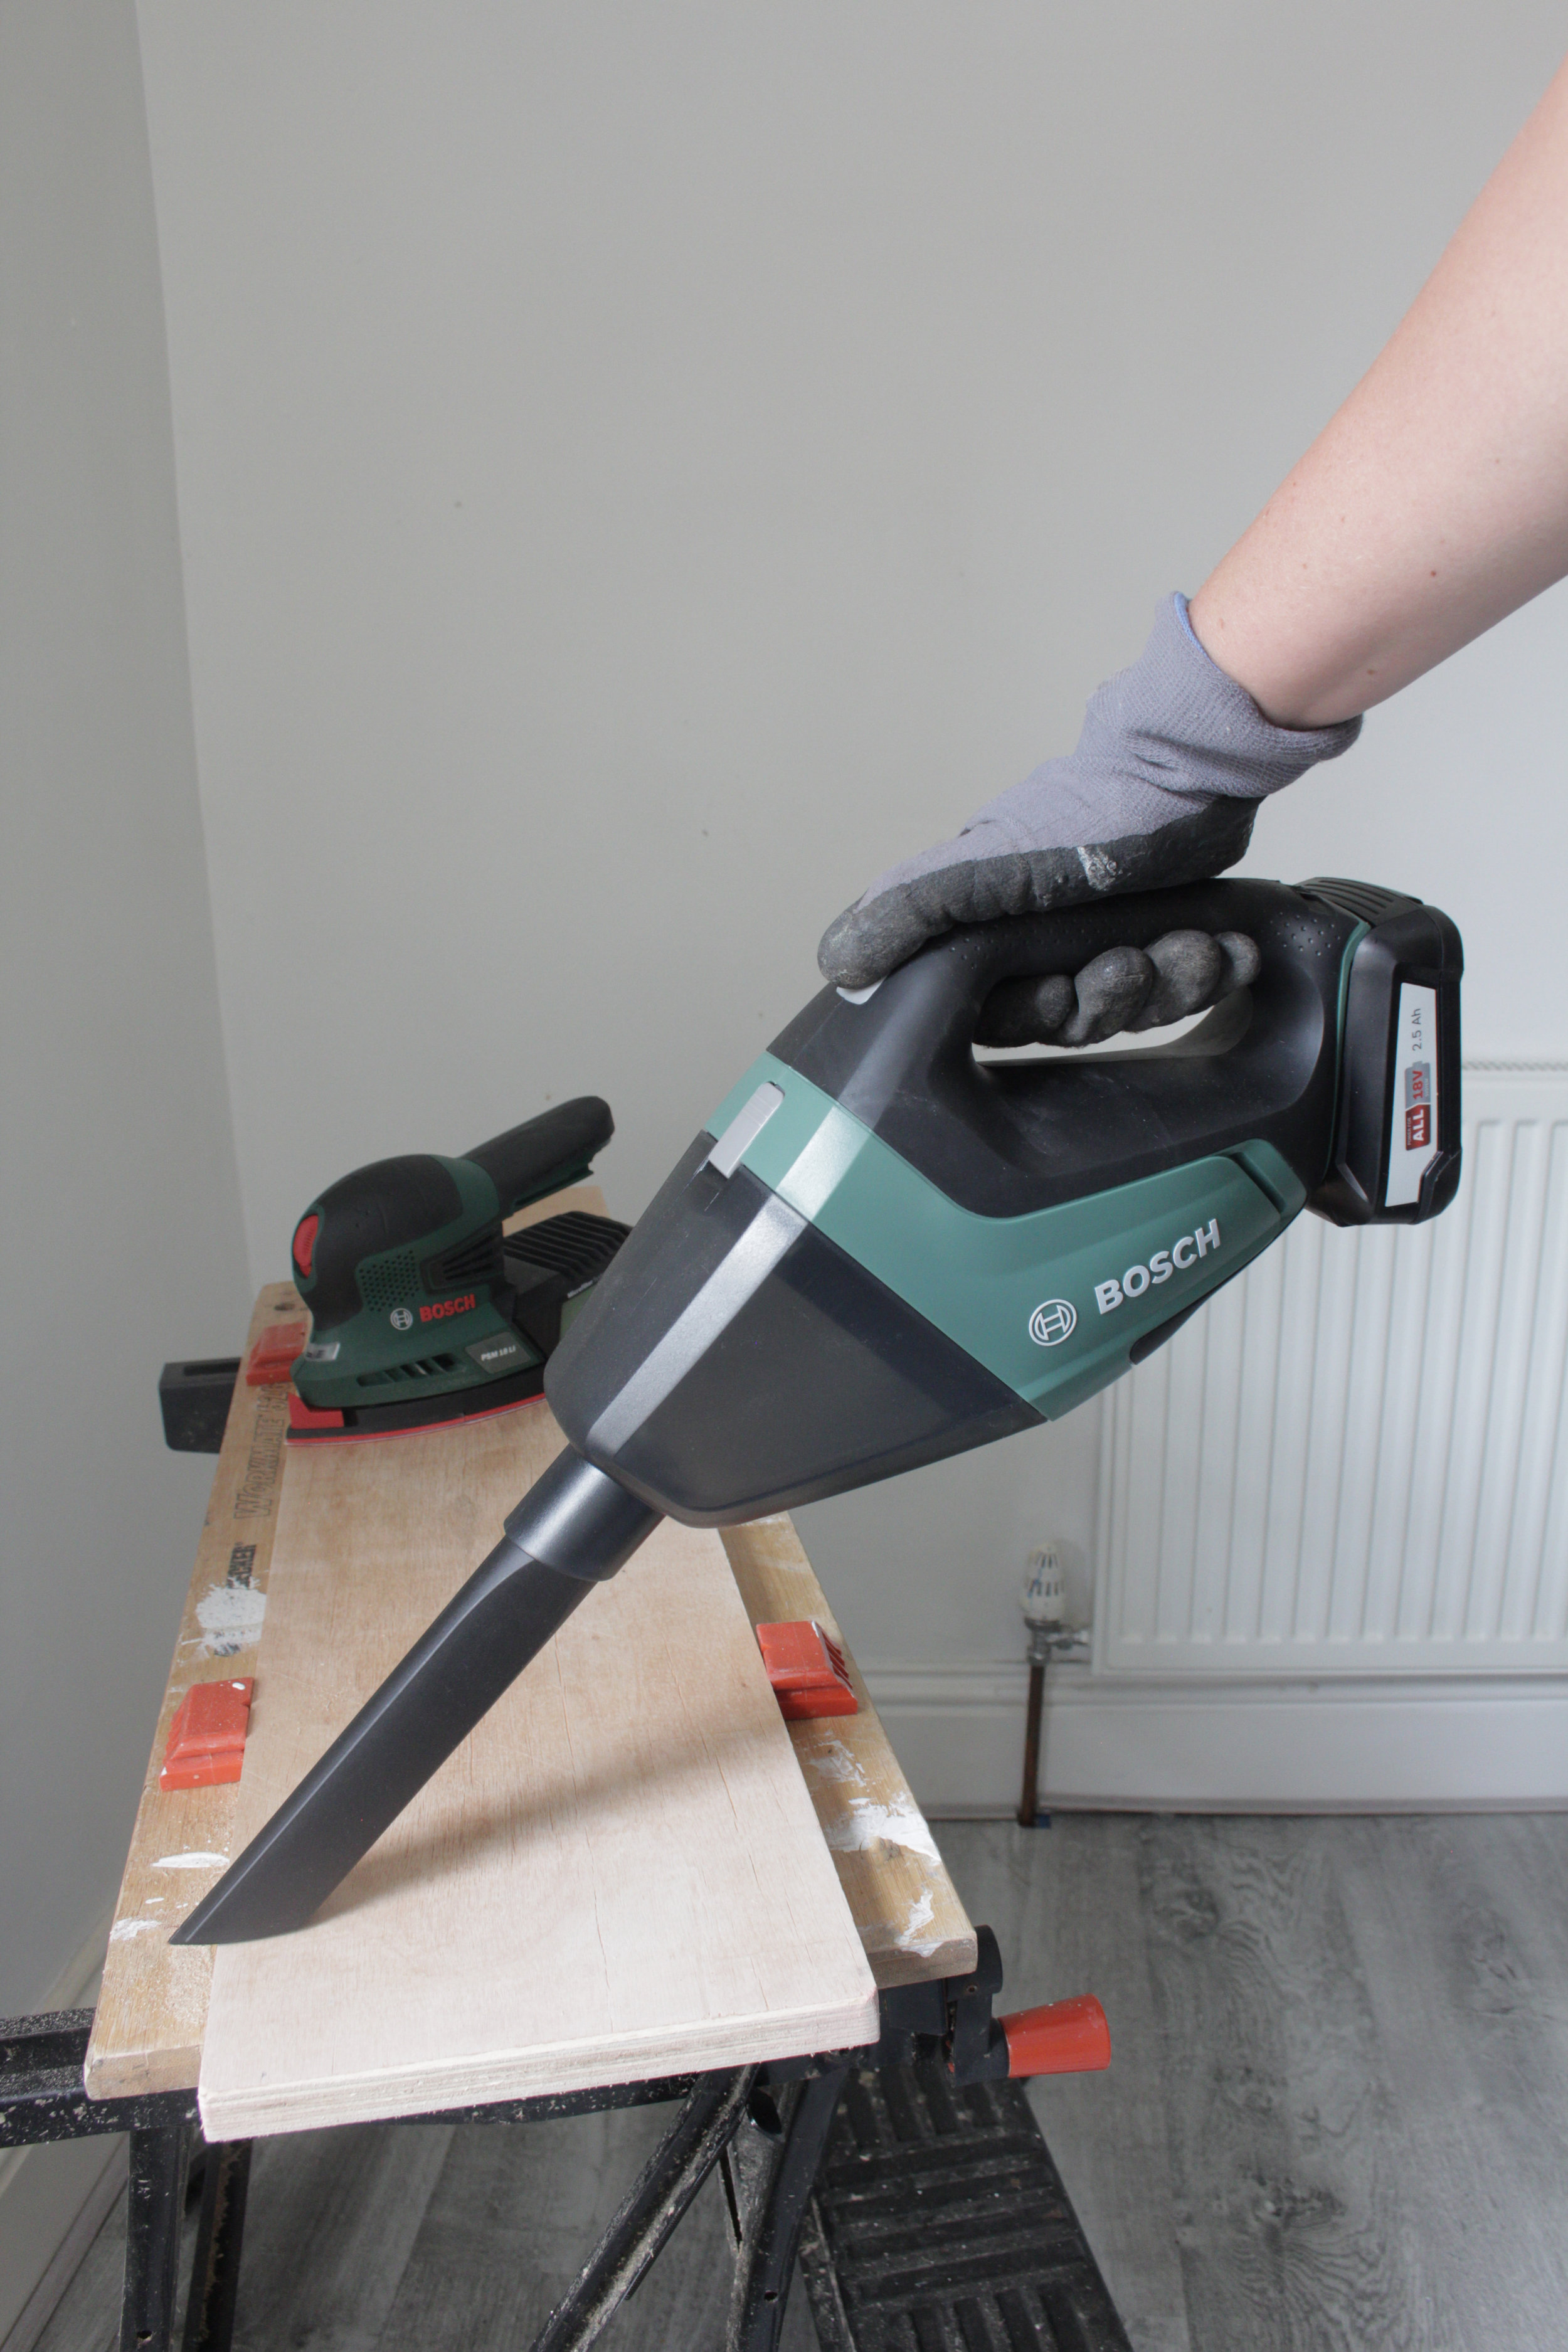
Use your sander to smooth the cut end of your plank. I also sanded all the plank edges smooth and rounded off the corners to make it child safe. I love this mini vacuum! It is so handy you can vacuum up any wood chips and saw dust right away, especially if you are building indoors you really don’t want to walk bits of wood all over your floors.
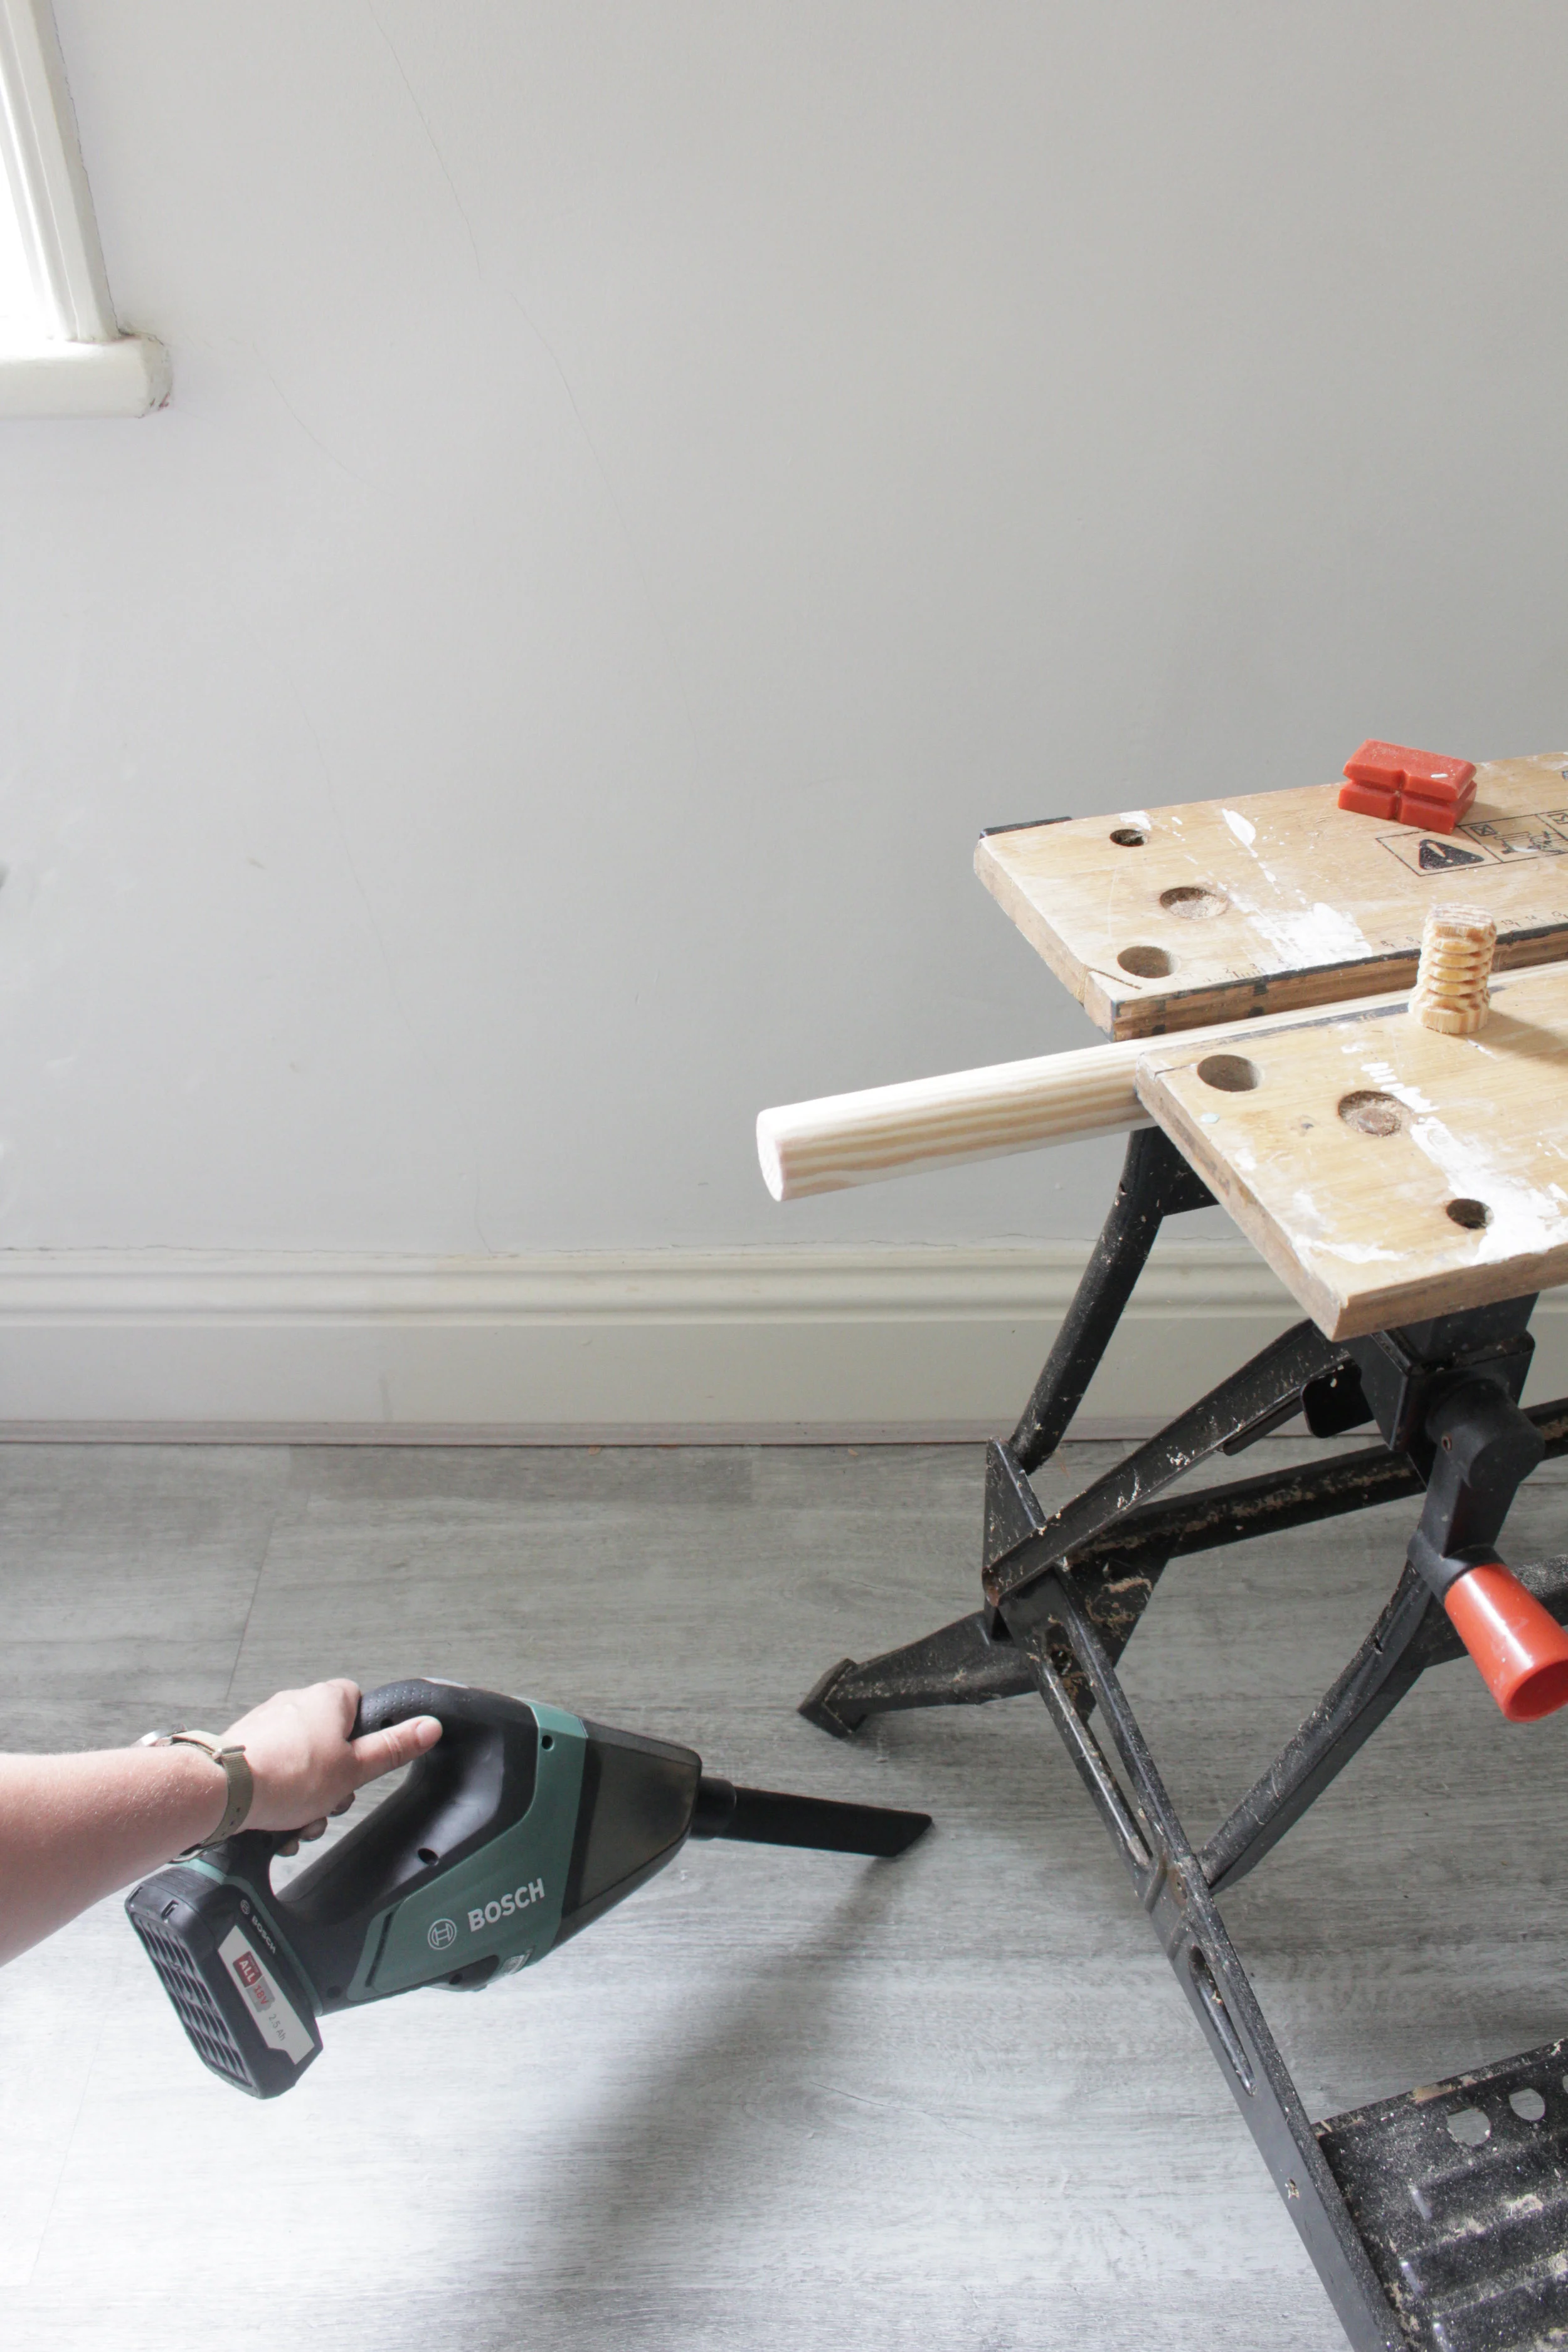
Cut the handle and screw bit of your broom handle, I used a handsaw for this. Sand the cut edges smooth. I left the broom handle as long as I could as I liked it to have a little bit of an overhang in the finished build. My handle ended up being 110 cm long.
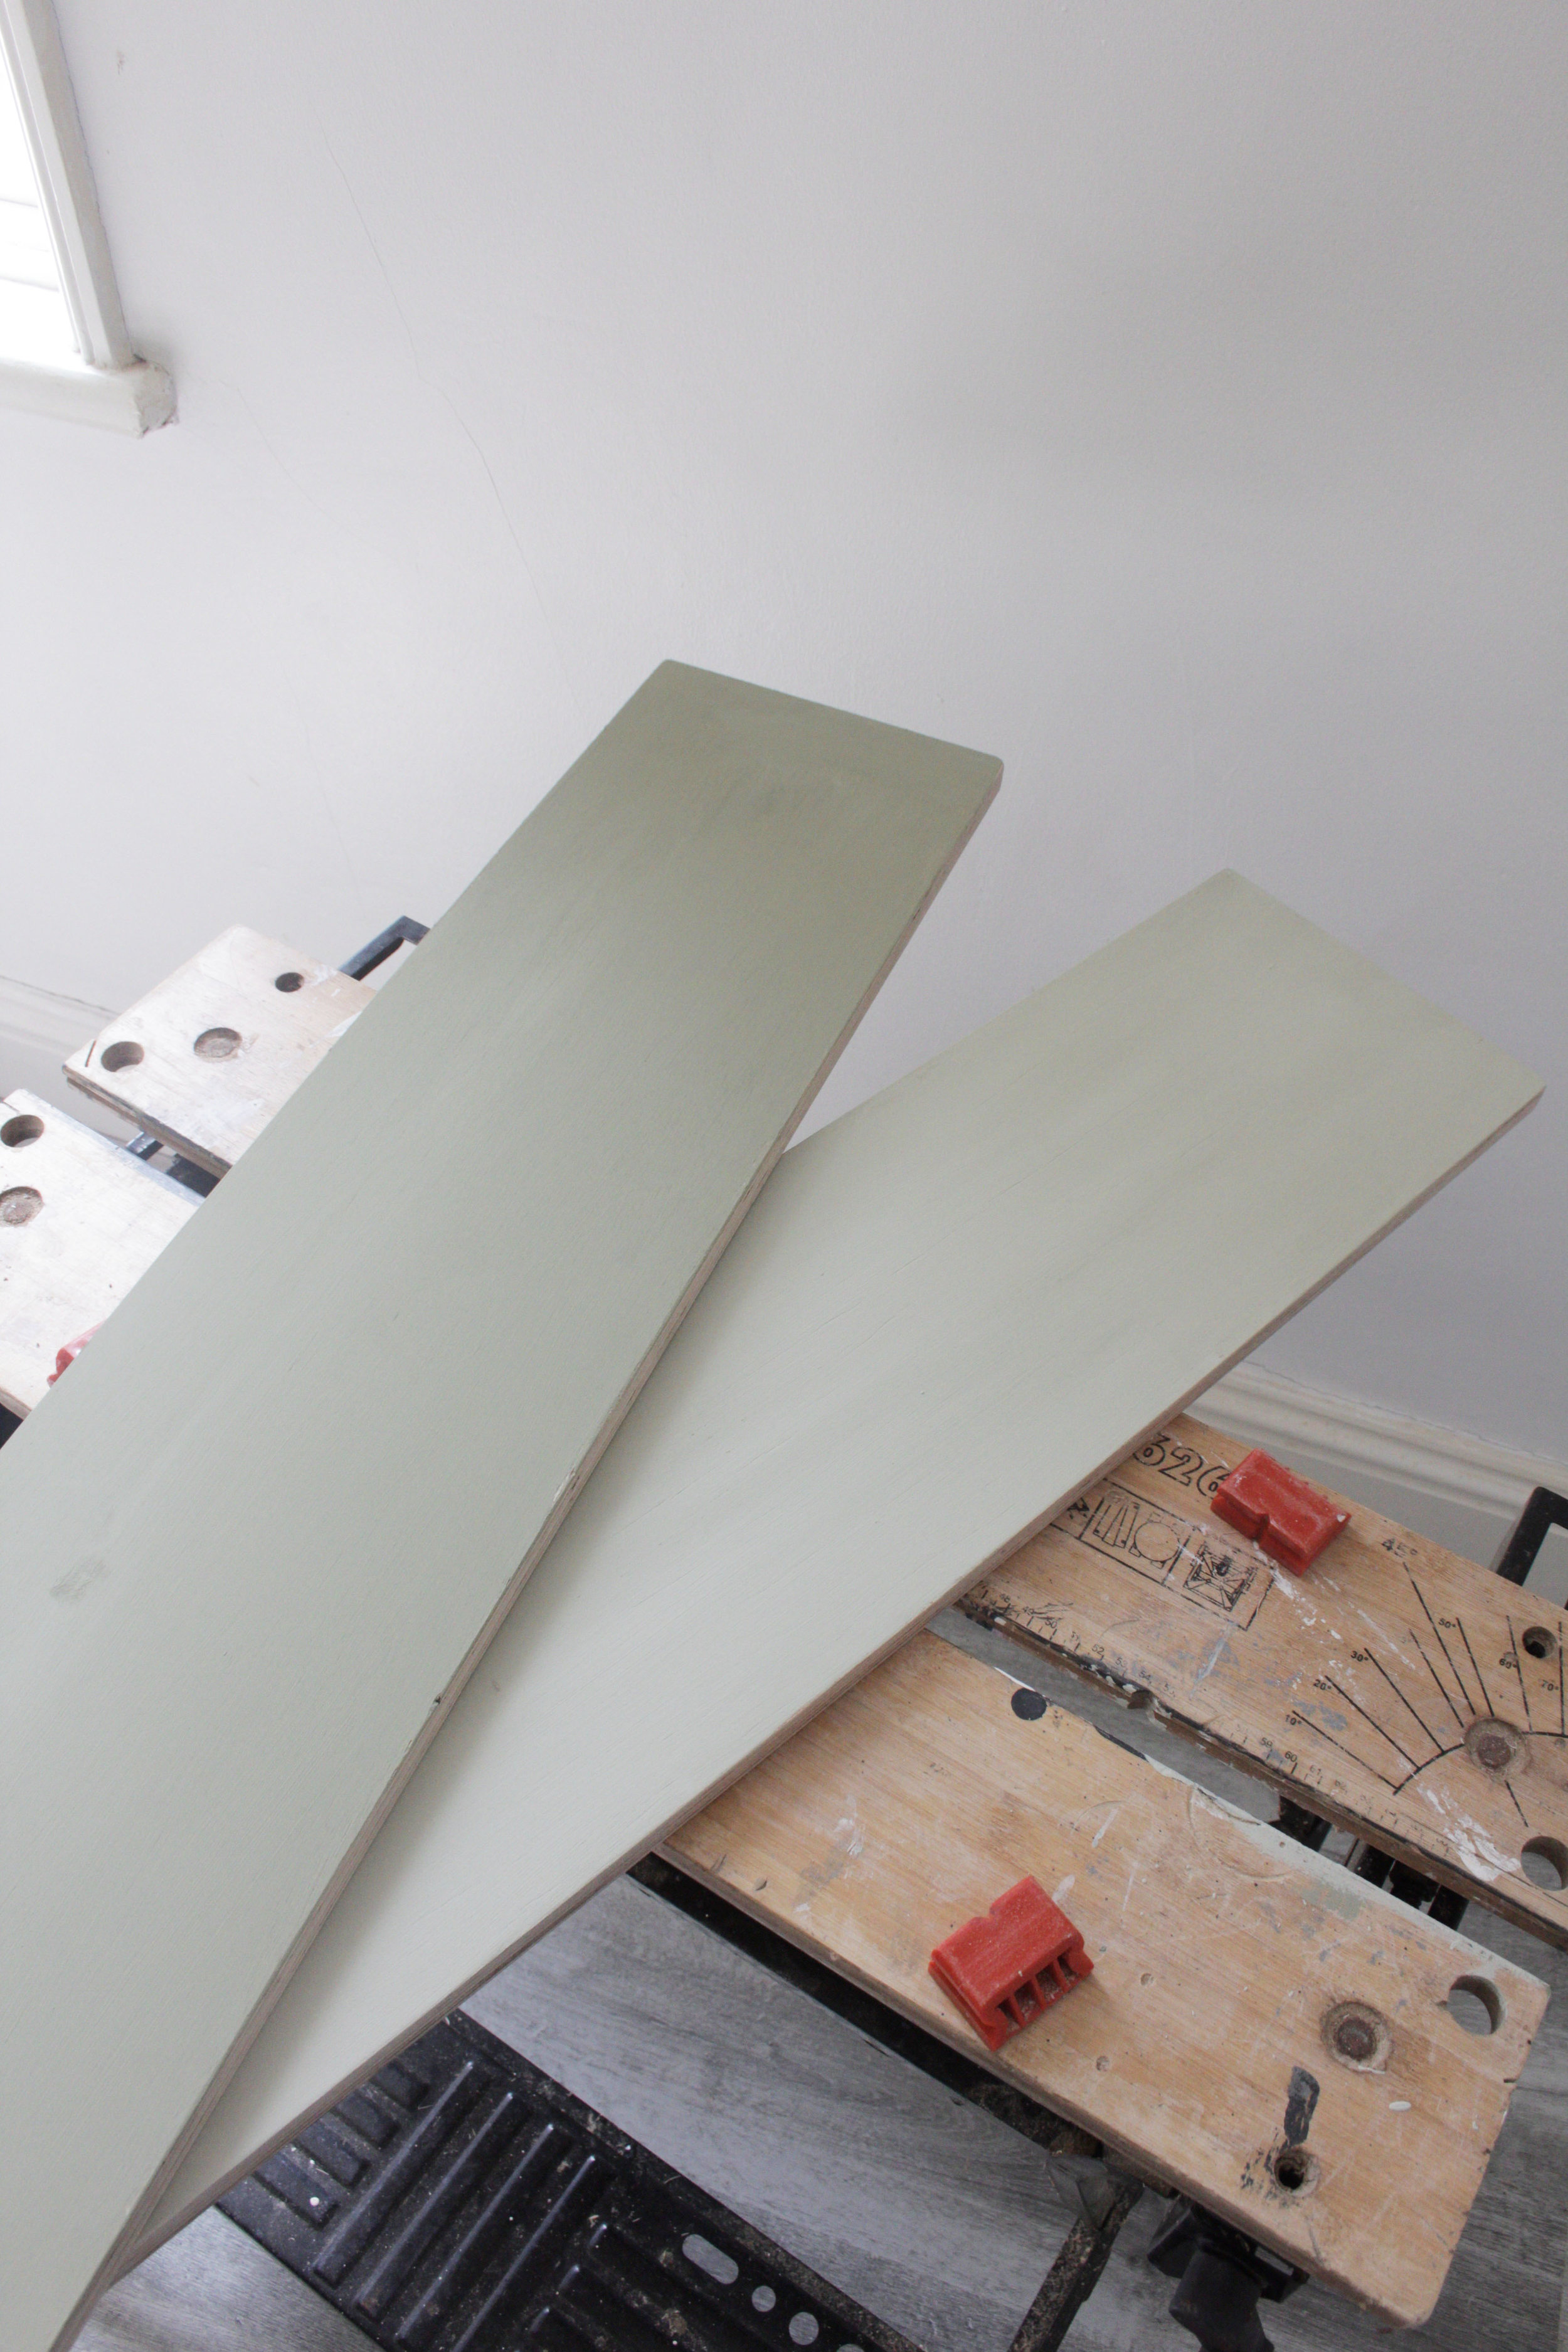
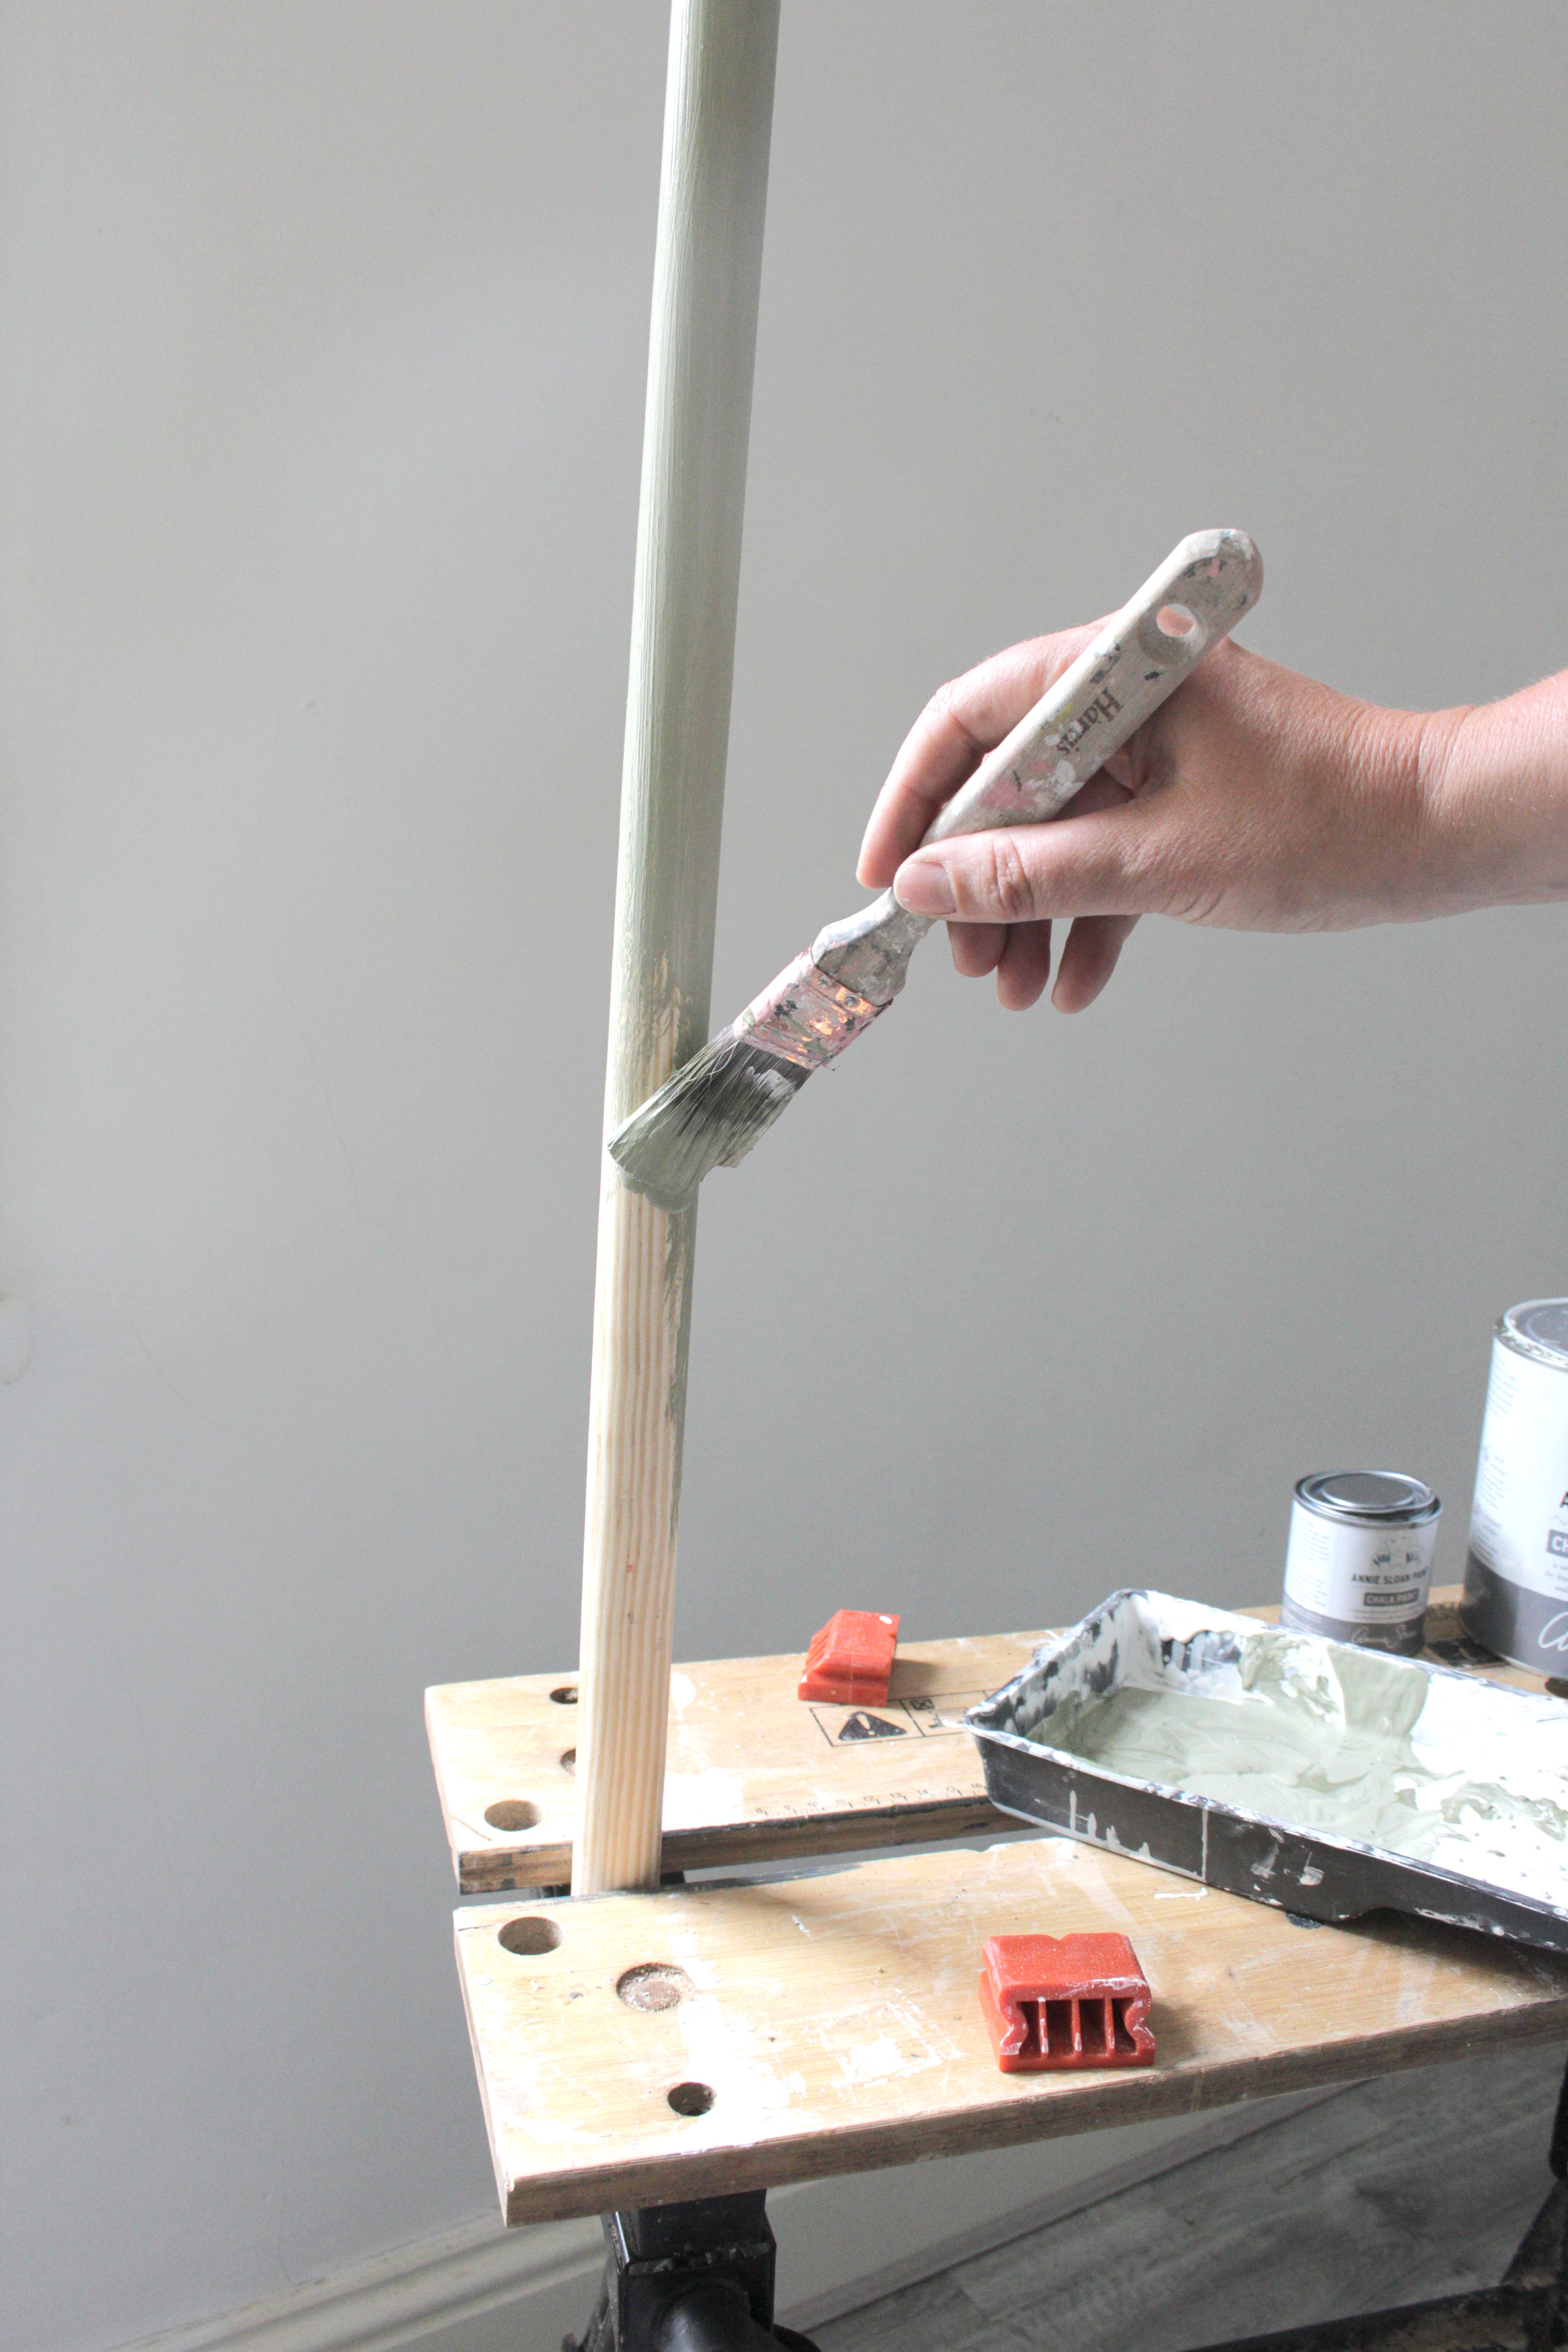
Give the wood a lick of paint, or don’t, you can leave it plain if you like. My ladders came in a distressed white colour way so I painted the rod and planks a soft olive to match. I mixed together Annie Sloan Chalk Paint in Pure and Olive in a 50/50 ratio adding a little bit more white for the smaller plank so it went a little lighter.
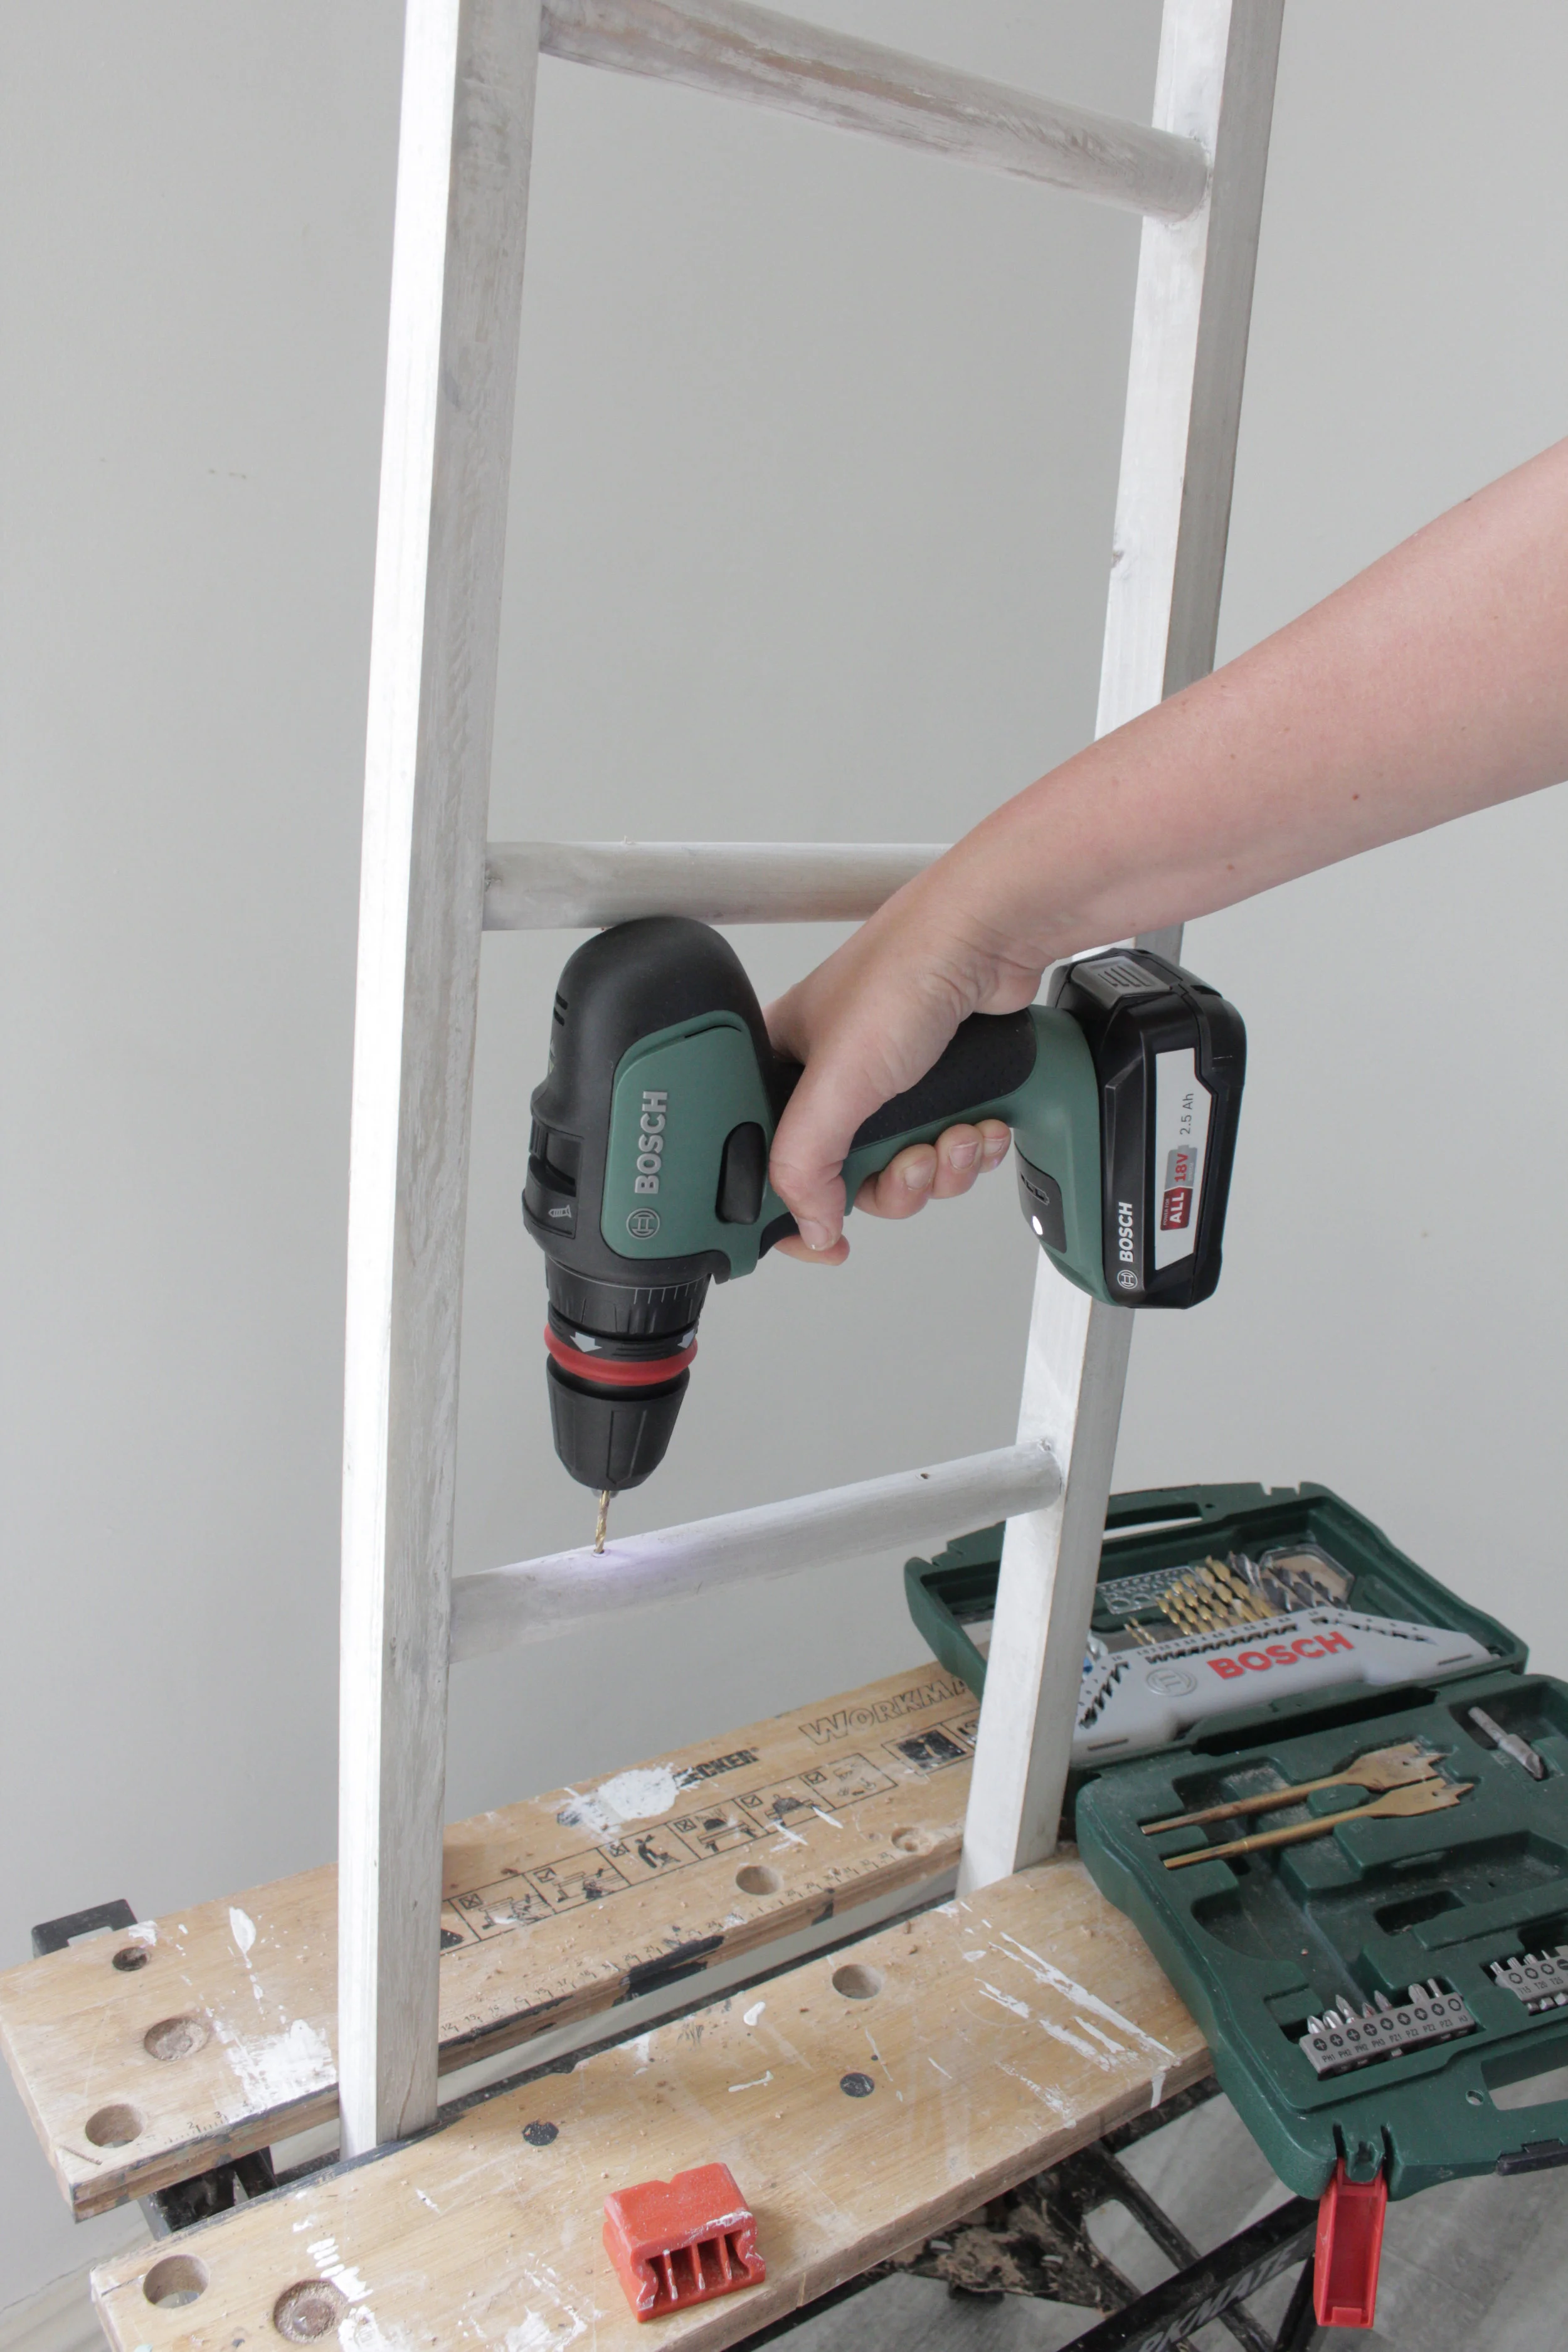
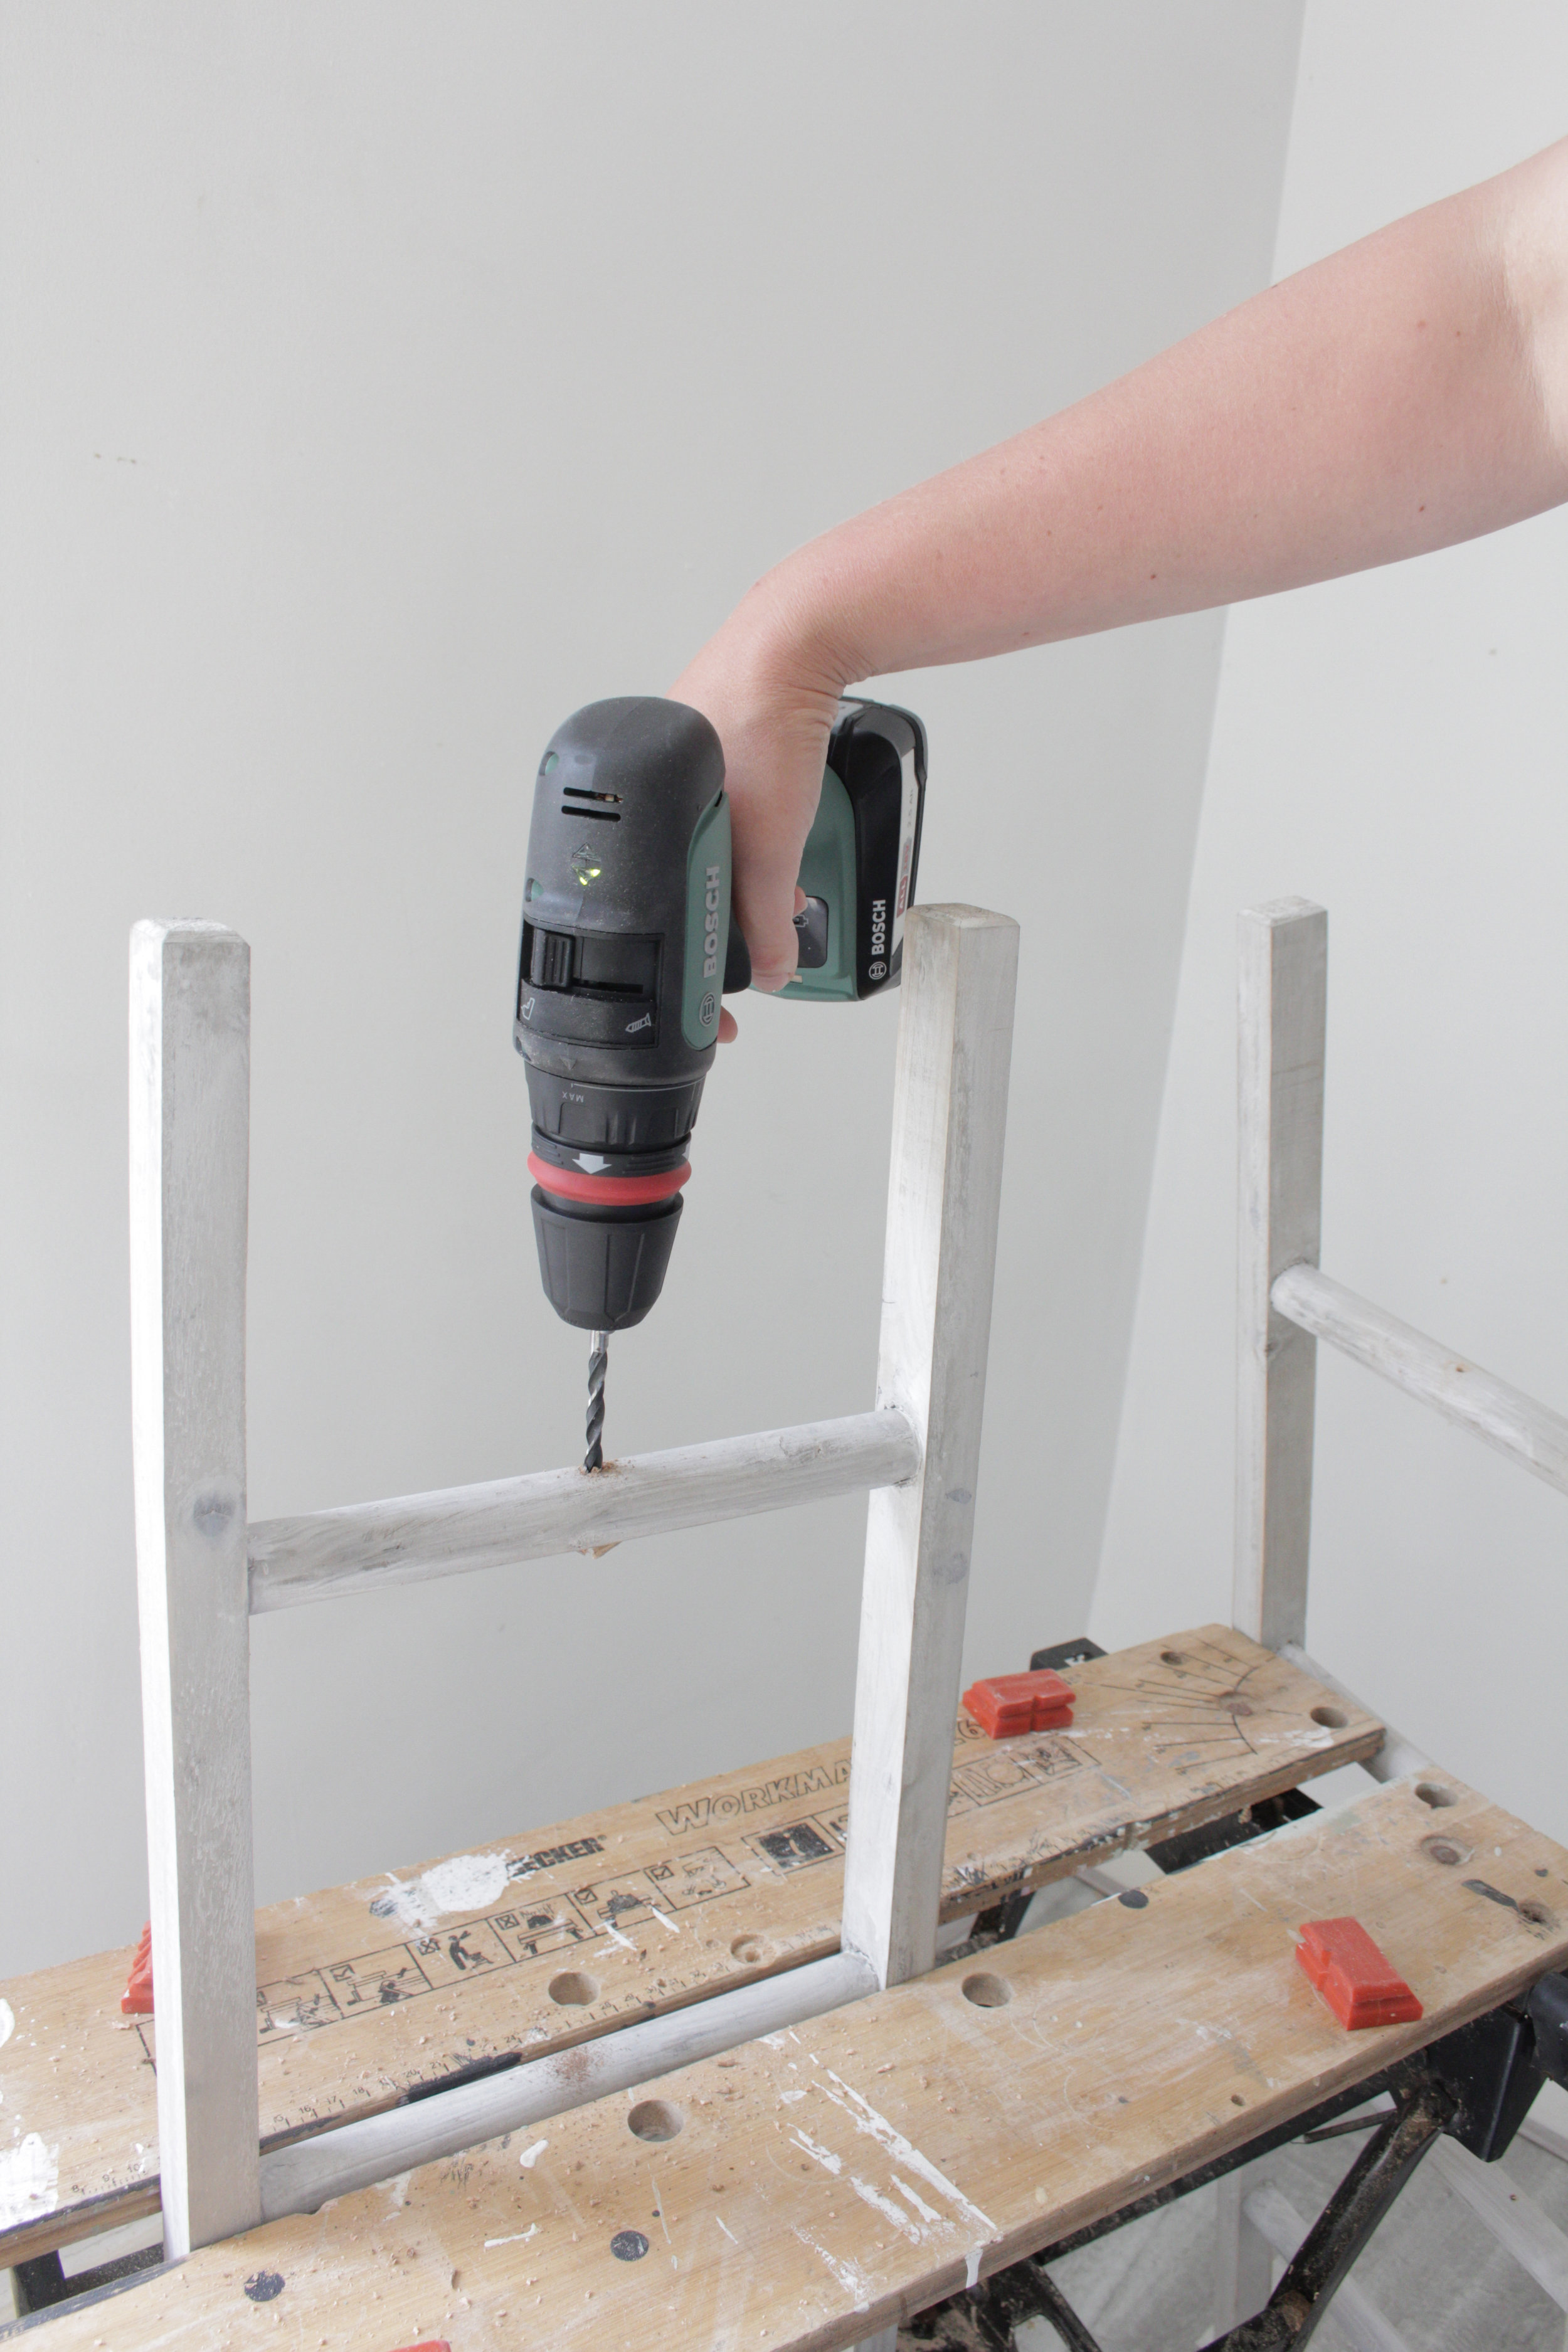
While the paint dries drill two 2 mm pilot holes in the bottom two ladder treads. Mine are on 6 cm from the edges. The holes are so you can attach the planks to the ladder without splitting the wood. The original tutorial attached the planks with screws from the plan to the ladder but I like doing it the other way around so you don’t have any screw holes in the planks.
Also drill a hole through the middle of the top thread. Drill a 2 mm hole first and then make it bigger to fit the size of your bolt, for me that is 6 mm. Sand all the drill holes smooth with your palm sander.

When the paint is dry clamp the bottom plank in place giving the plank a 5 cm overhang from the ladder. Screw in place from under the ladders thread. Do the same with the smaller plank.
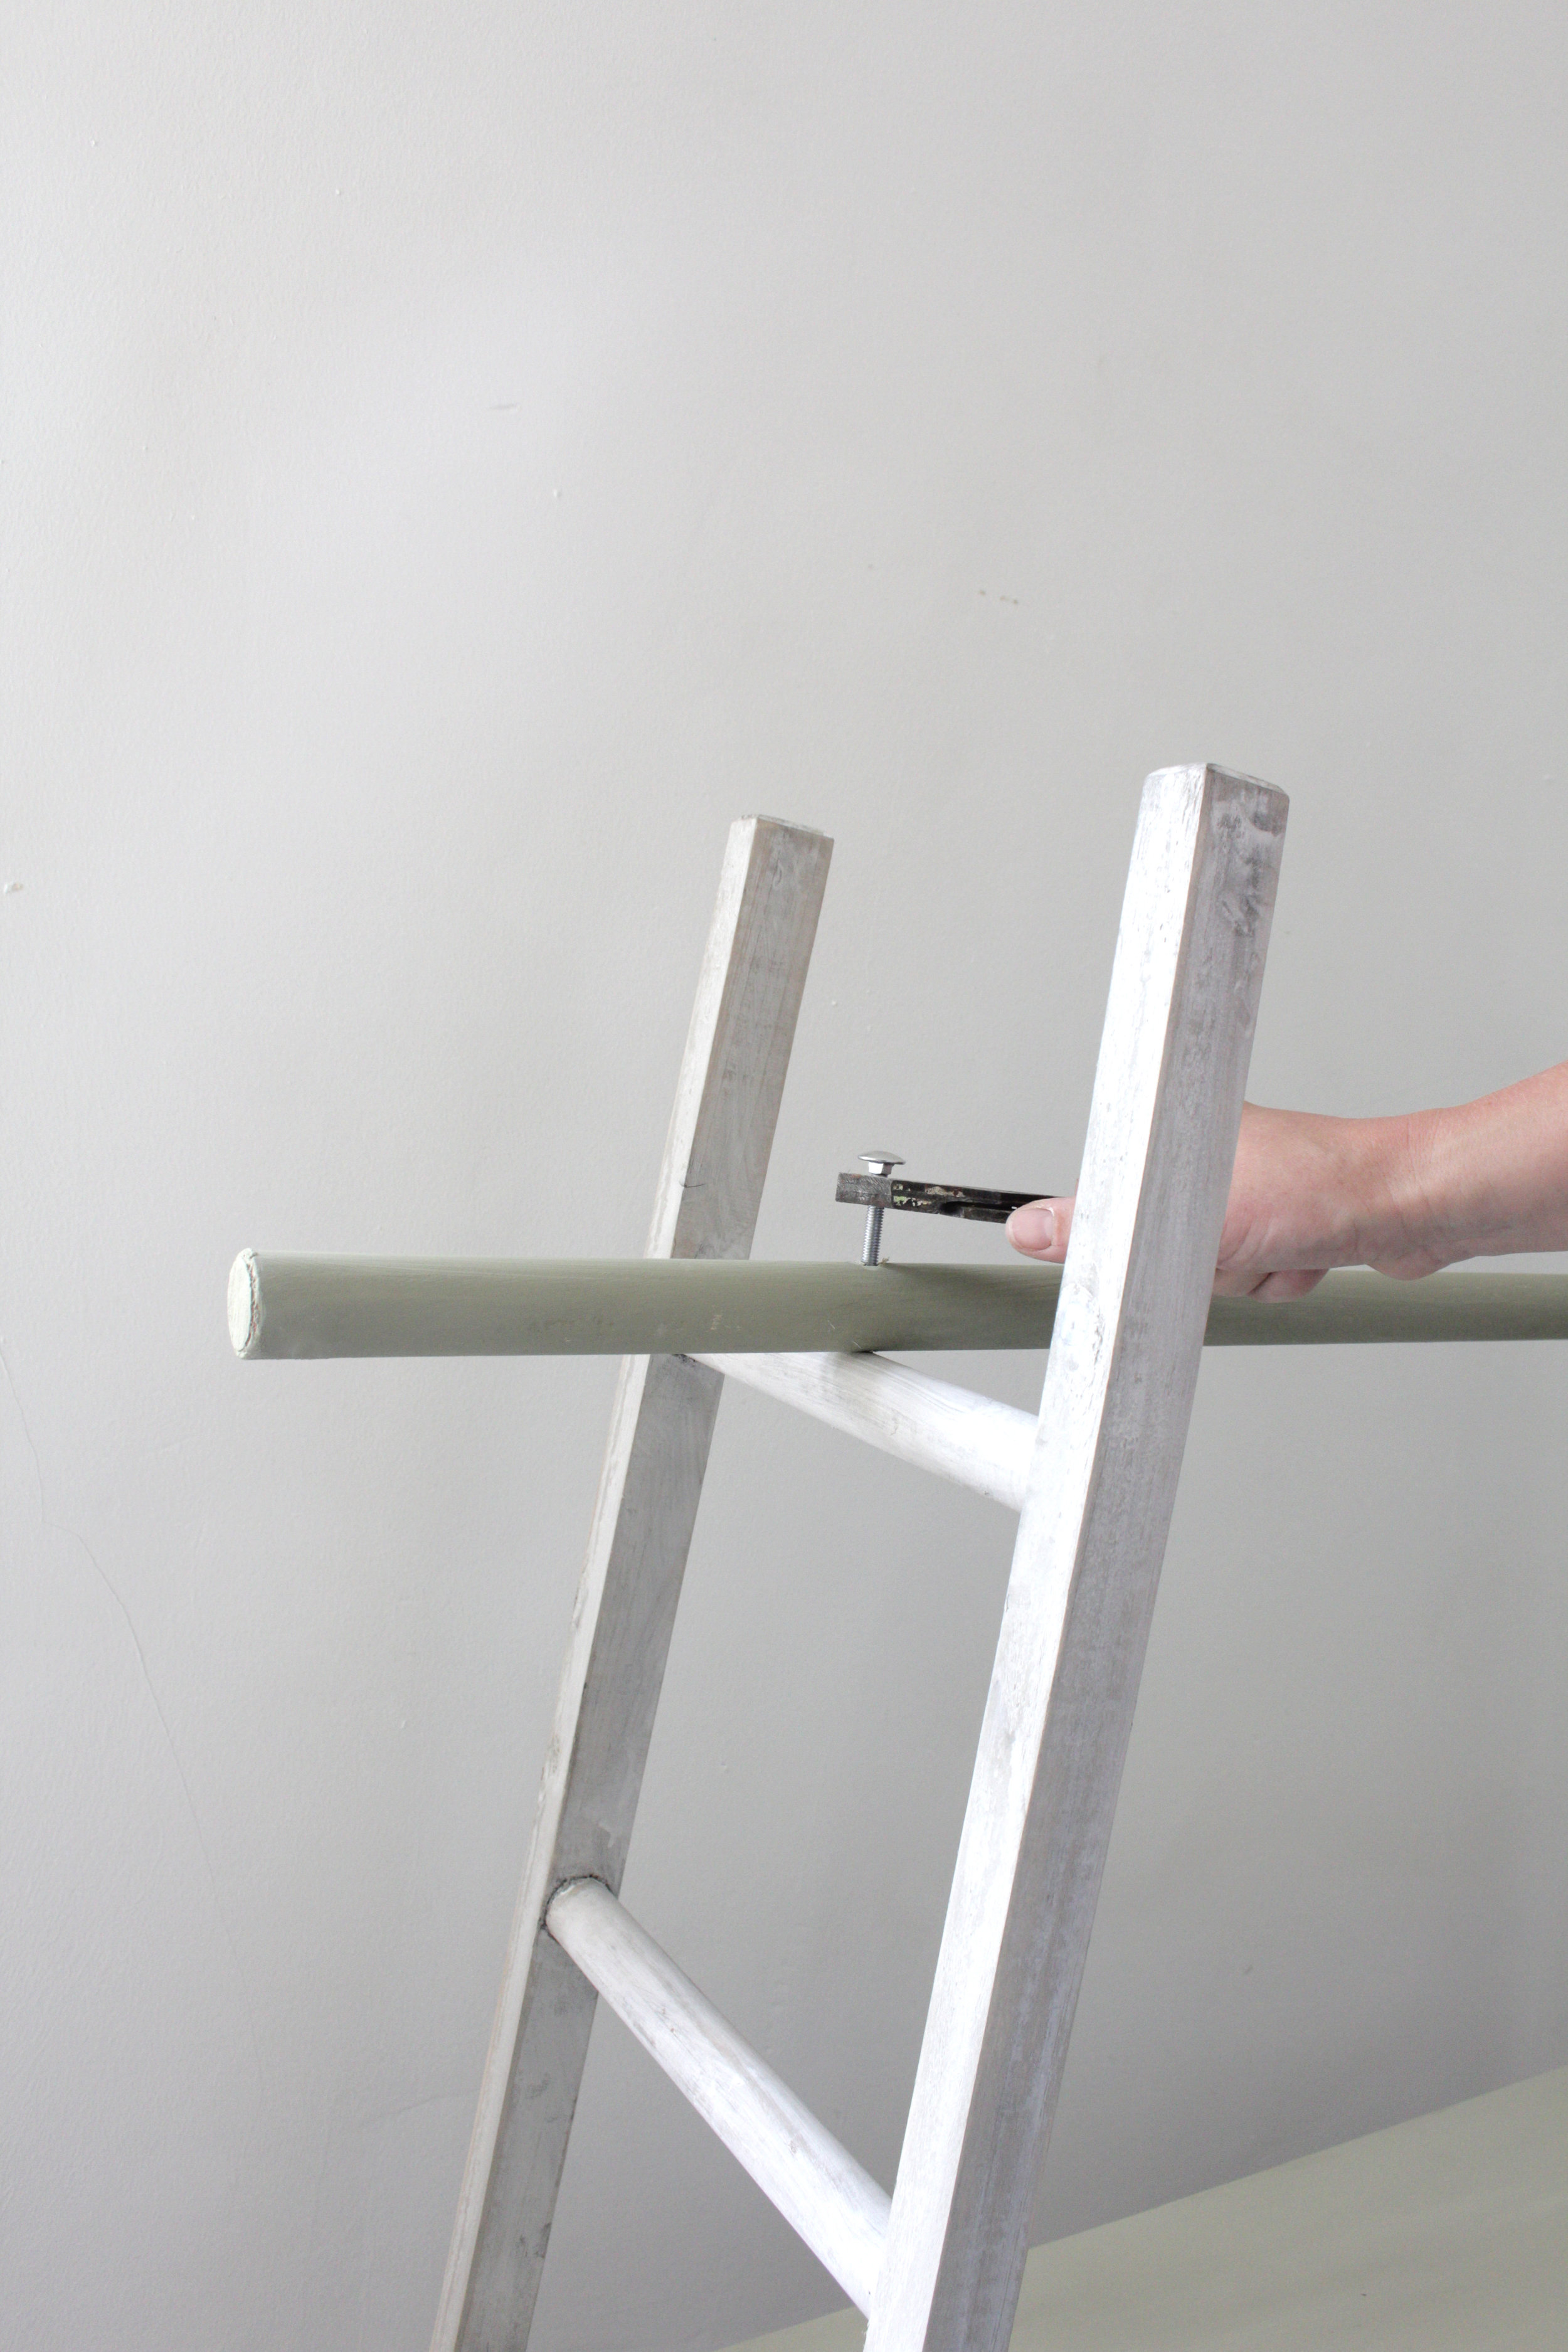
Position your rod in place and mark where it matches the top thread. Drill a matching 6 mm hole through your rod and insert the bolt to fix it to the ladder. Twist on the nut and tighten.
The original tutorial fastens the rod in a slightly different way with a piece of perforated tape. I thought the sharp edges might not be very child friendly so used this bolt and nut fastening option instead. In and ideal world my bolts would be a bit shorter but these were the only ones I had, I might cut them to size with a metal saw to make them flush with the nut.
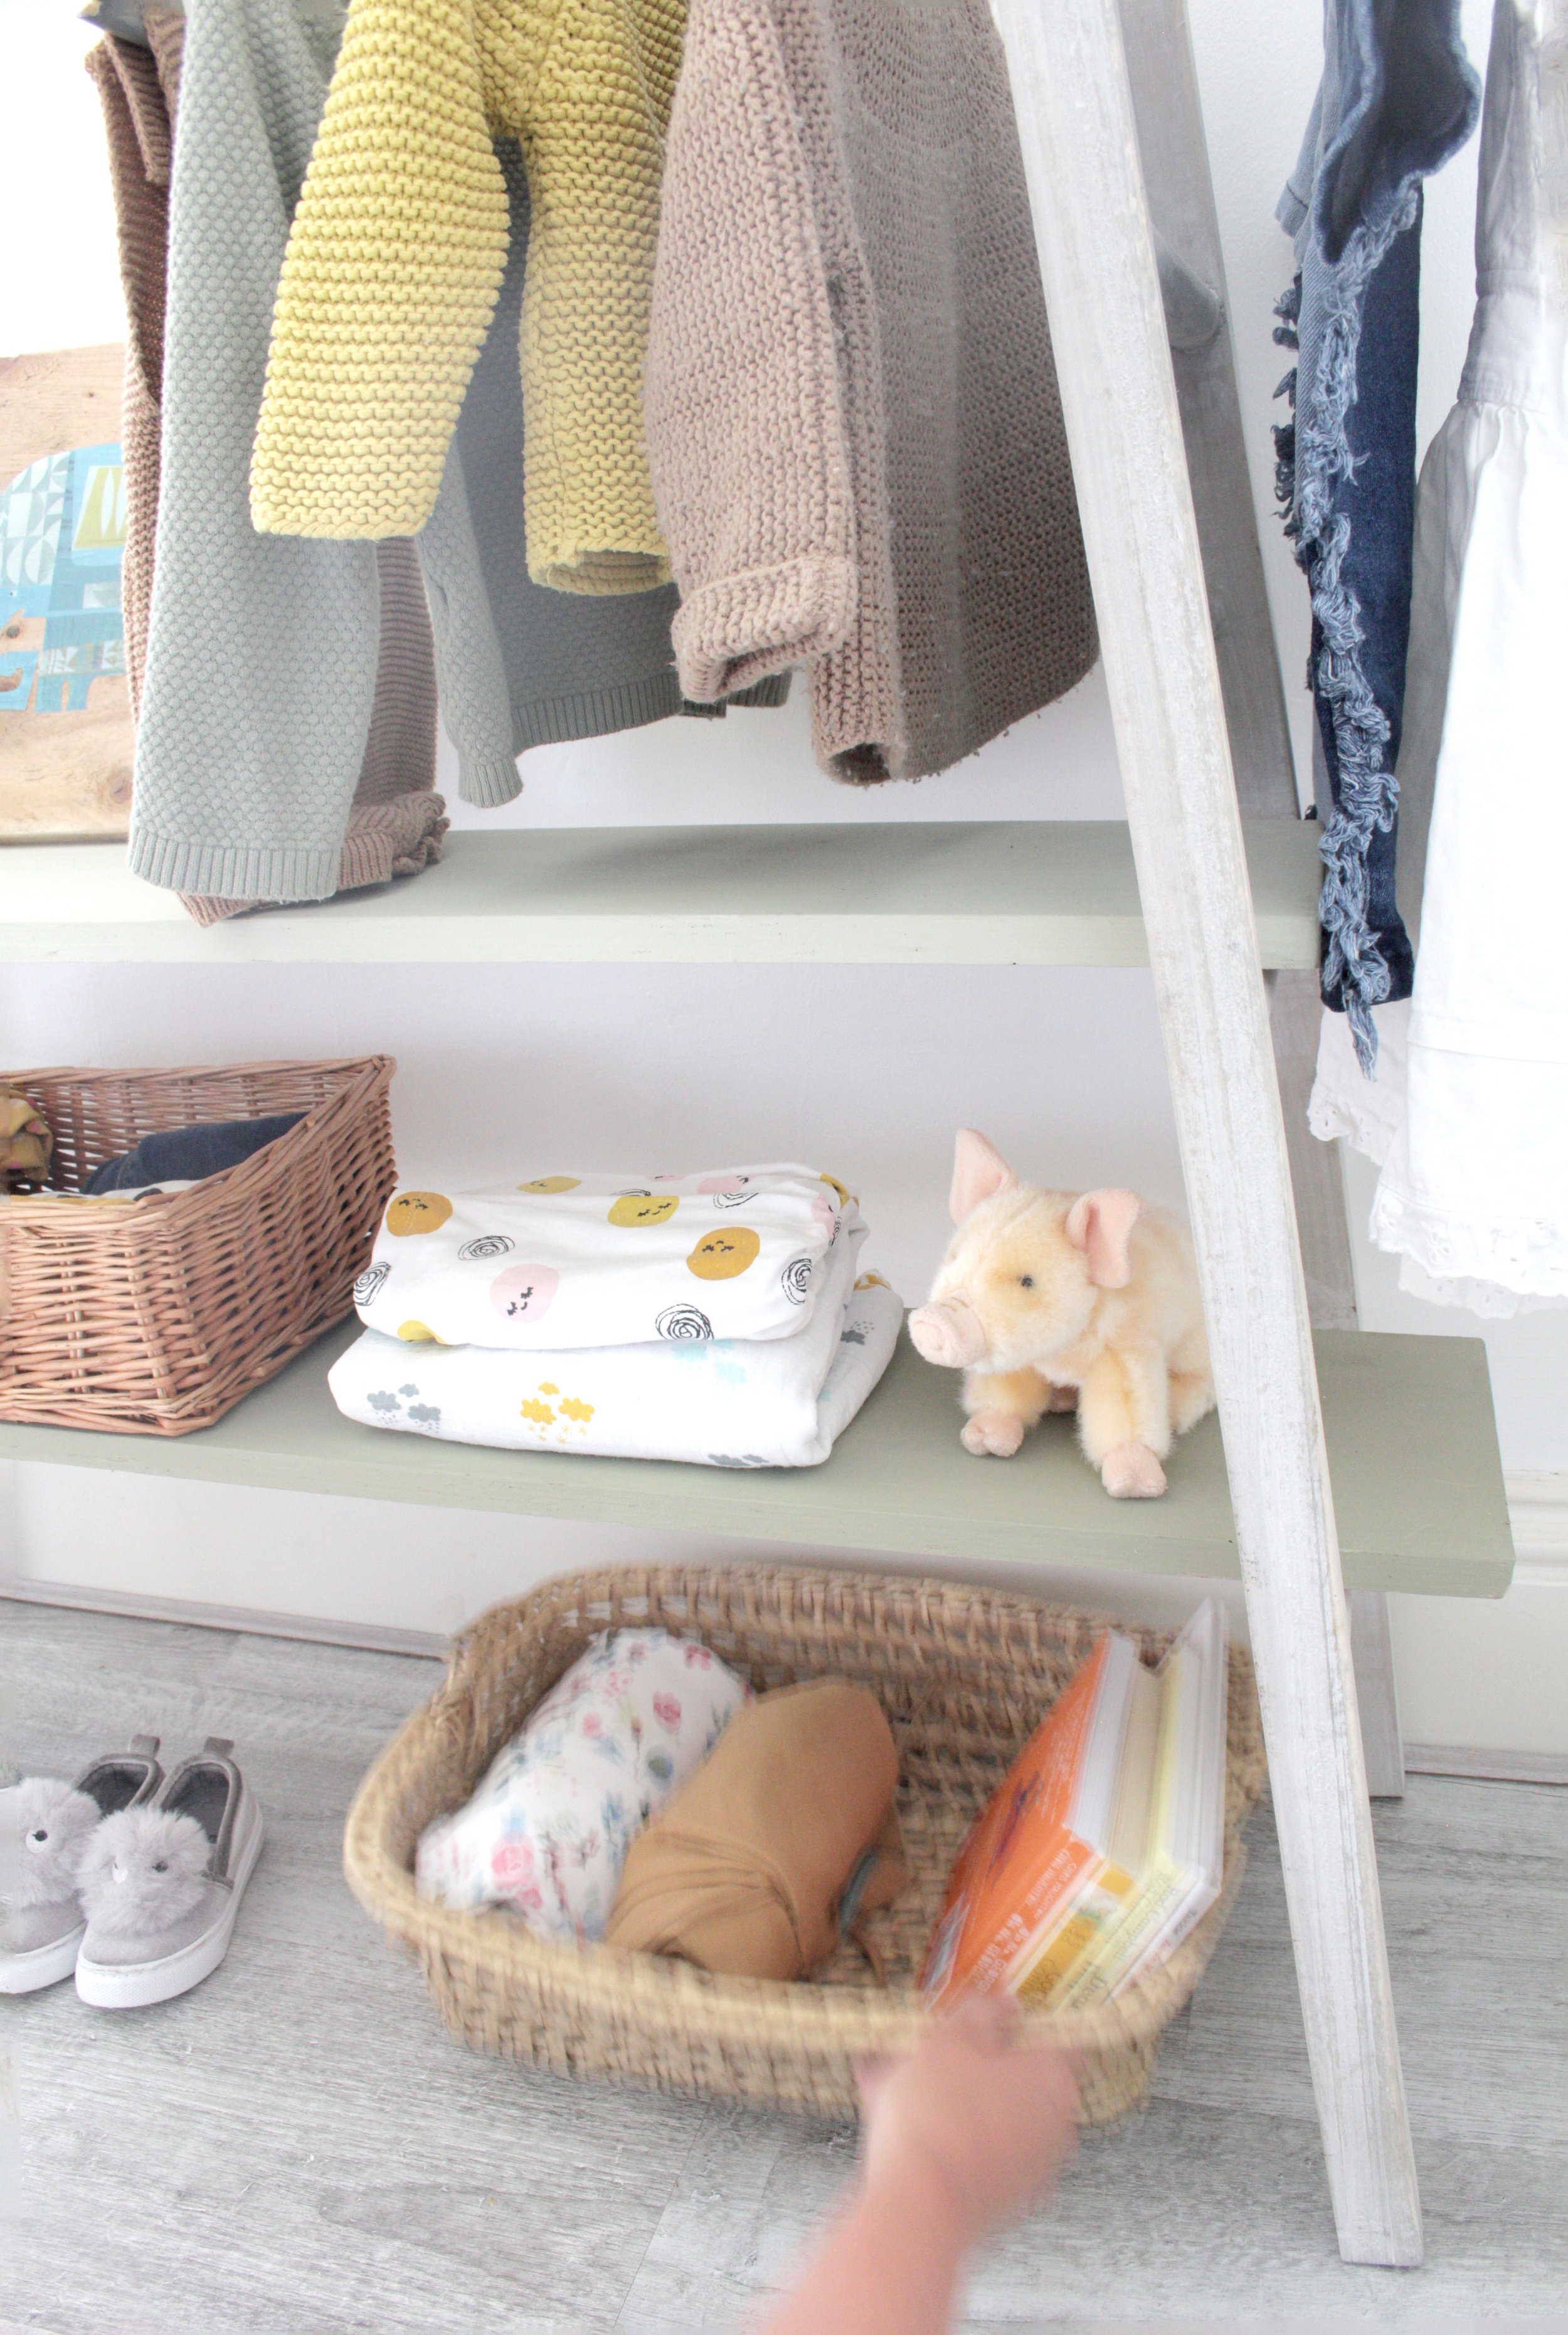
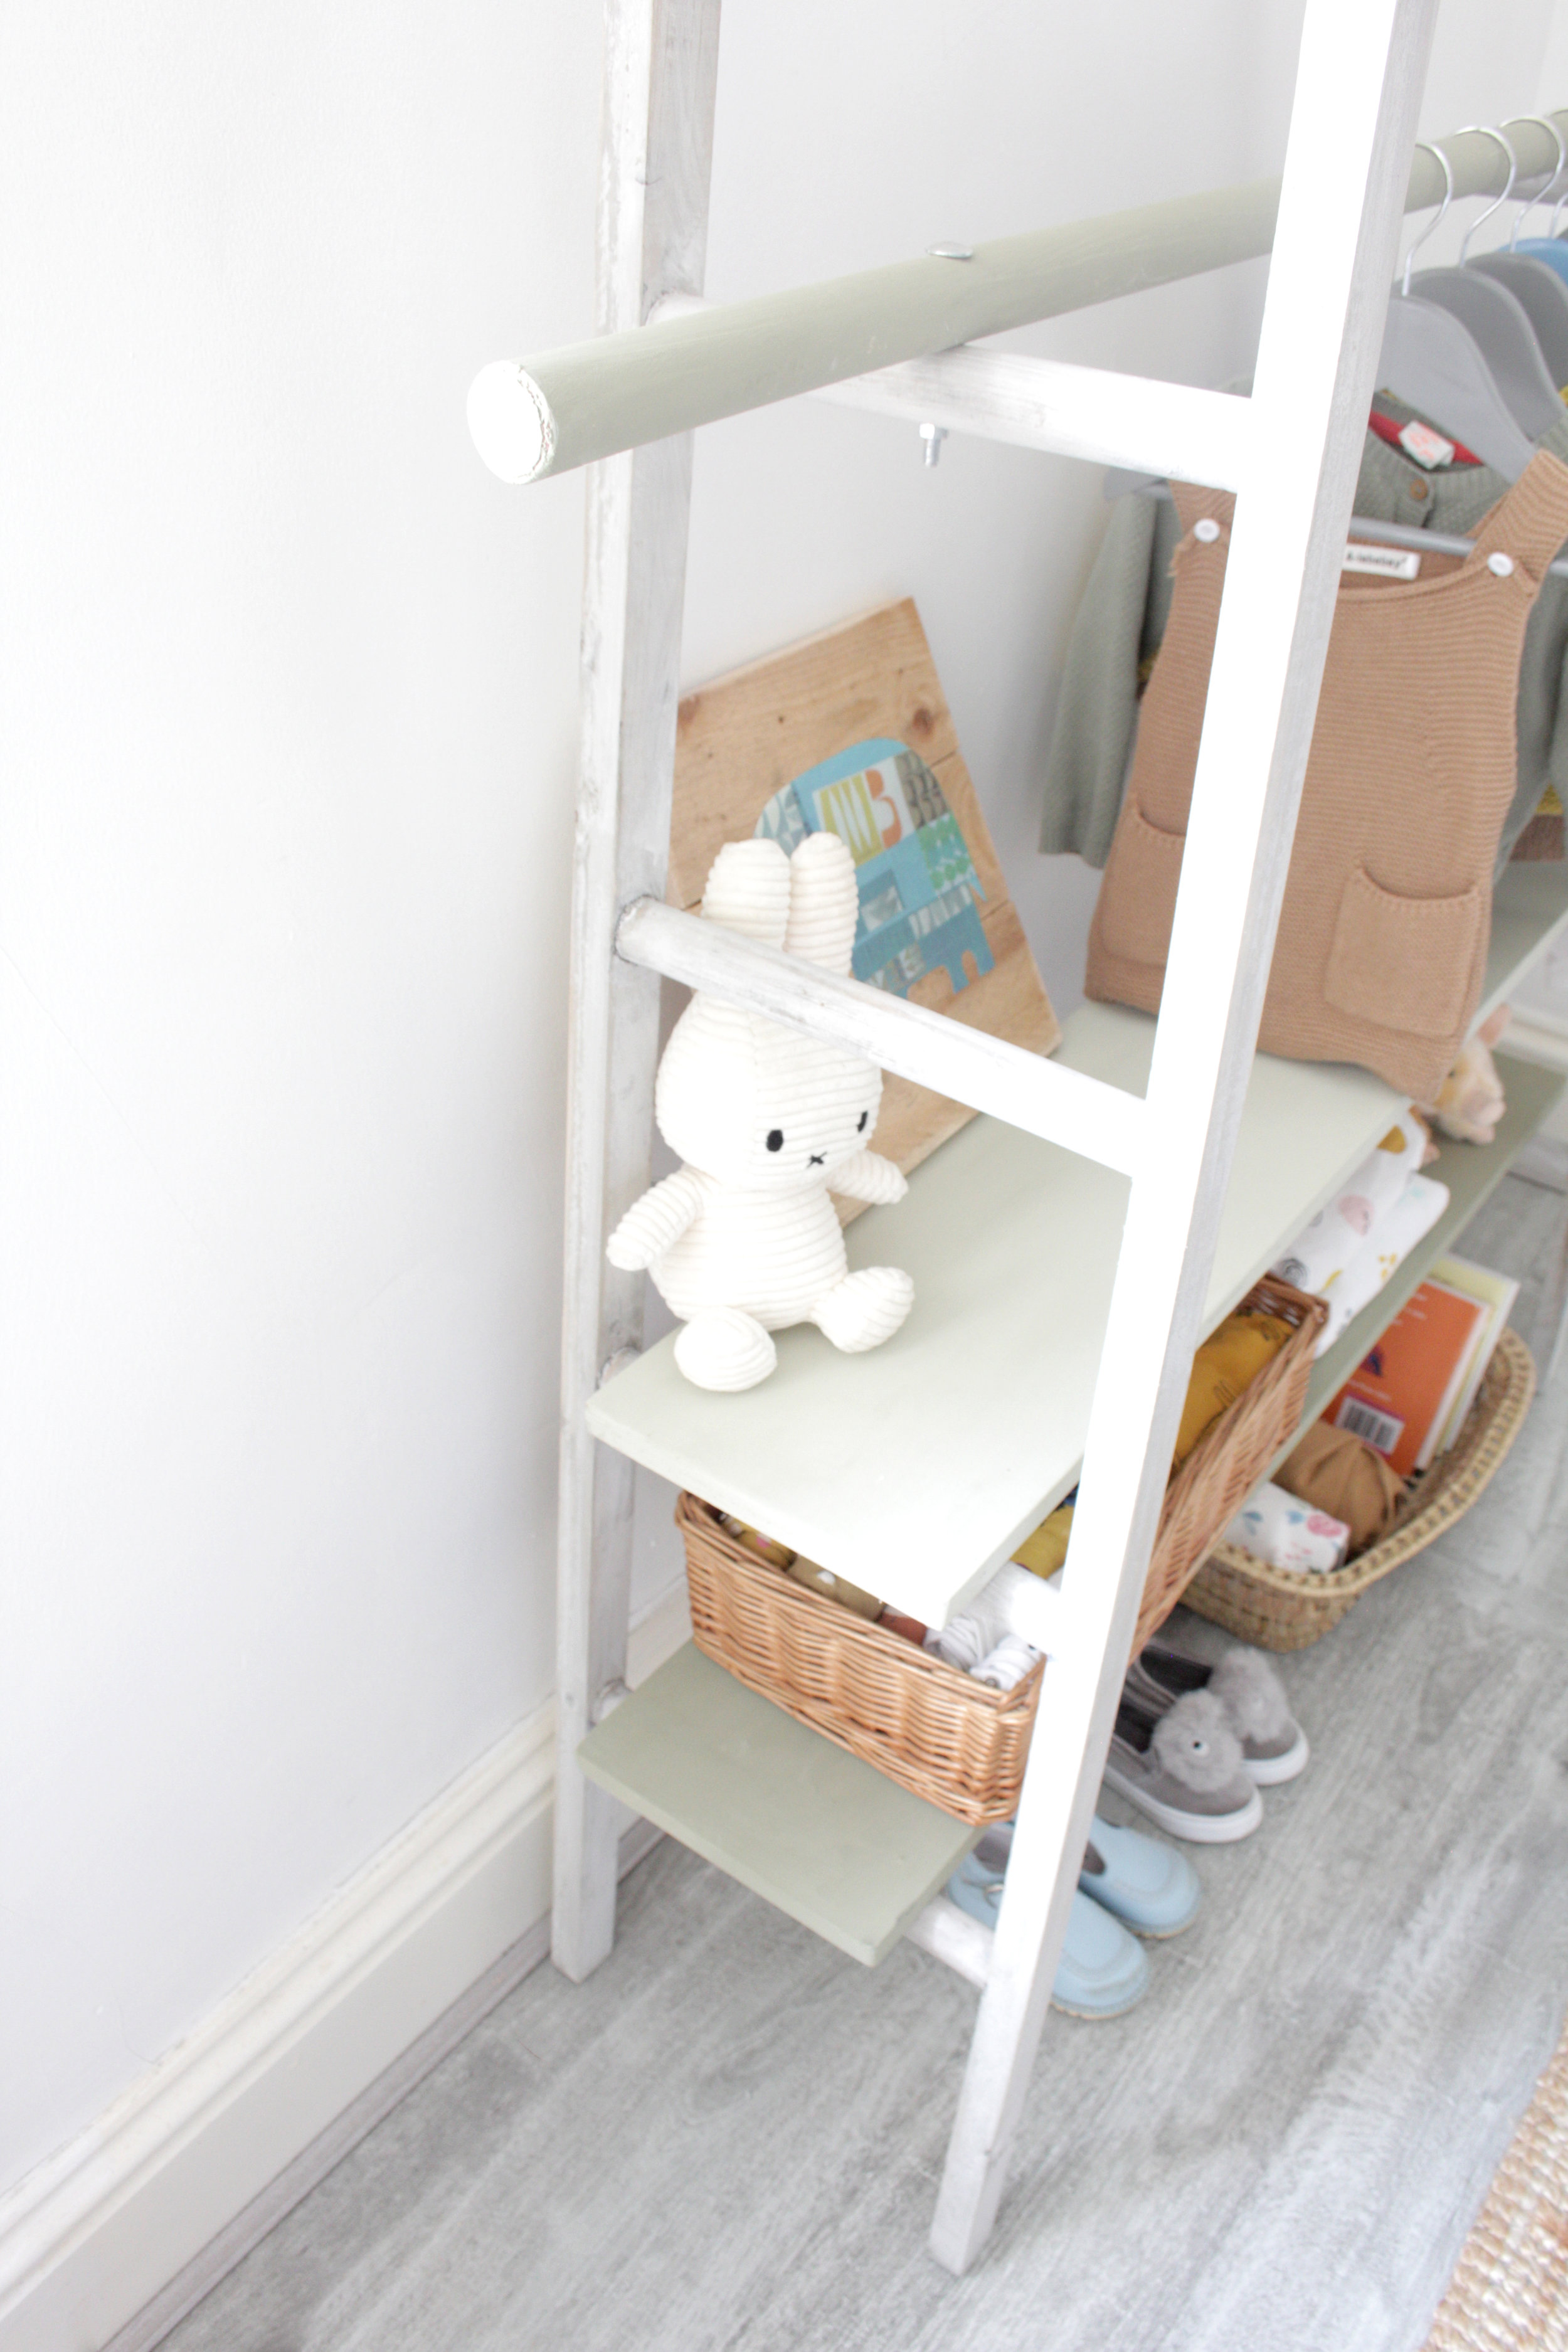
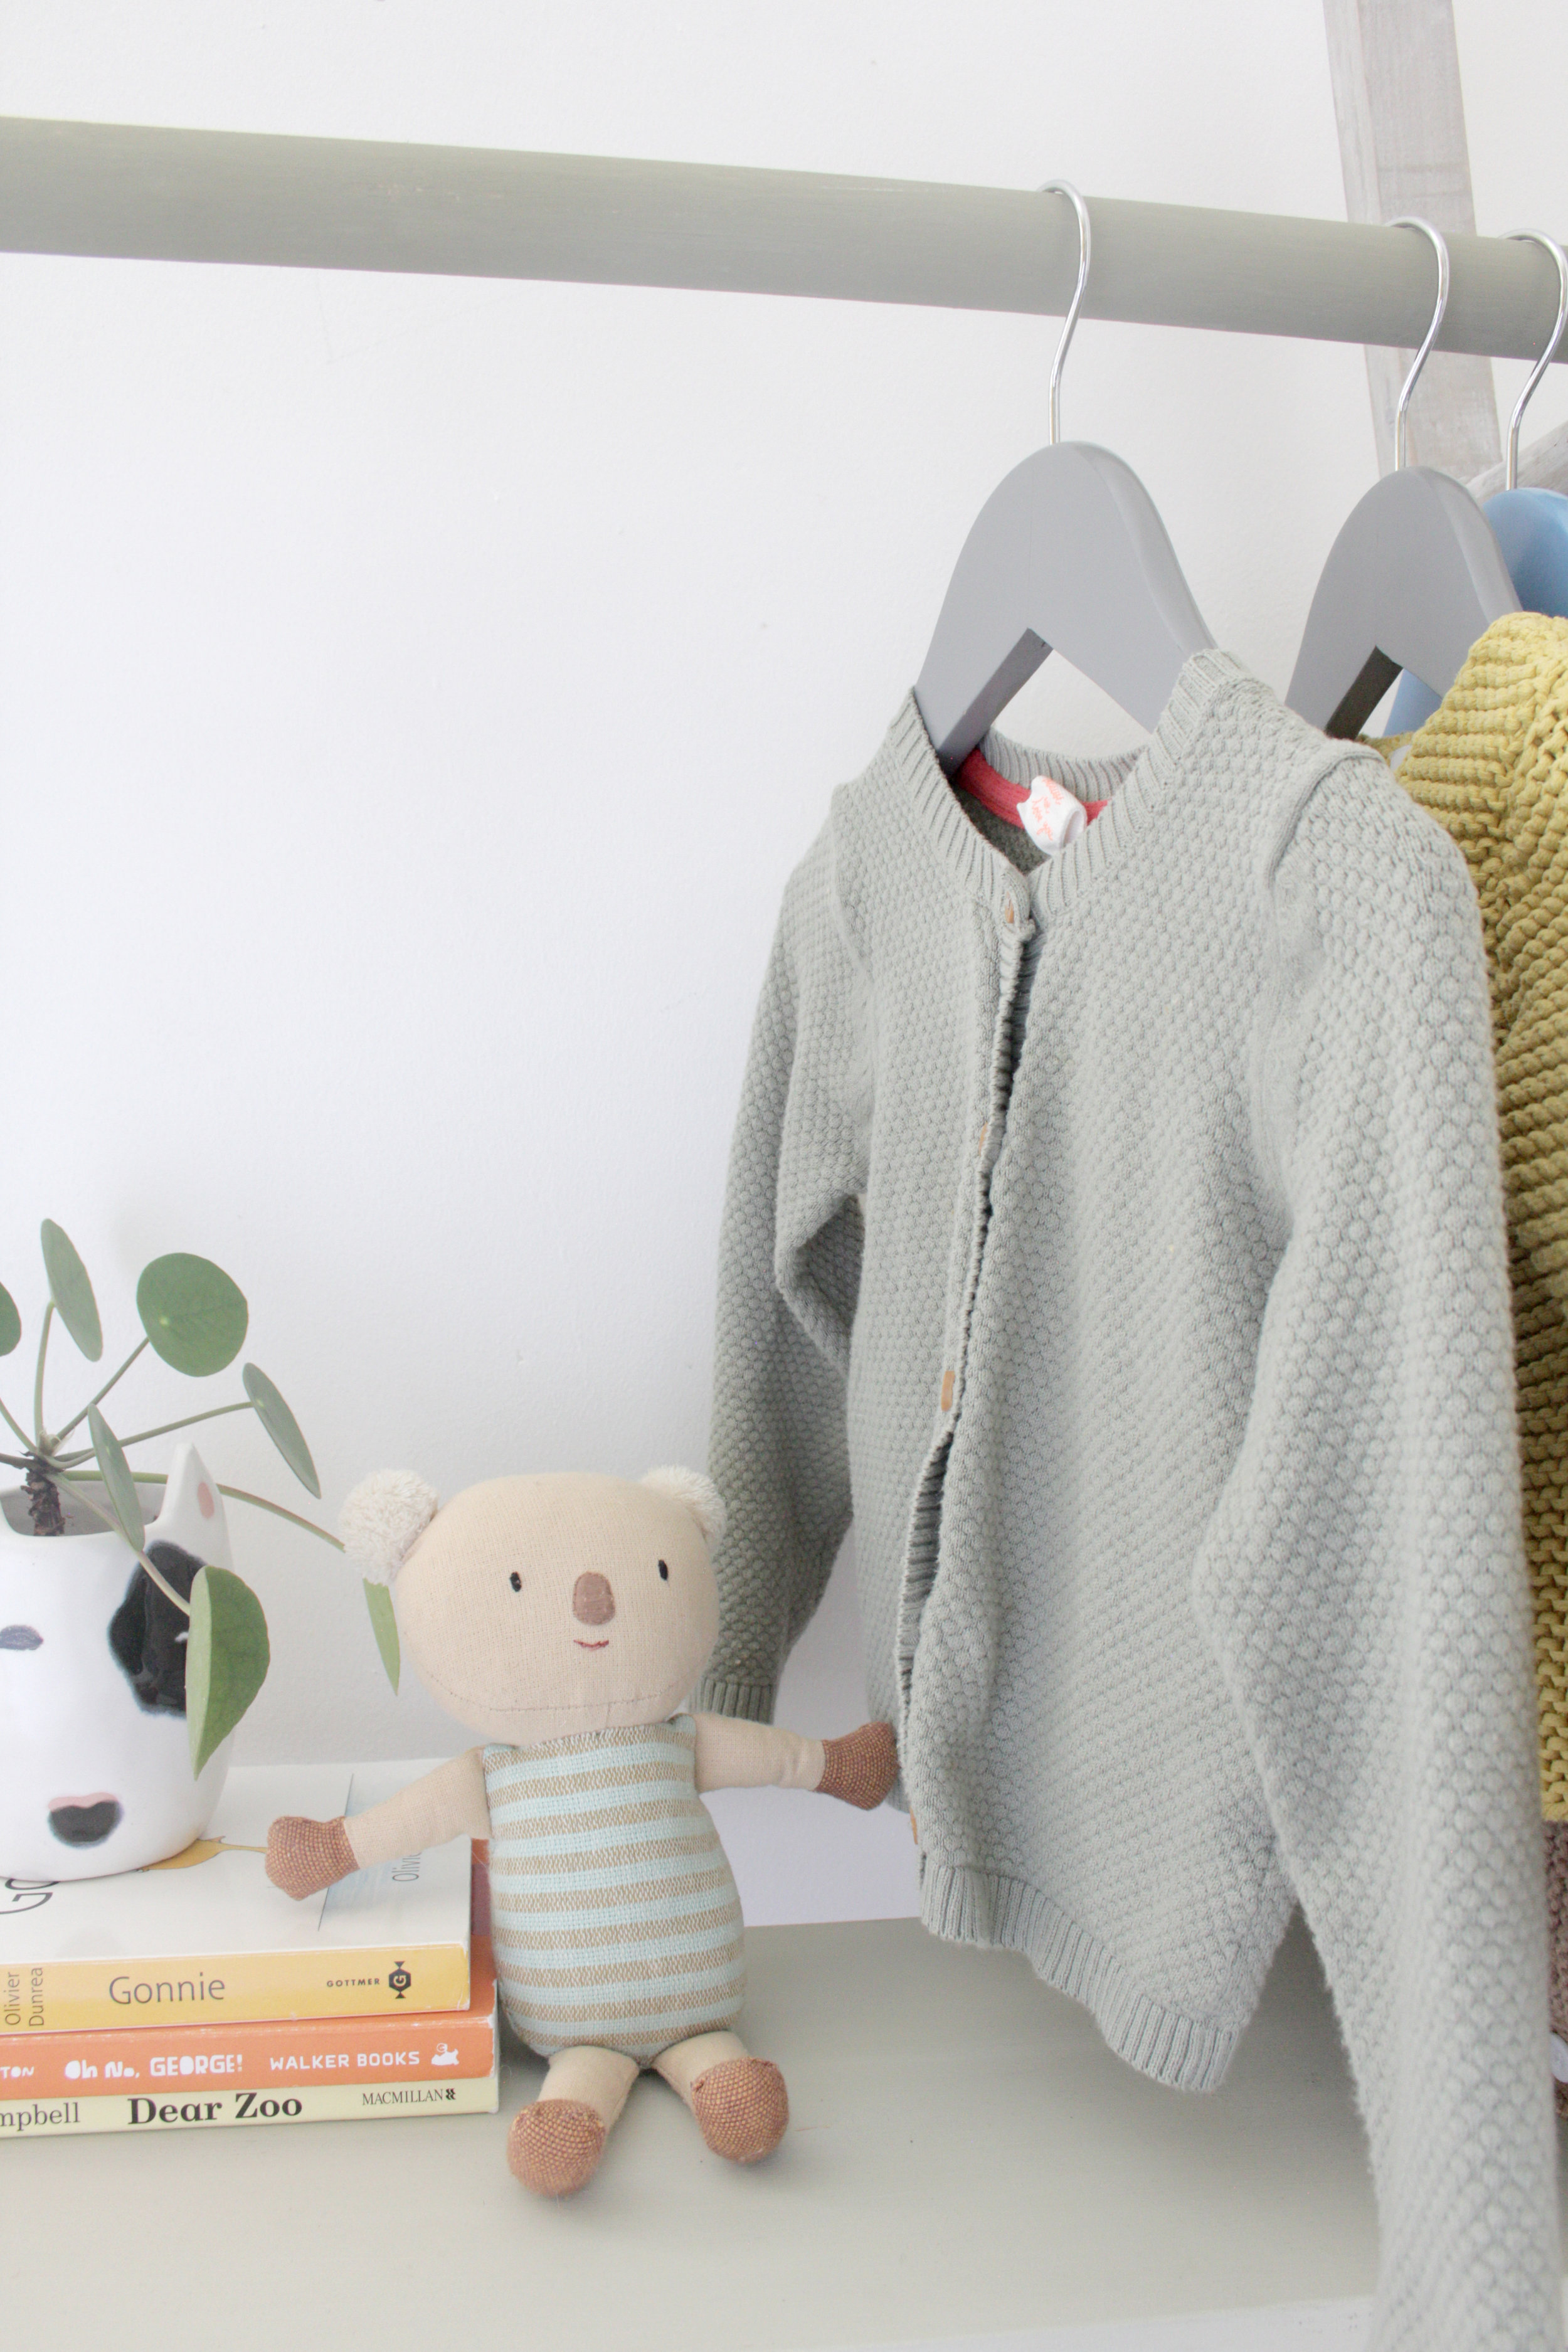
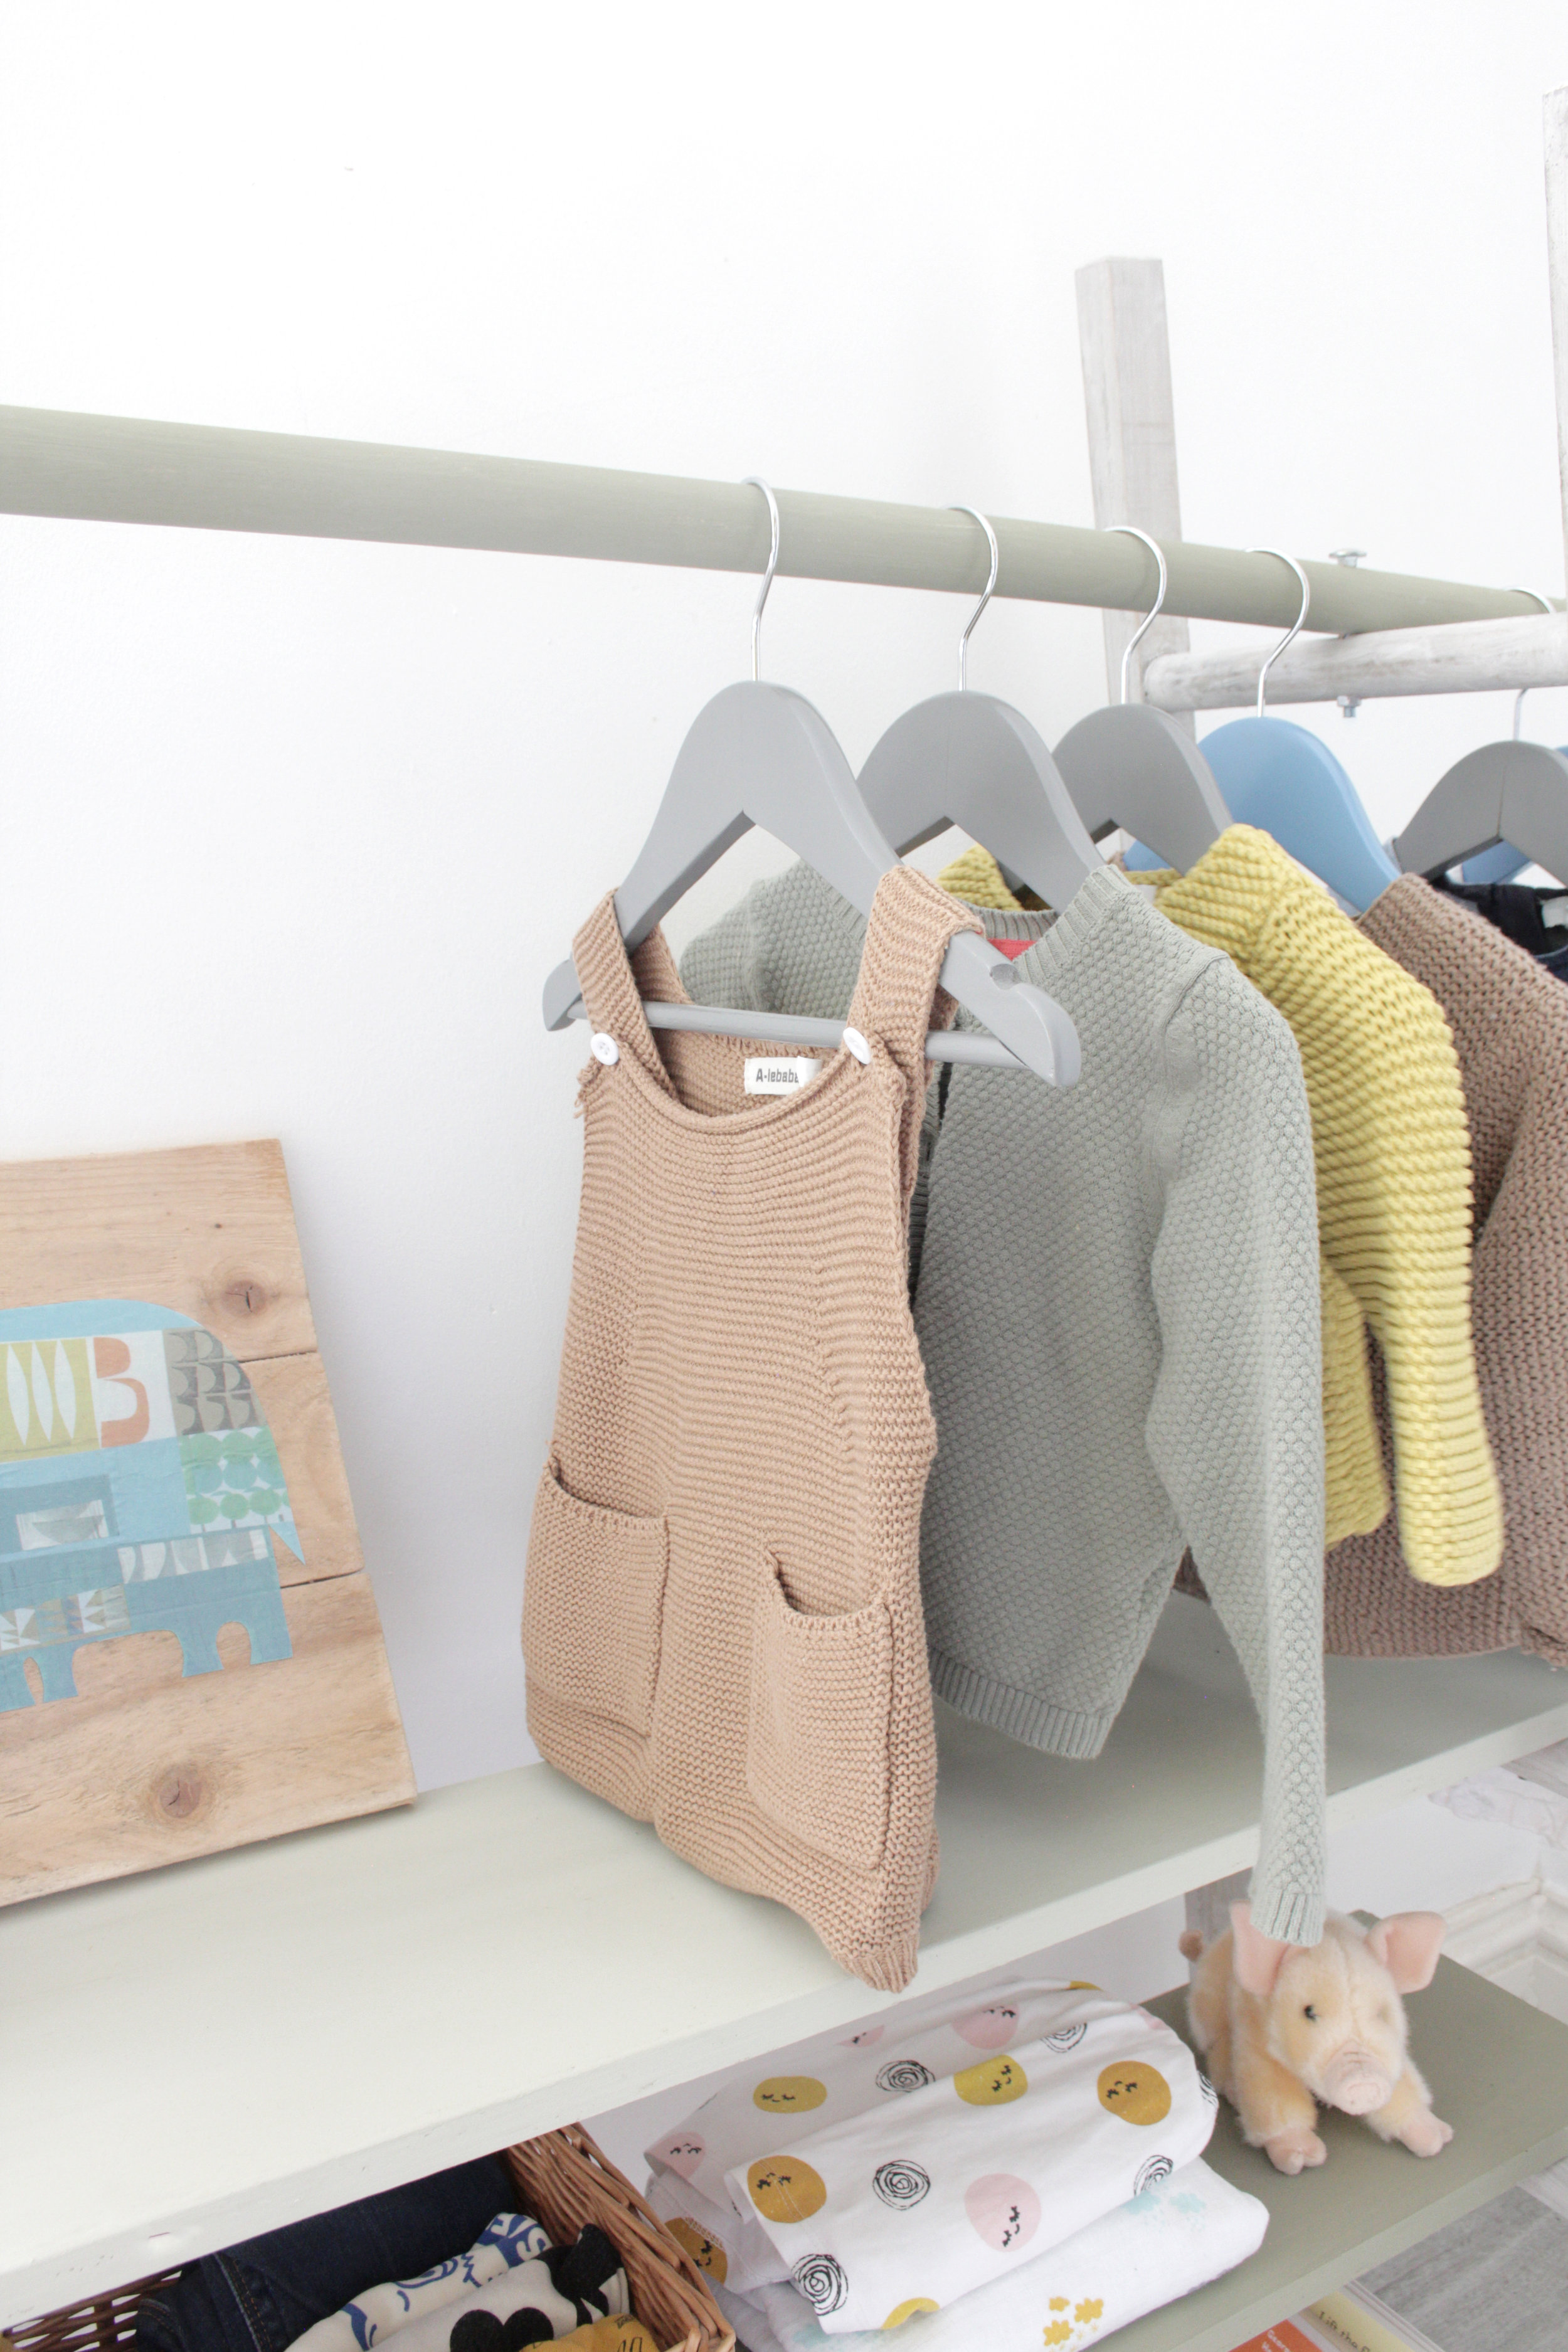
I think this ladder hack wardrobe will look great in Kiki’s toddler room! The bigger the ladder you use the taller your wardrobe. The distance between the rod and the top shelf is perfect for her small clothes but for an older child you might want to use a slightly bigger ladder or leave the top shelf out.
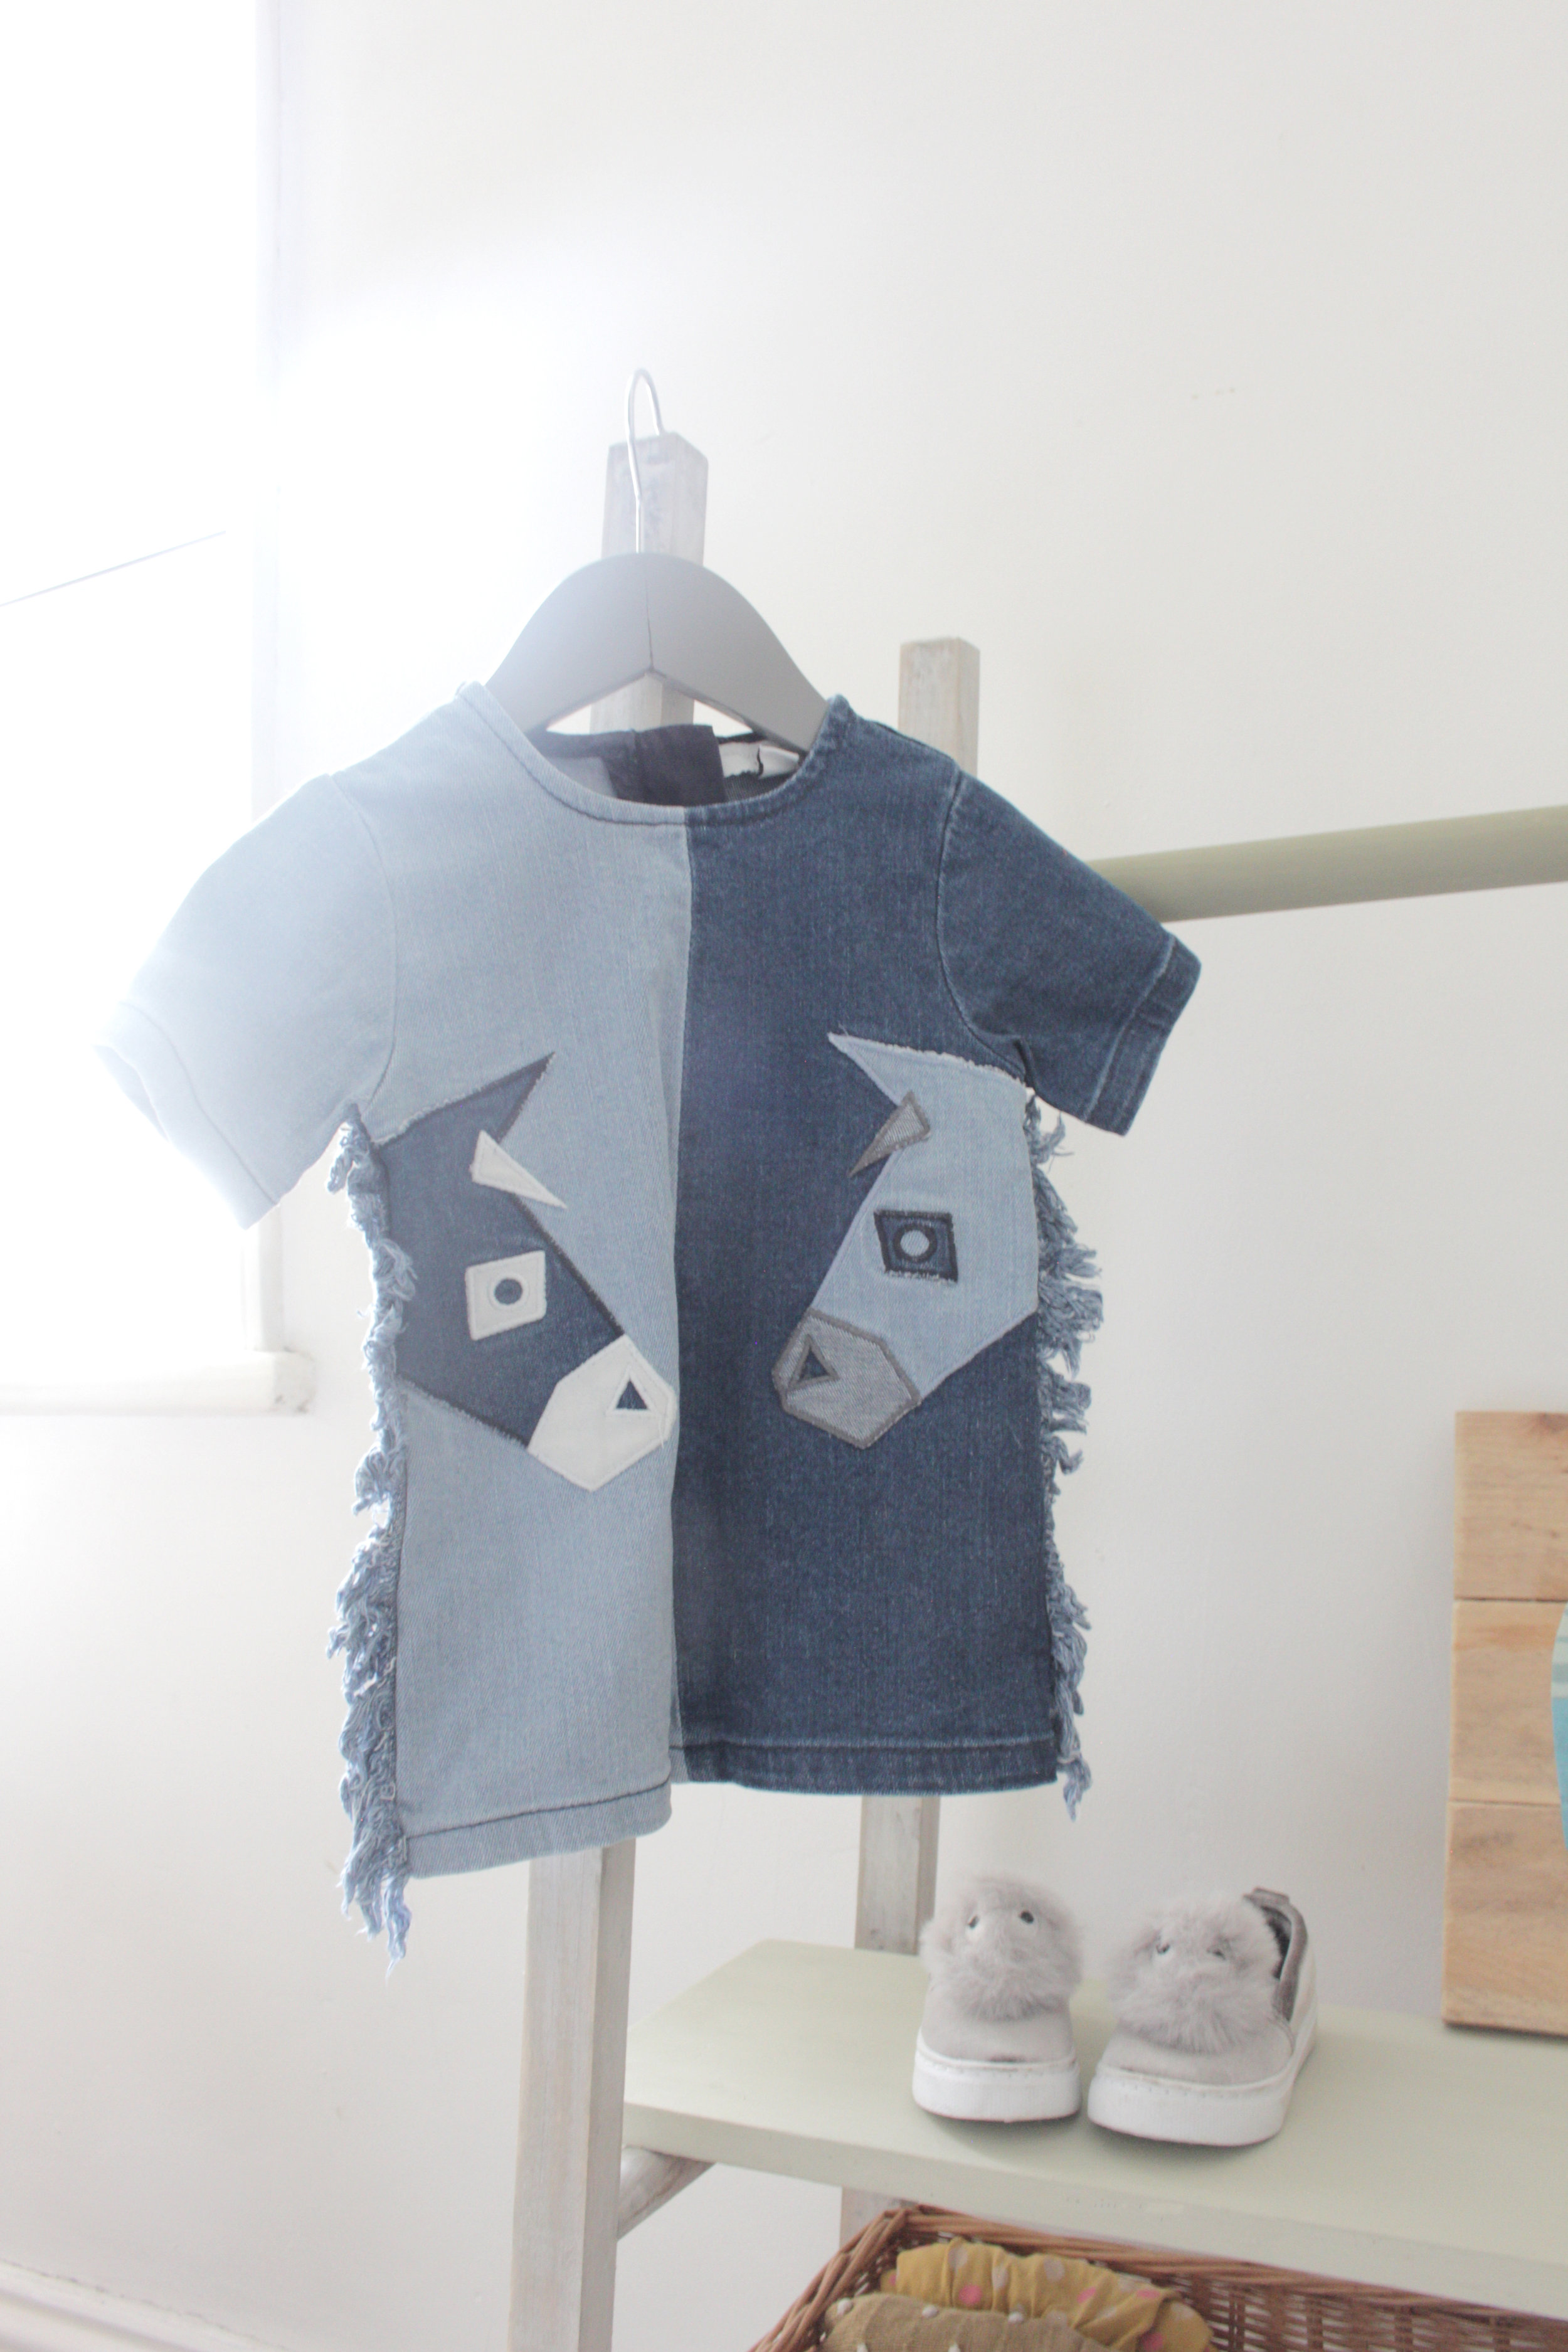
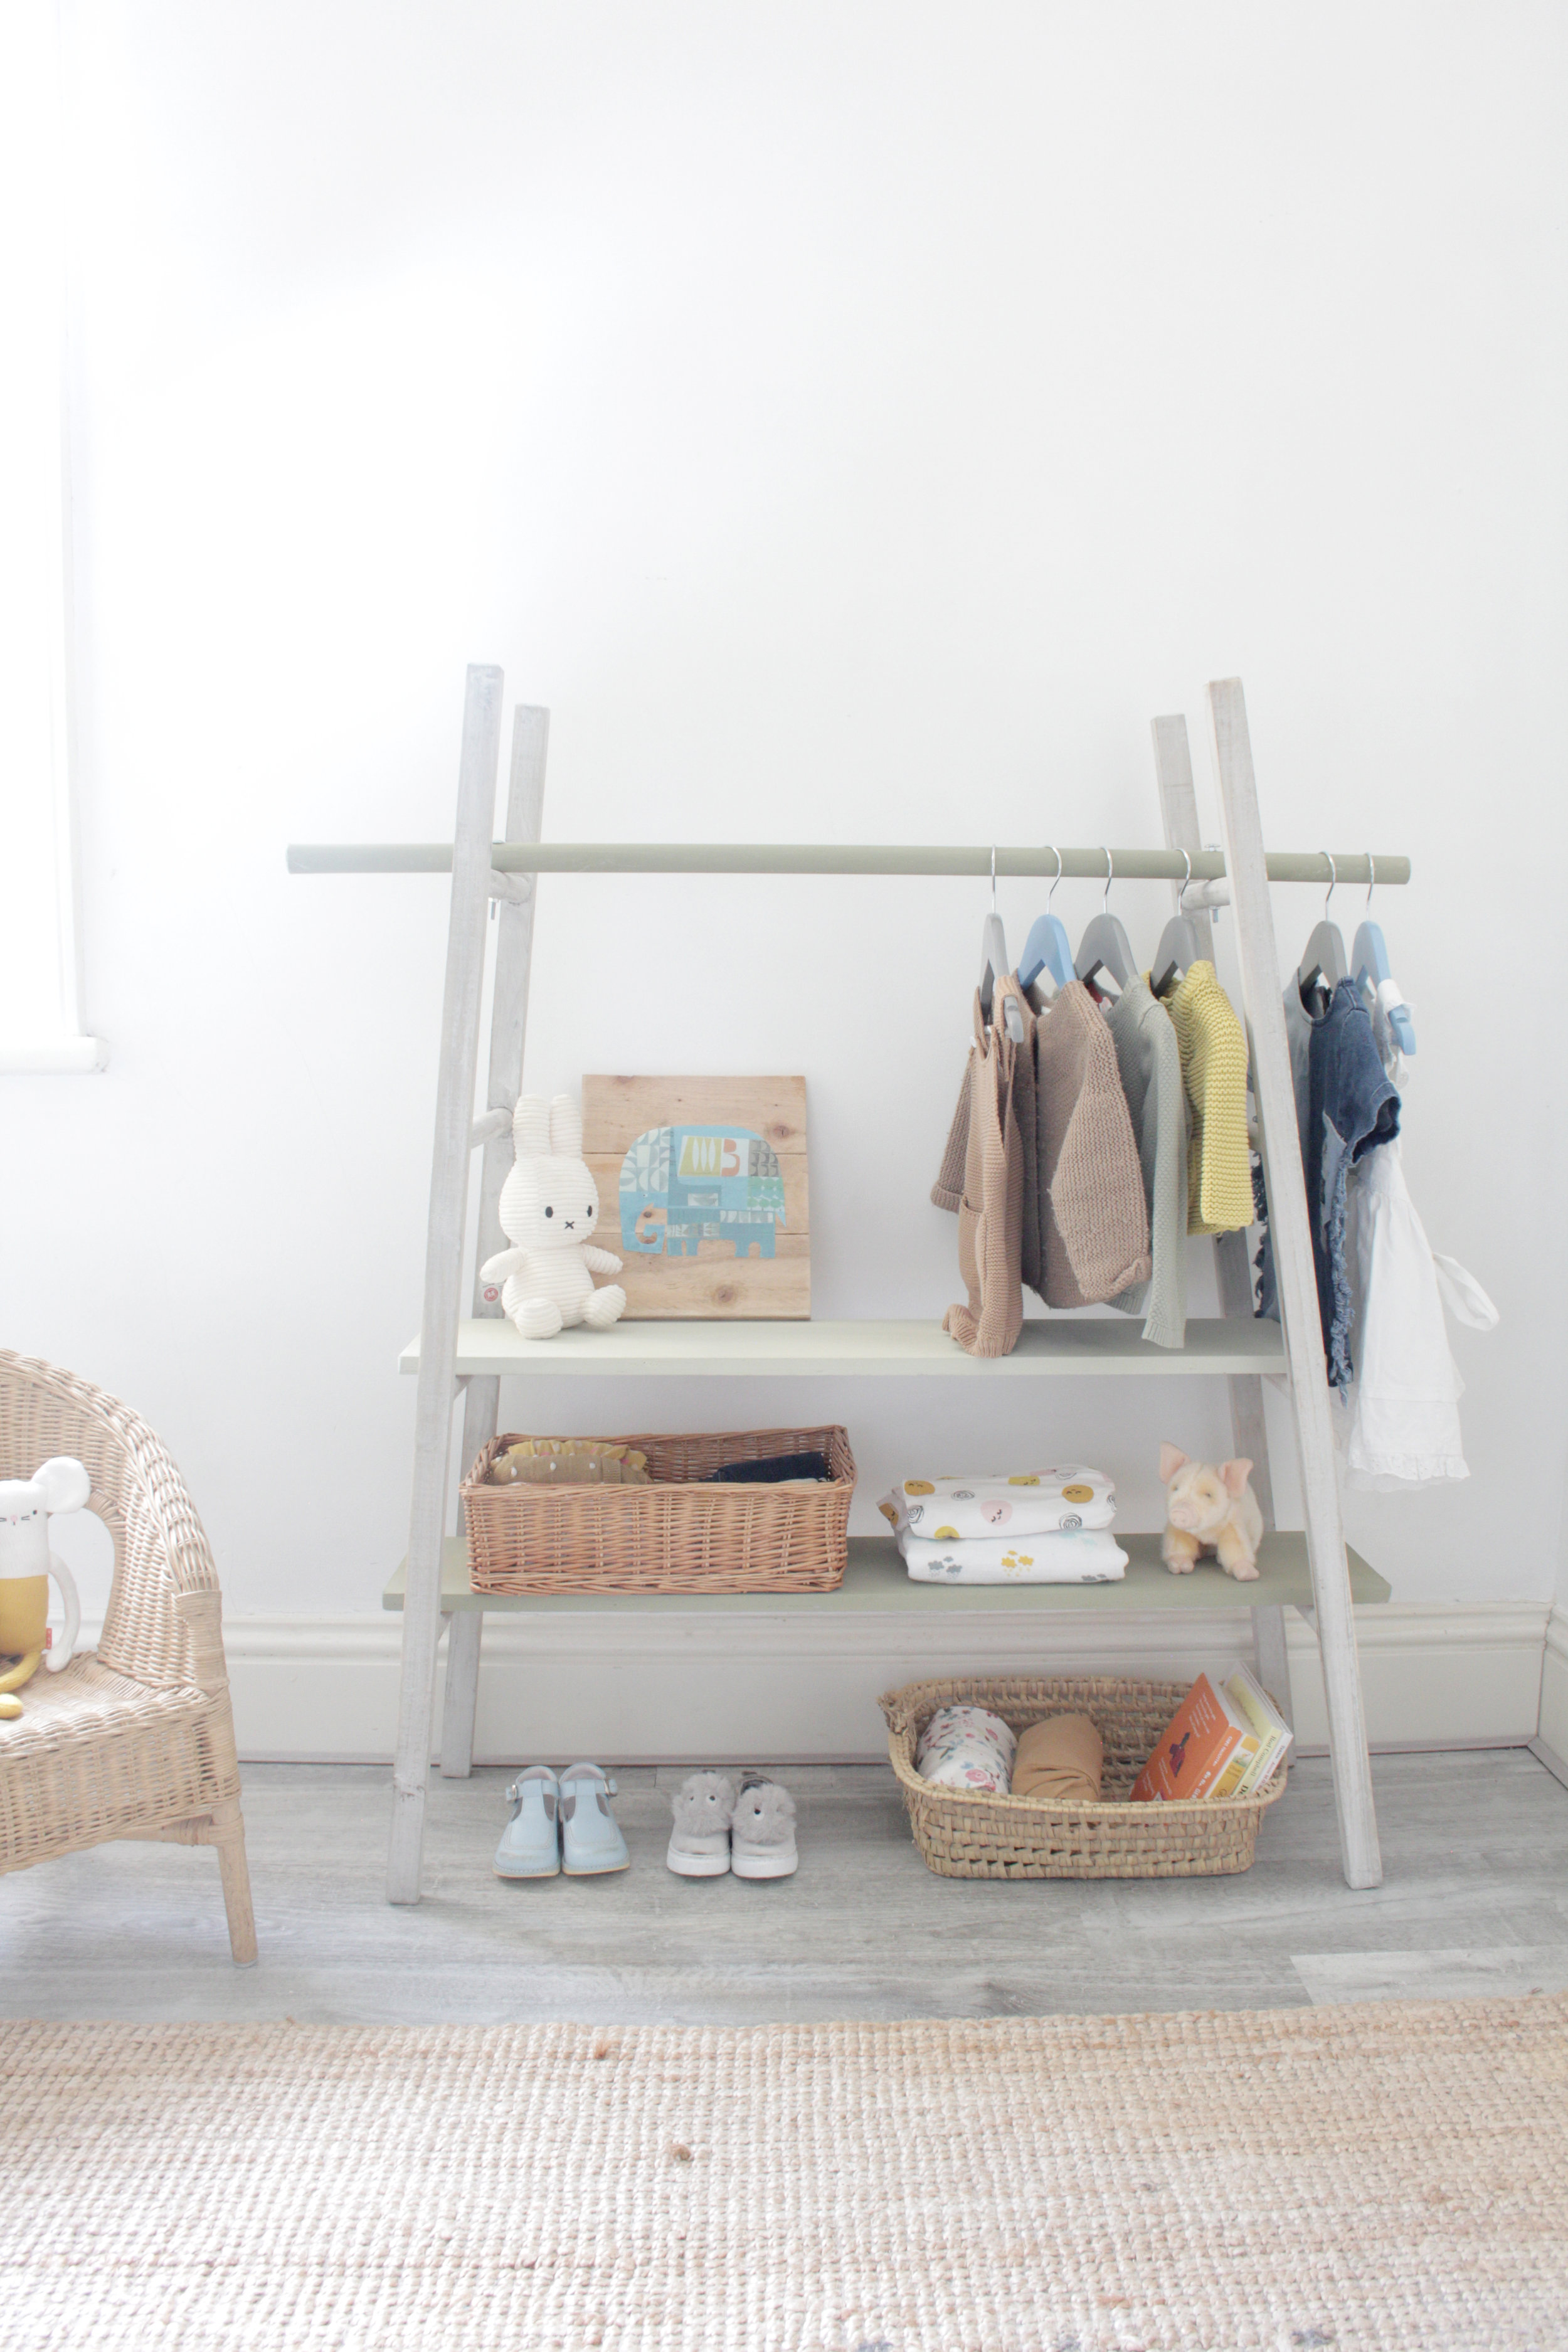
The open wardrobe is great for showing of your favourite outfits. How incredible cute is this denim dress from Stella McCartney (previous gift from Children Salon) ! I used baskets to keep smaller items in place like T-shirts, socks and muslins.