

Modern style dolls house
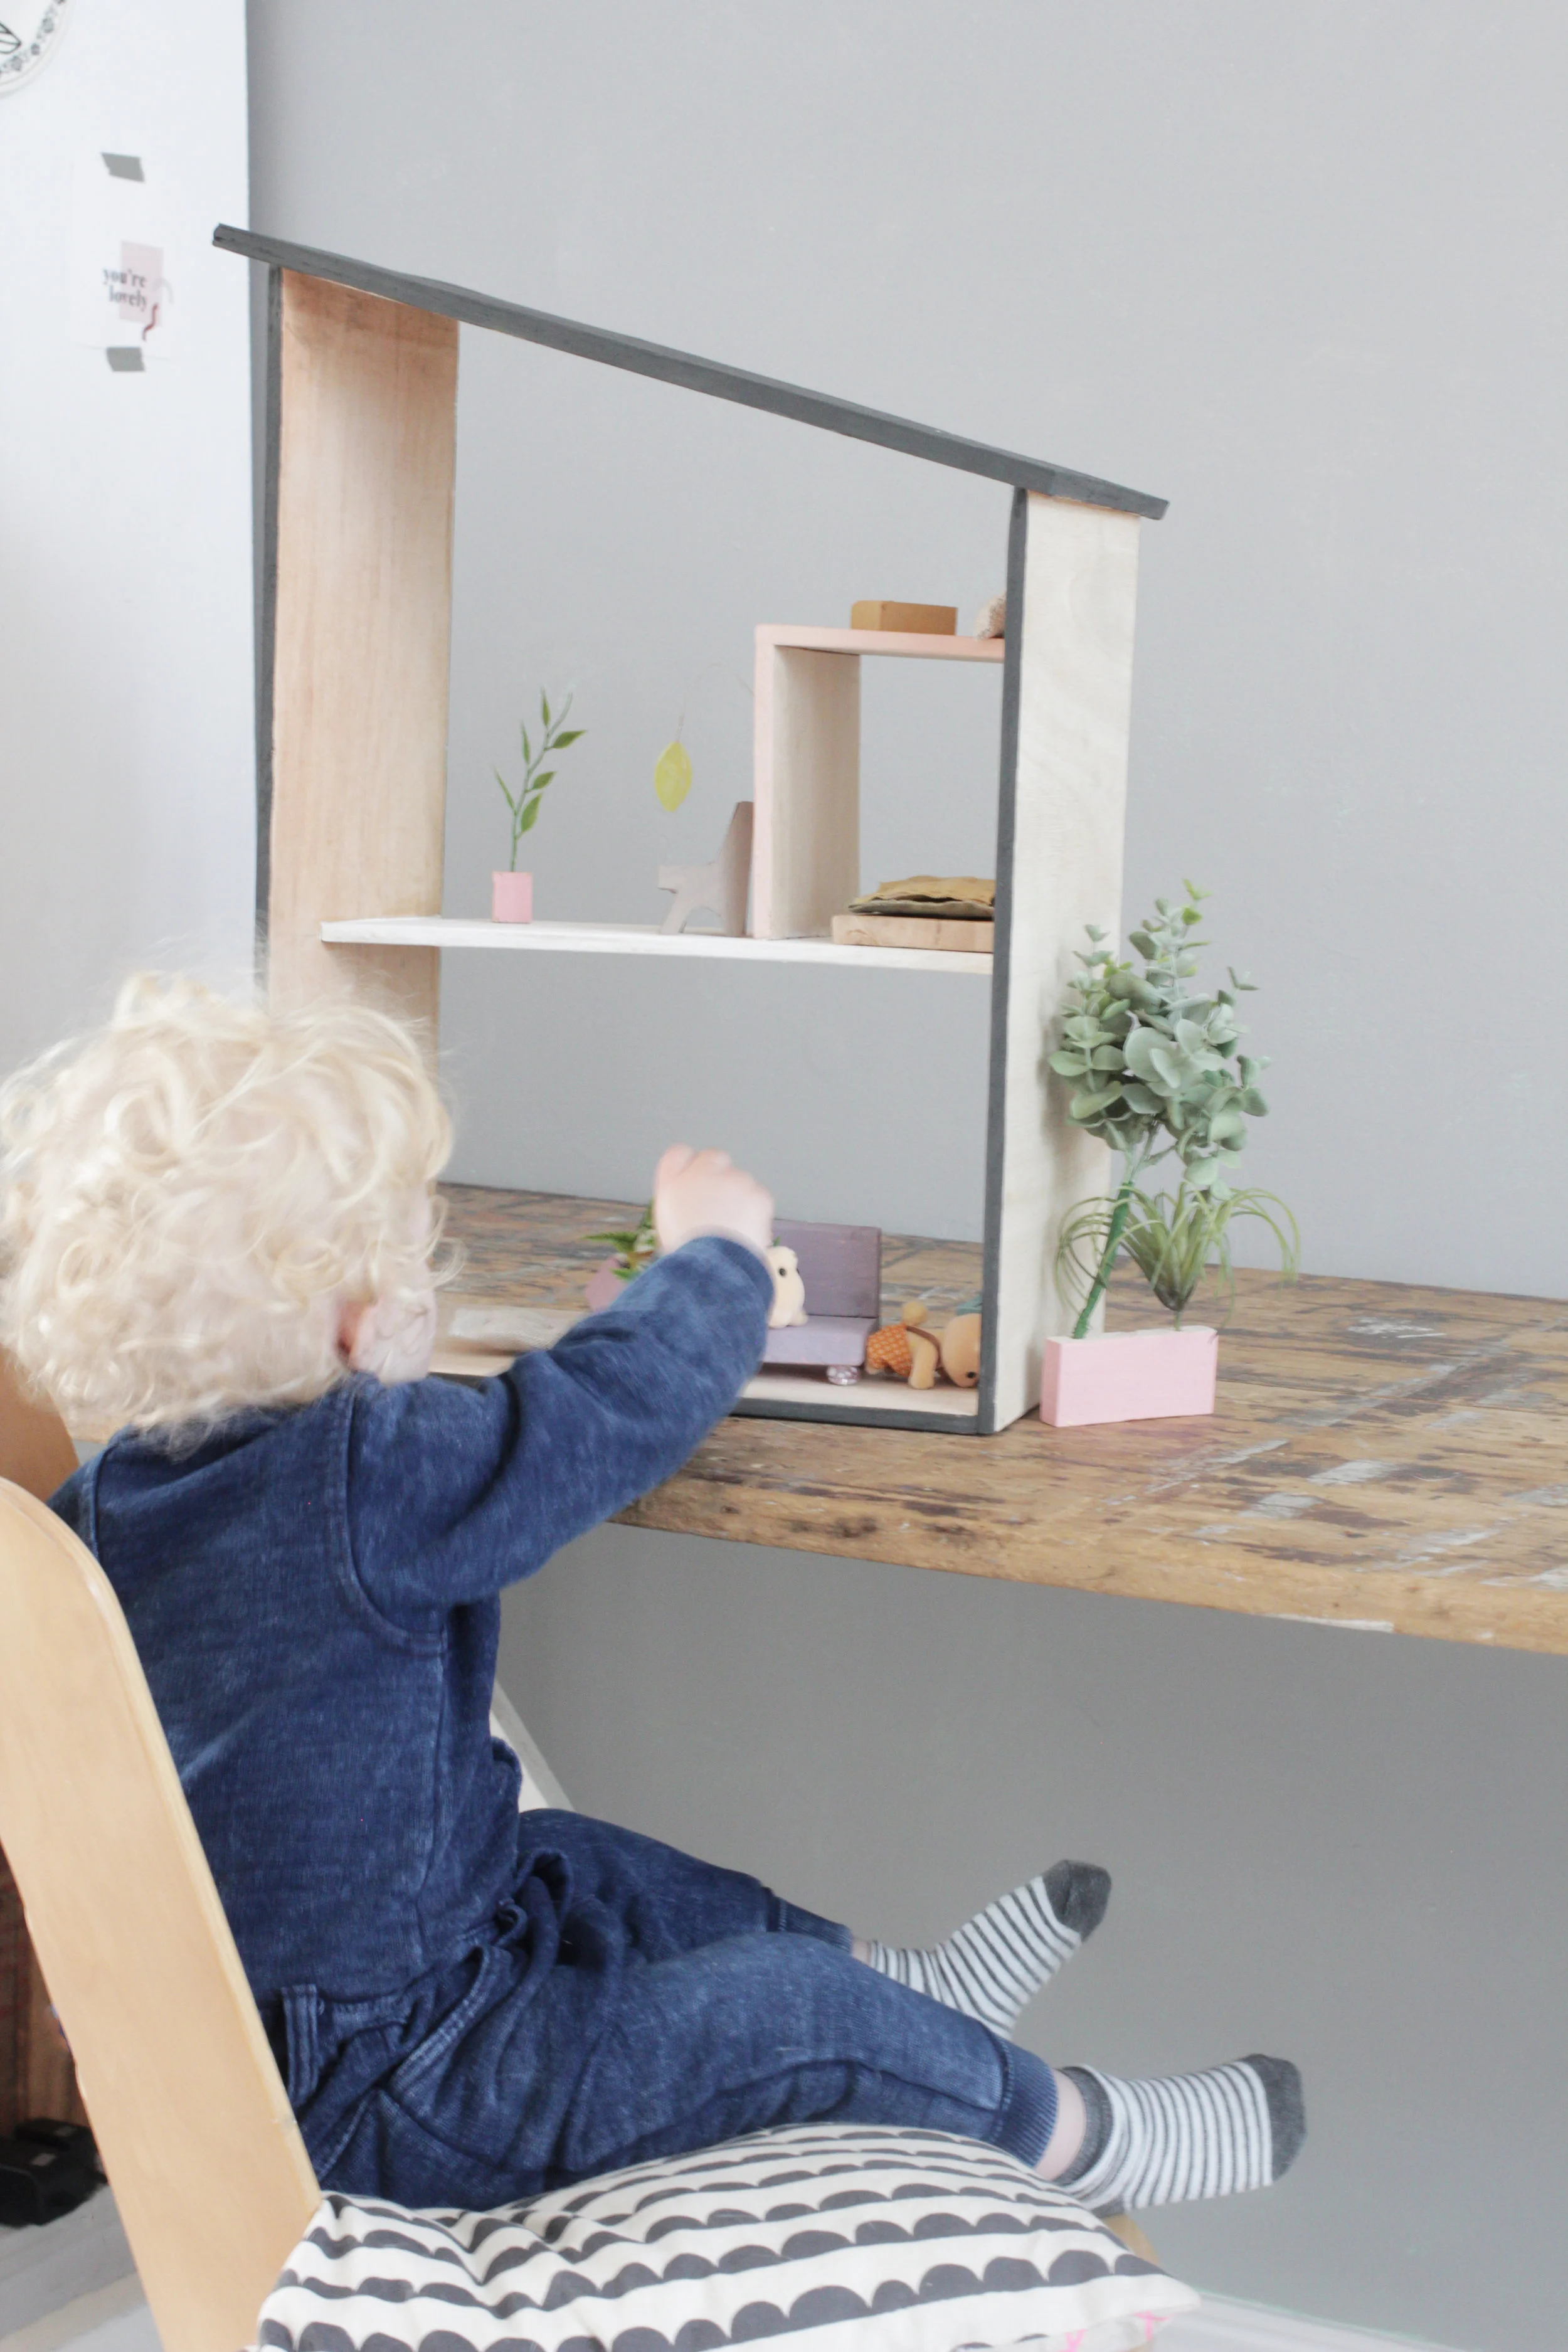
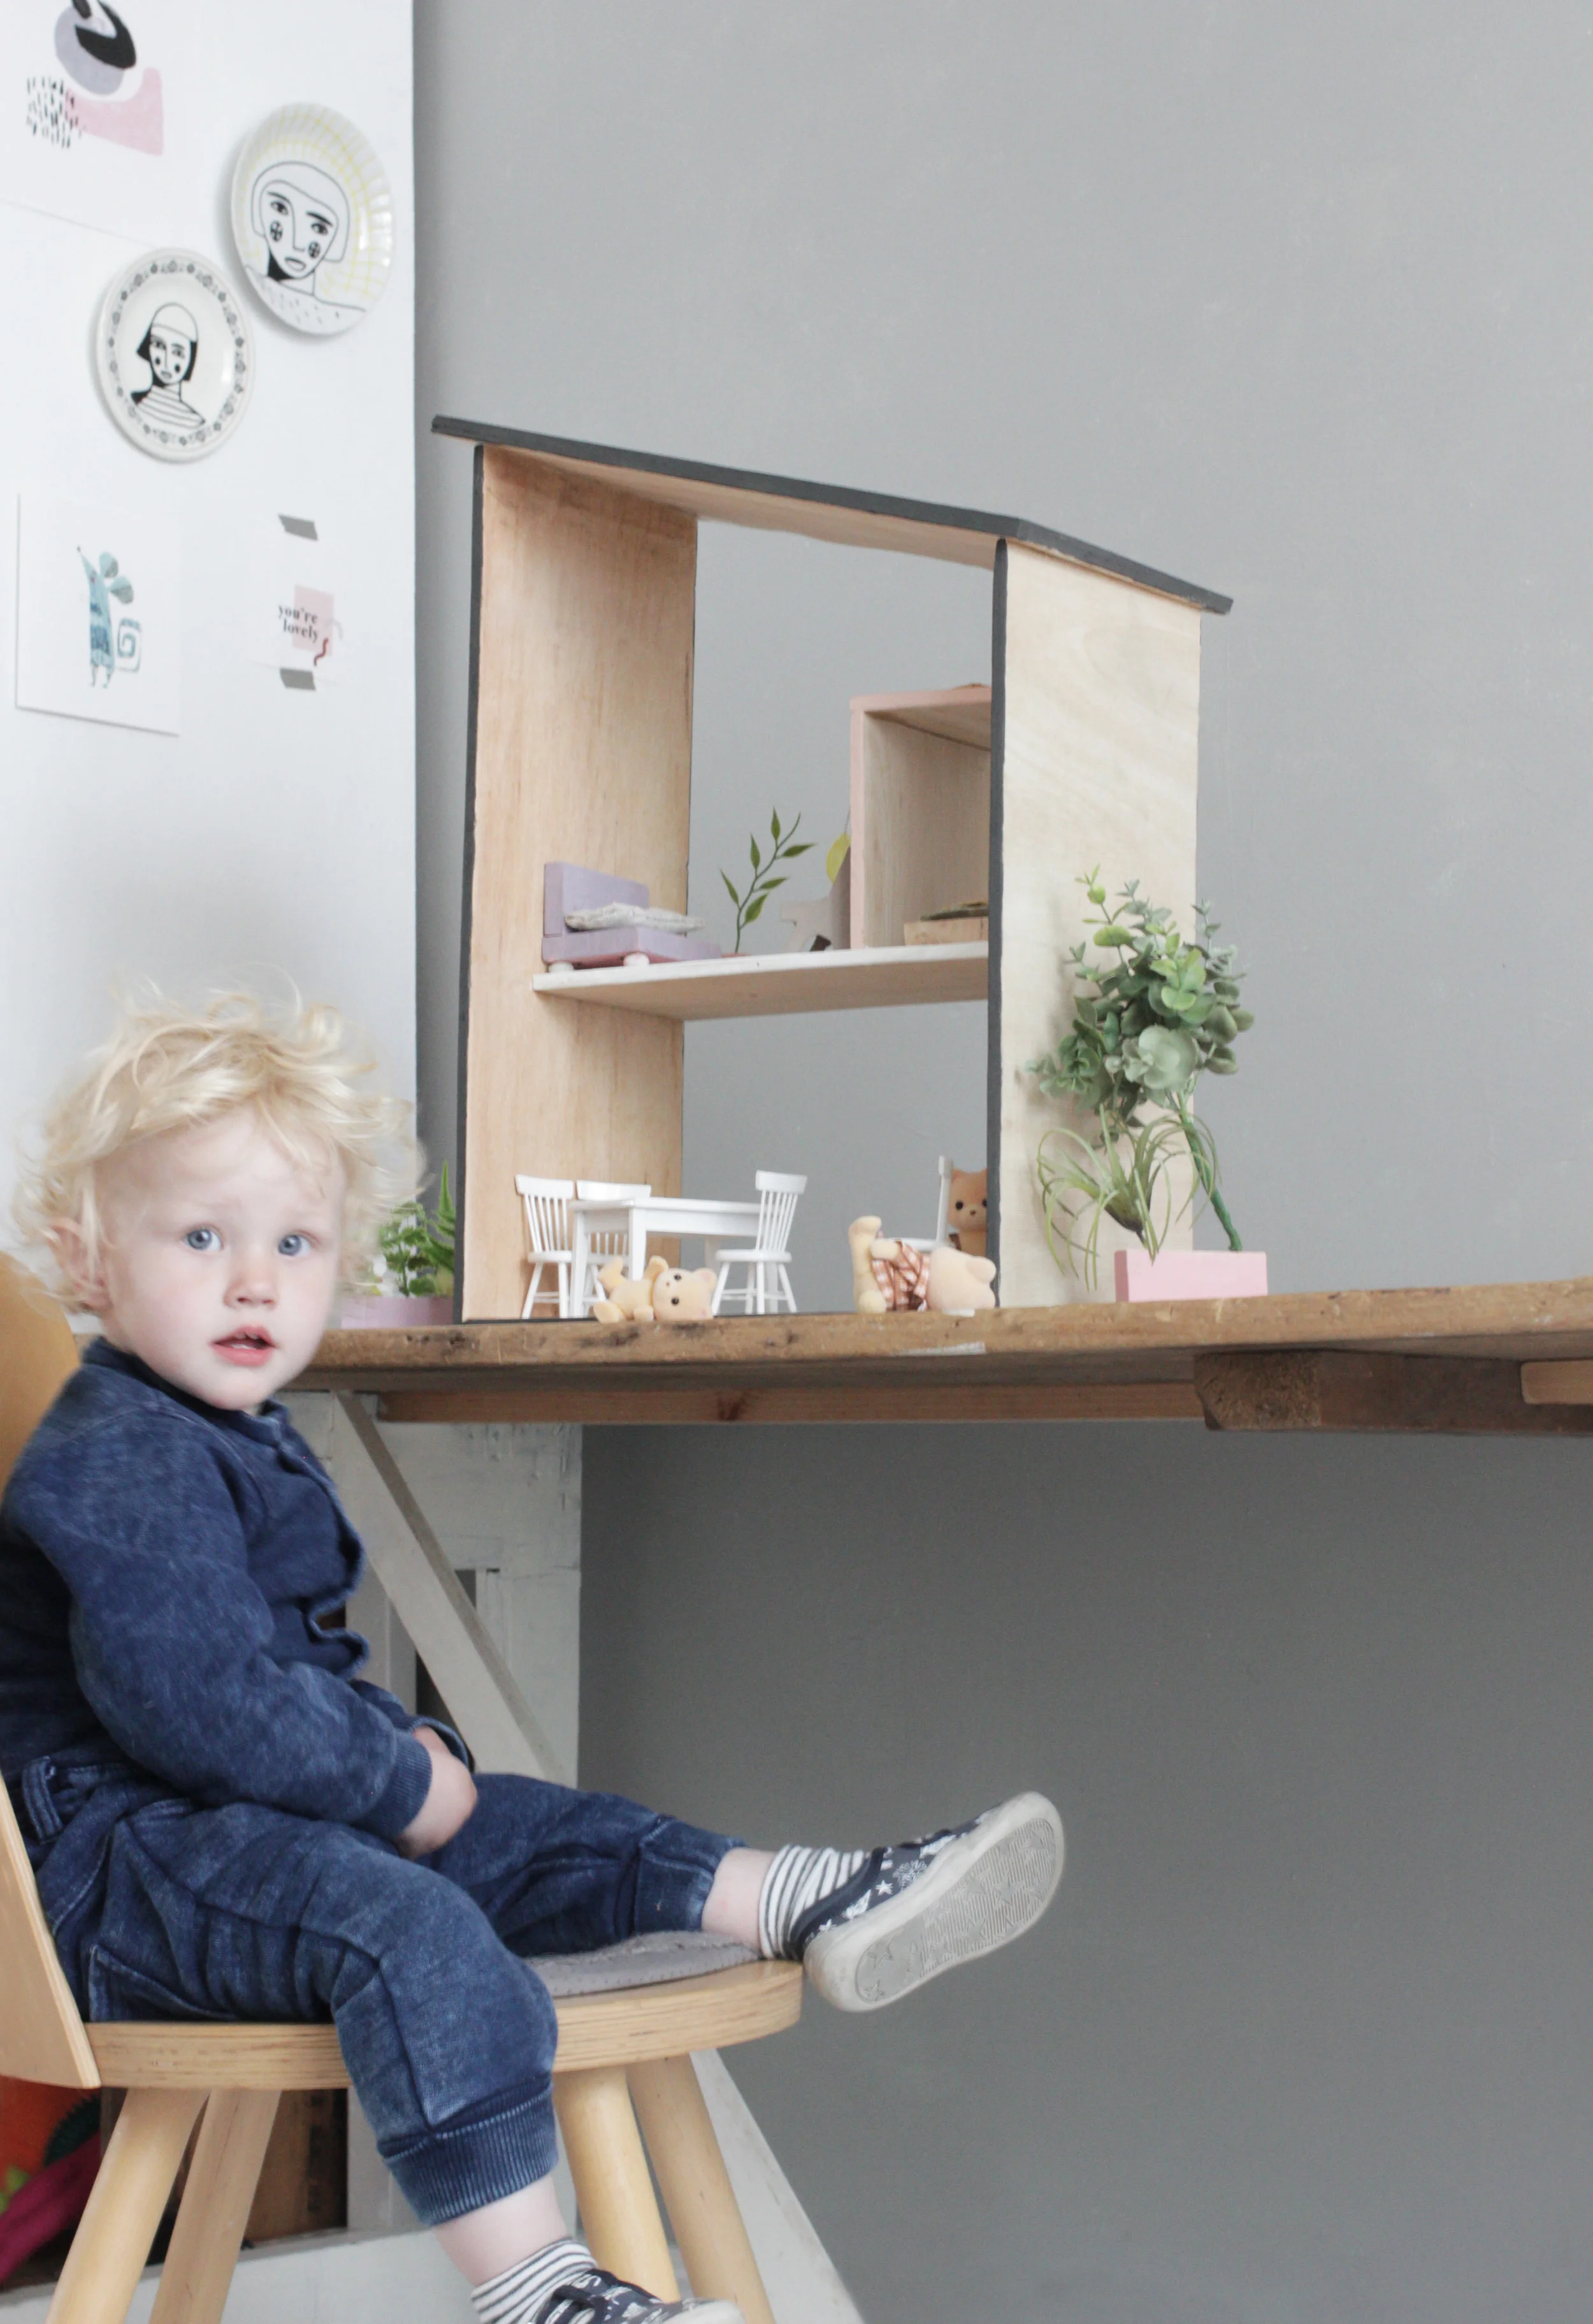
One of the things I was looking forward the most when I was pregnant was building the baby a dollshouse. I remember playing with toys that were made by my mum and dad and I couldn’t wait to dothe same for Kiki. The lovely thing about a dolls house is that you can keep adding to it. Make pieces of furniture, paint or even wallpaper the walls, make little dollies to move into the house withor knit some small rugs. Kiki is almost 1 1/2 so I thought it’s finally time she got her very own dolls house! I designed her a modern house, it’s the kind of house I wouldn’t mind living in and I’m rather jealous of the little bearthat got to move in :D
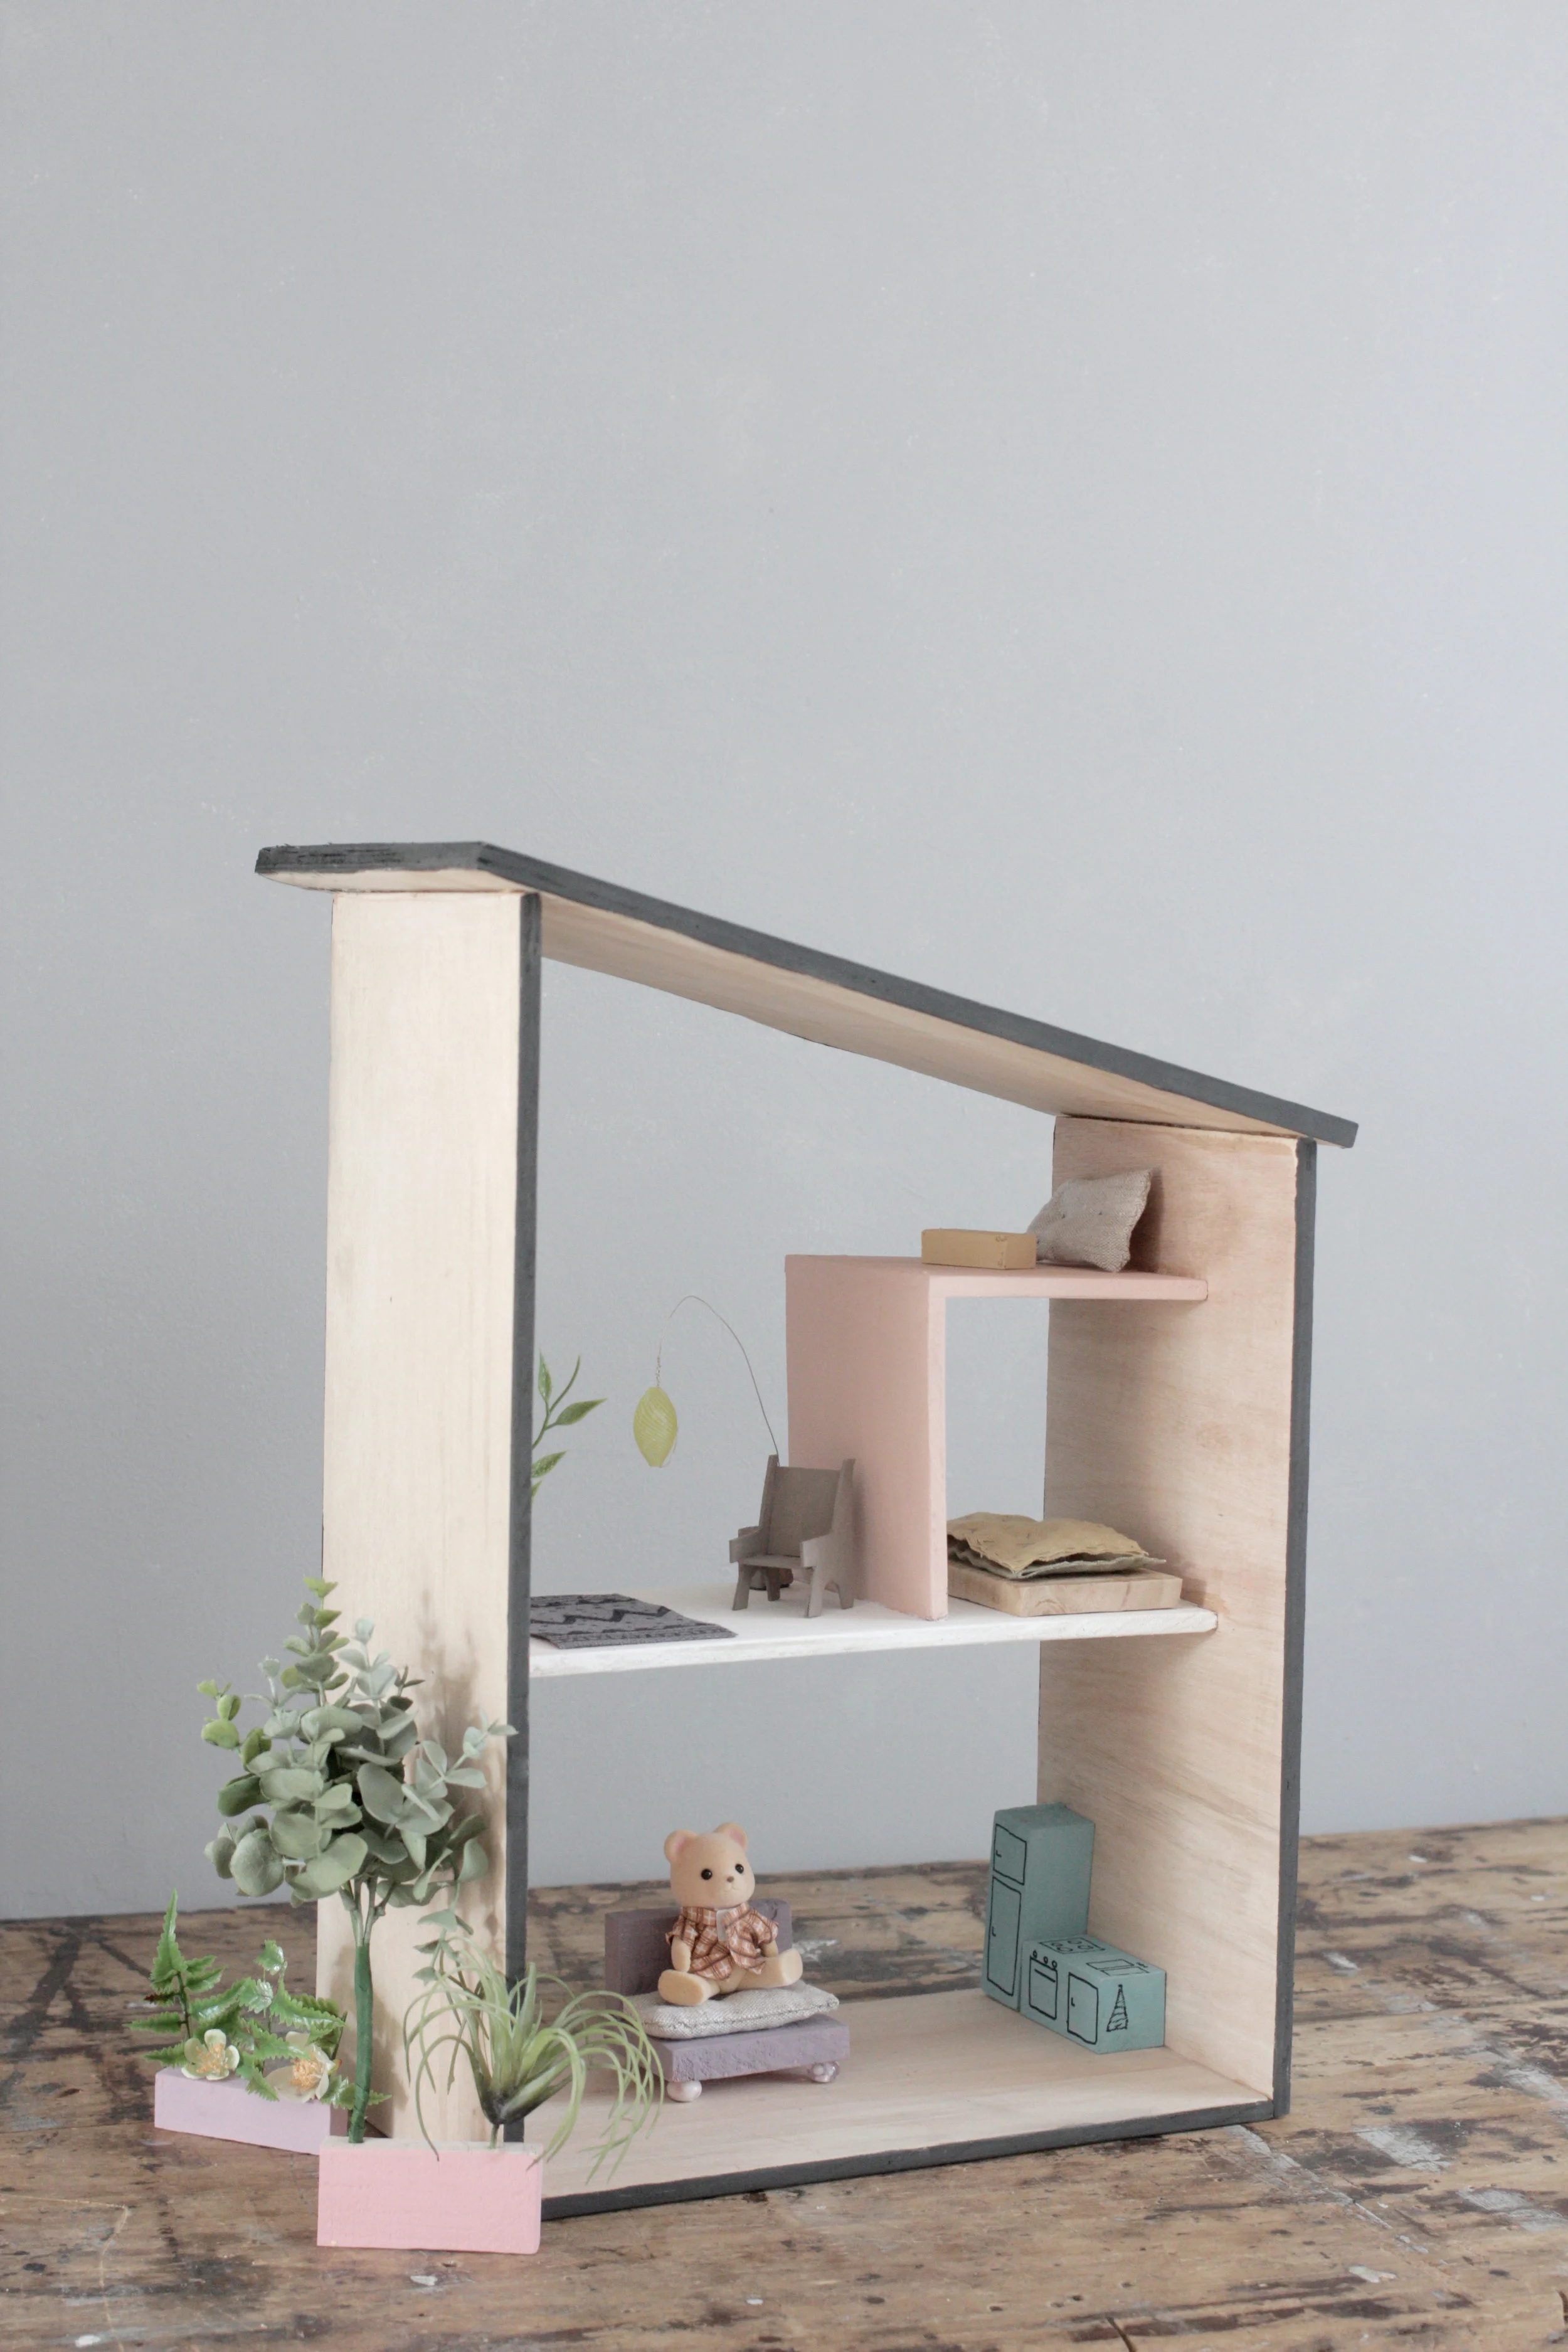
The house doesn’t have a back making it very easy to play with for a small child and no windows making it very easy for you to build!
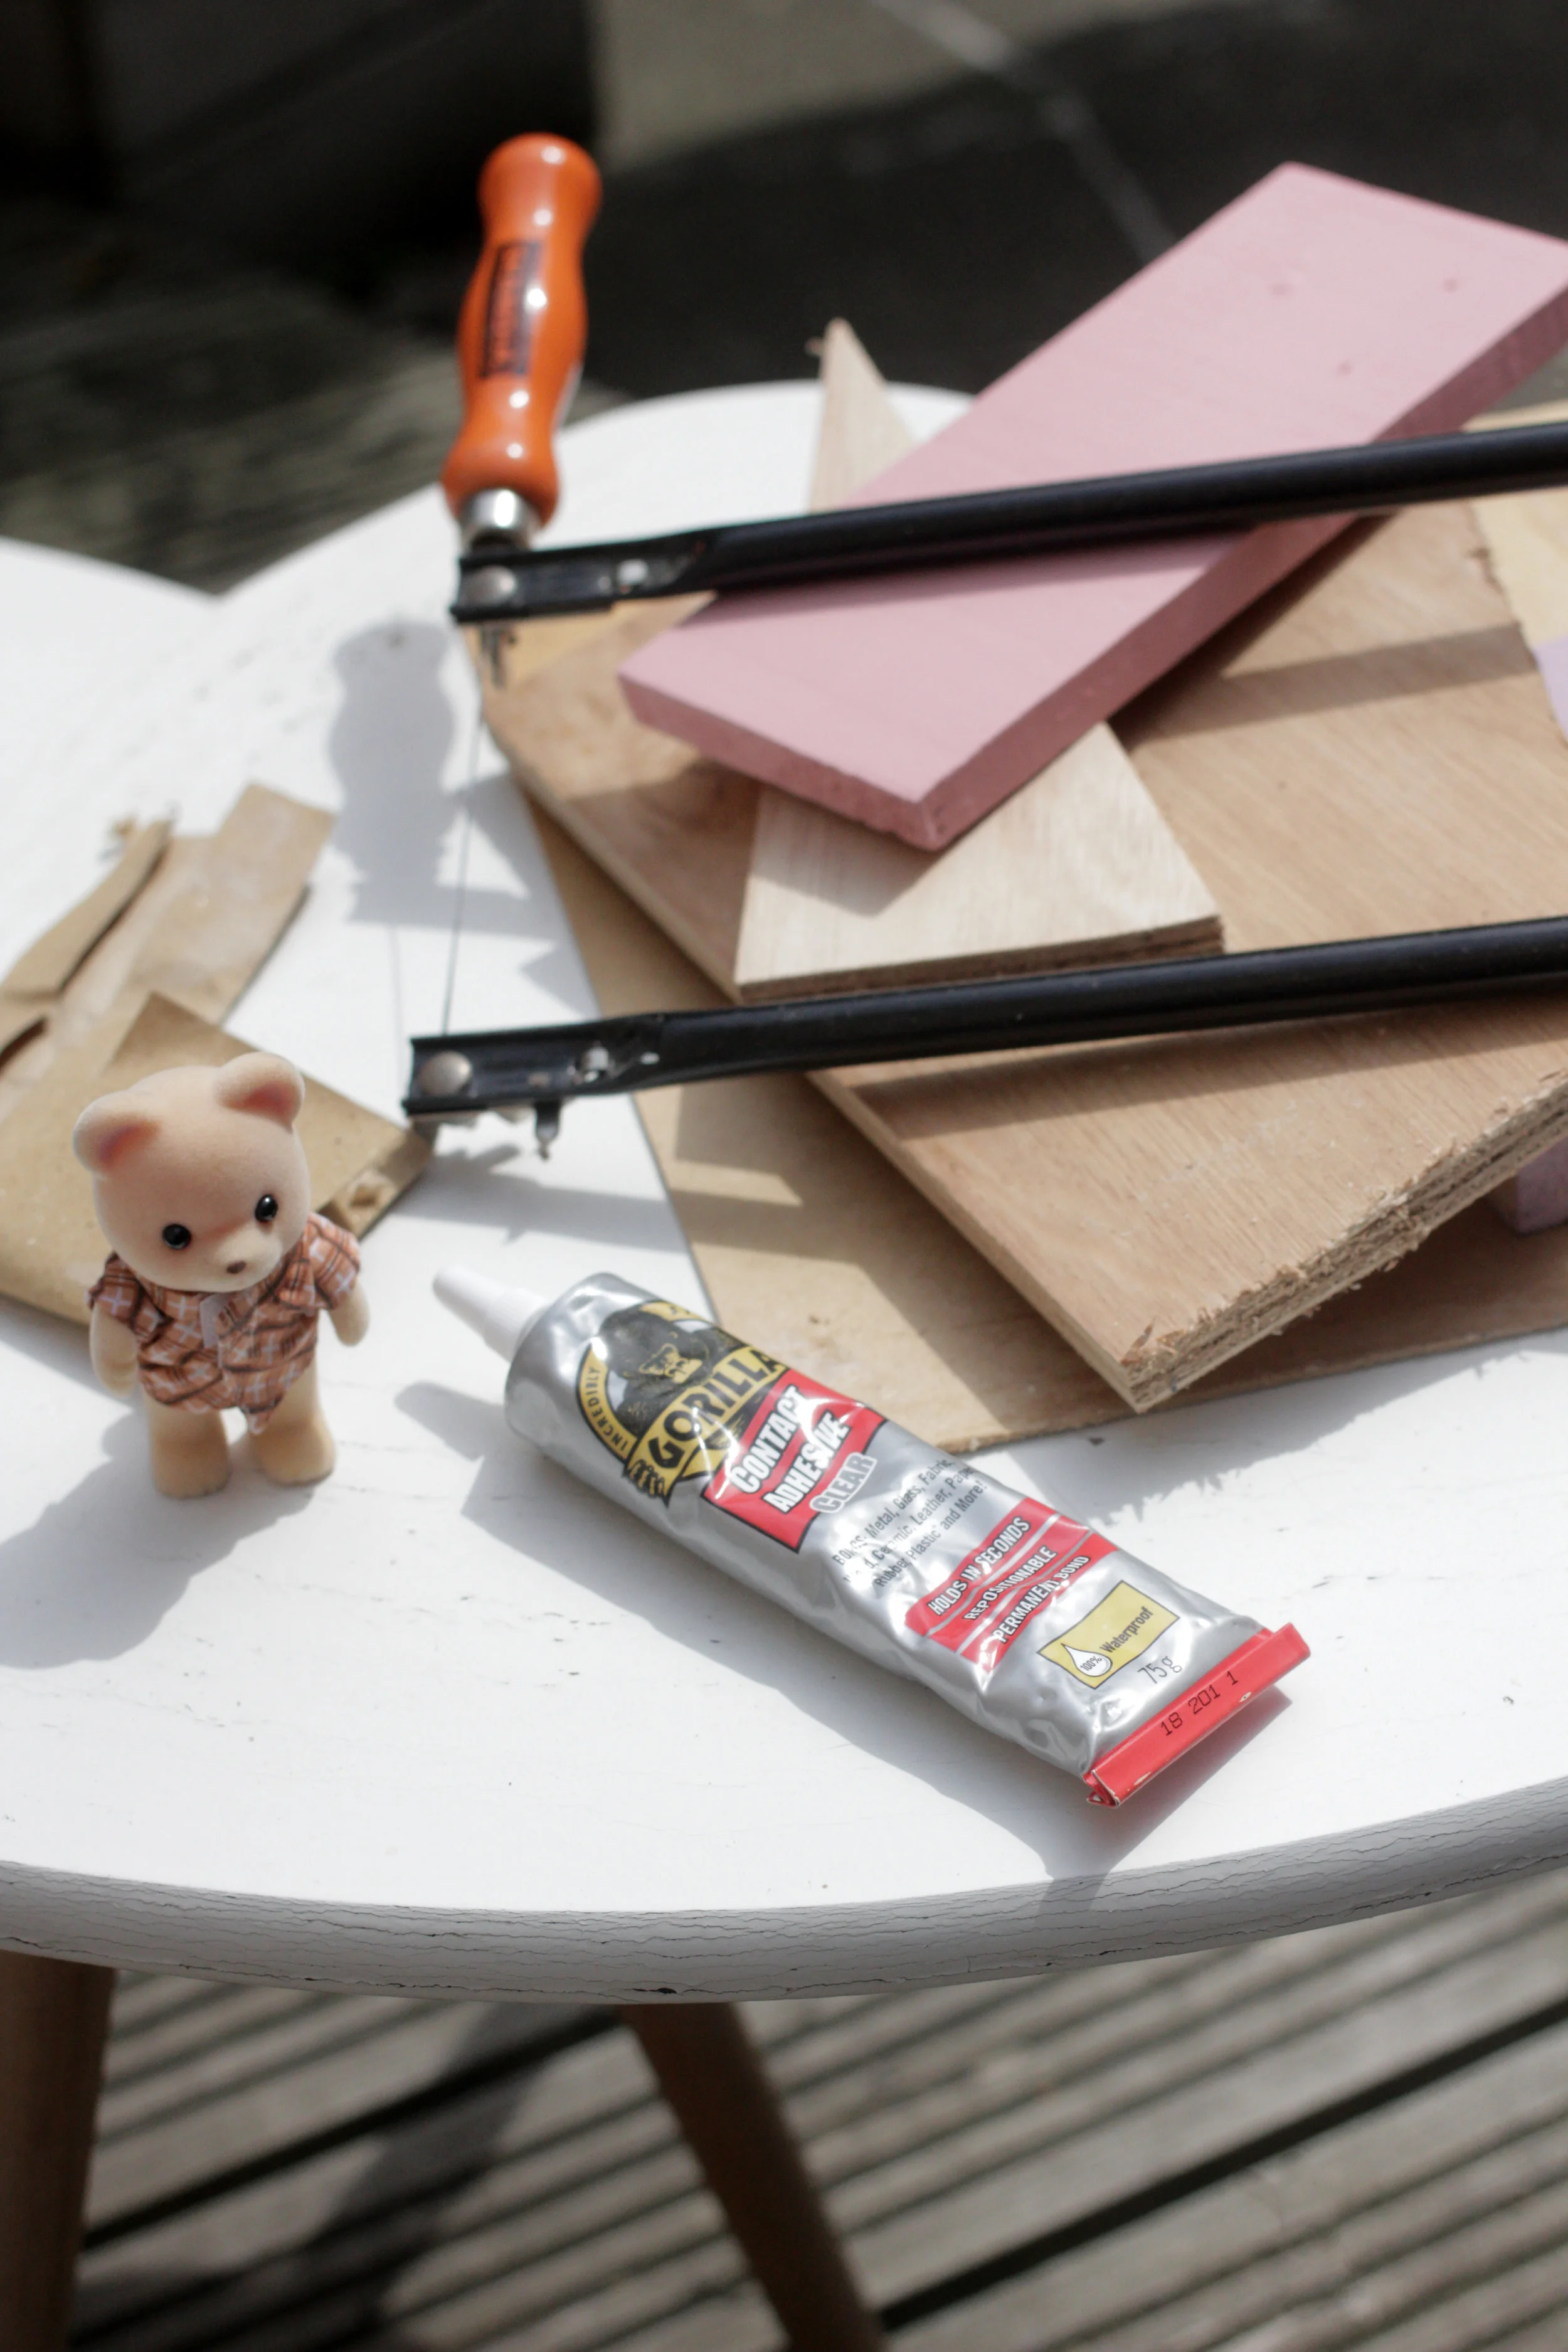
You will need:
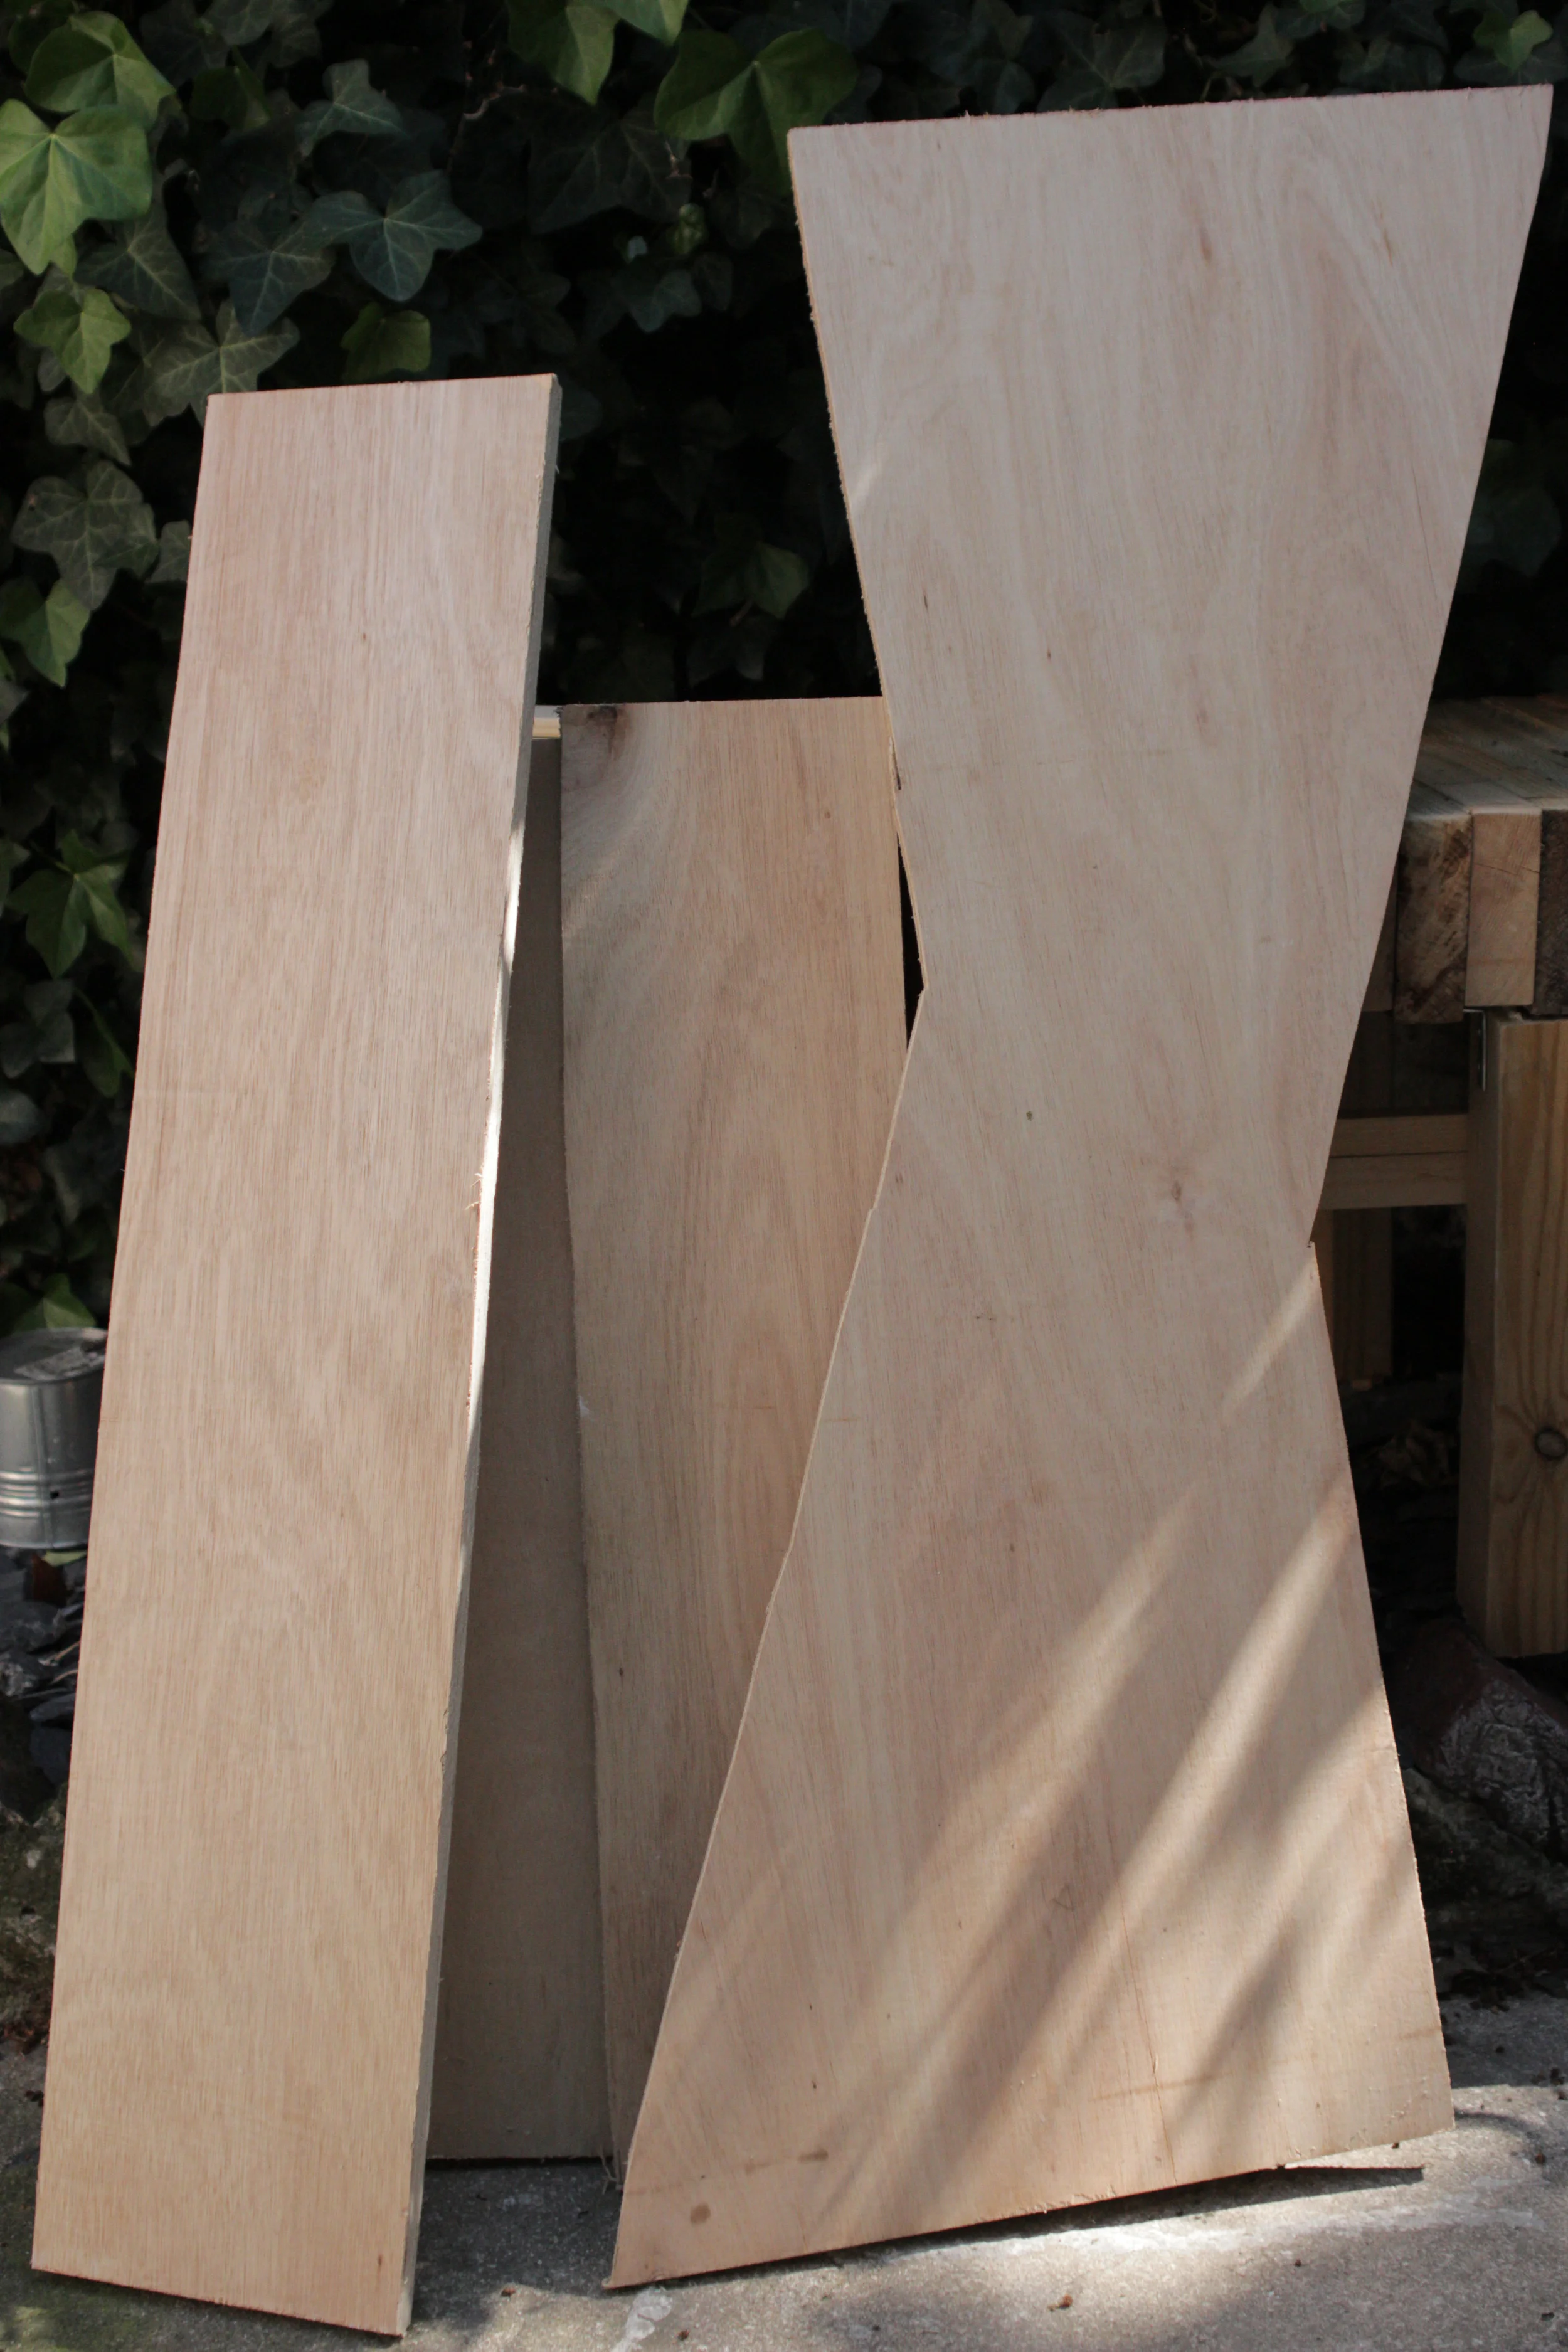
9 mm plywood, I used scrap pieces left over from other builds
Saw, sander and nail gun (or hammer and nails)
Tape measure and pencil
Paint
Masking tape
For the furniture I also used:
scrap pieces of wood
thick cardboard
beads
metal wire
pieces of linen and wadding
paint and a black marker pen
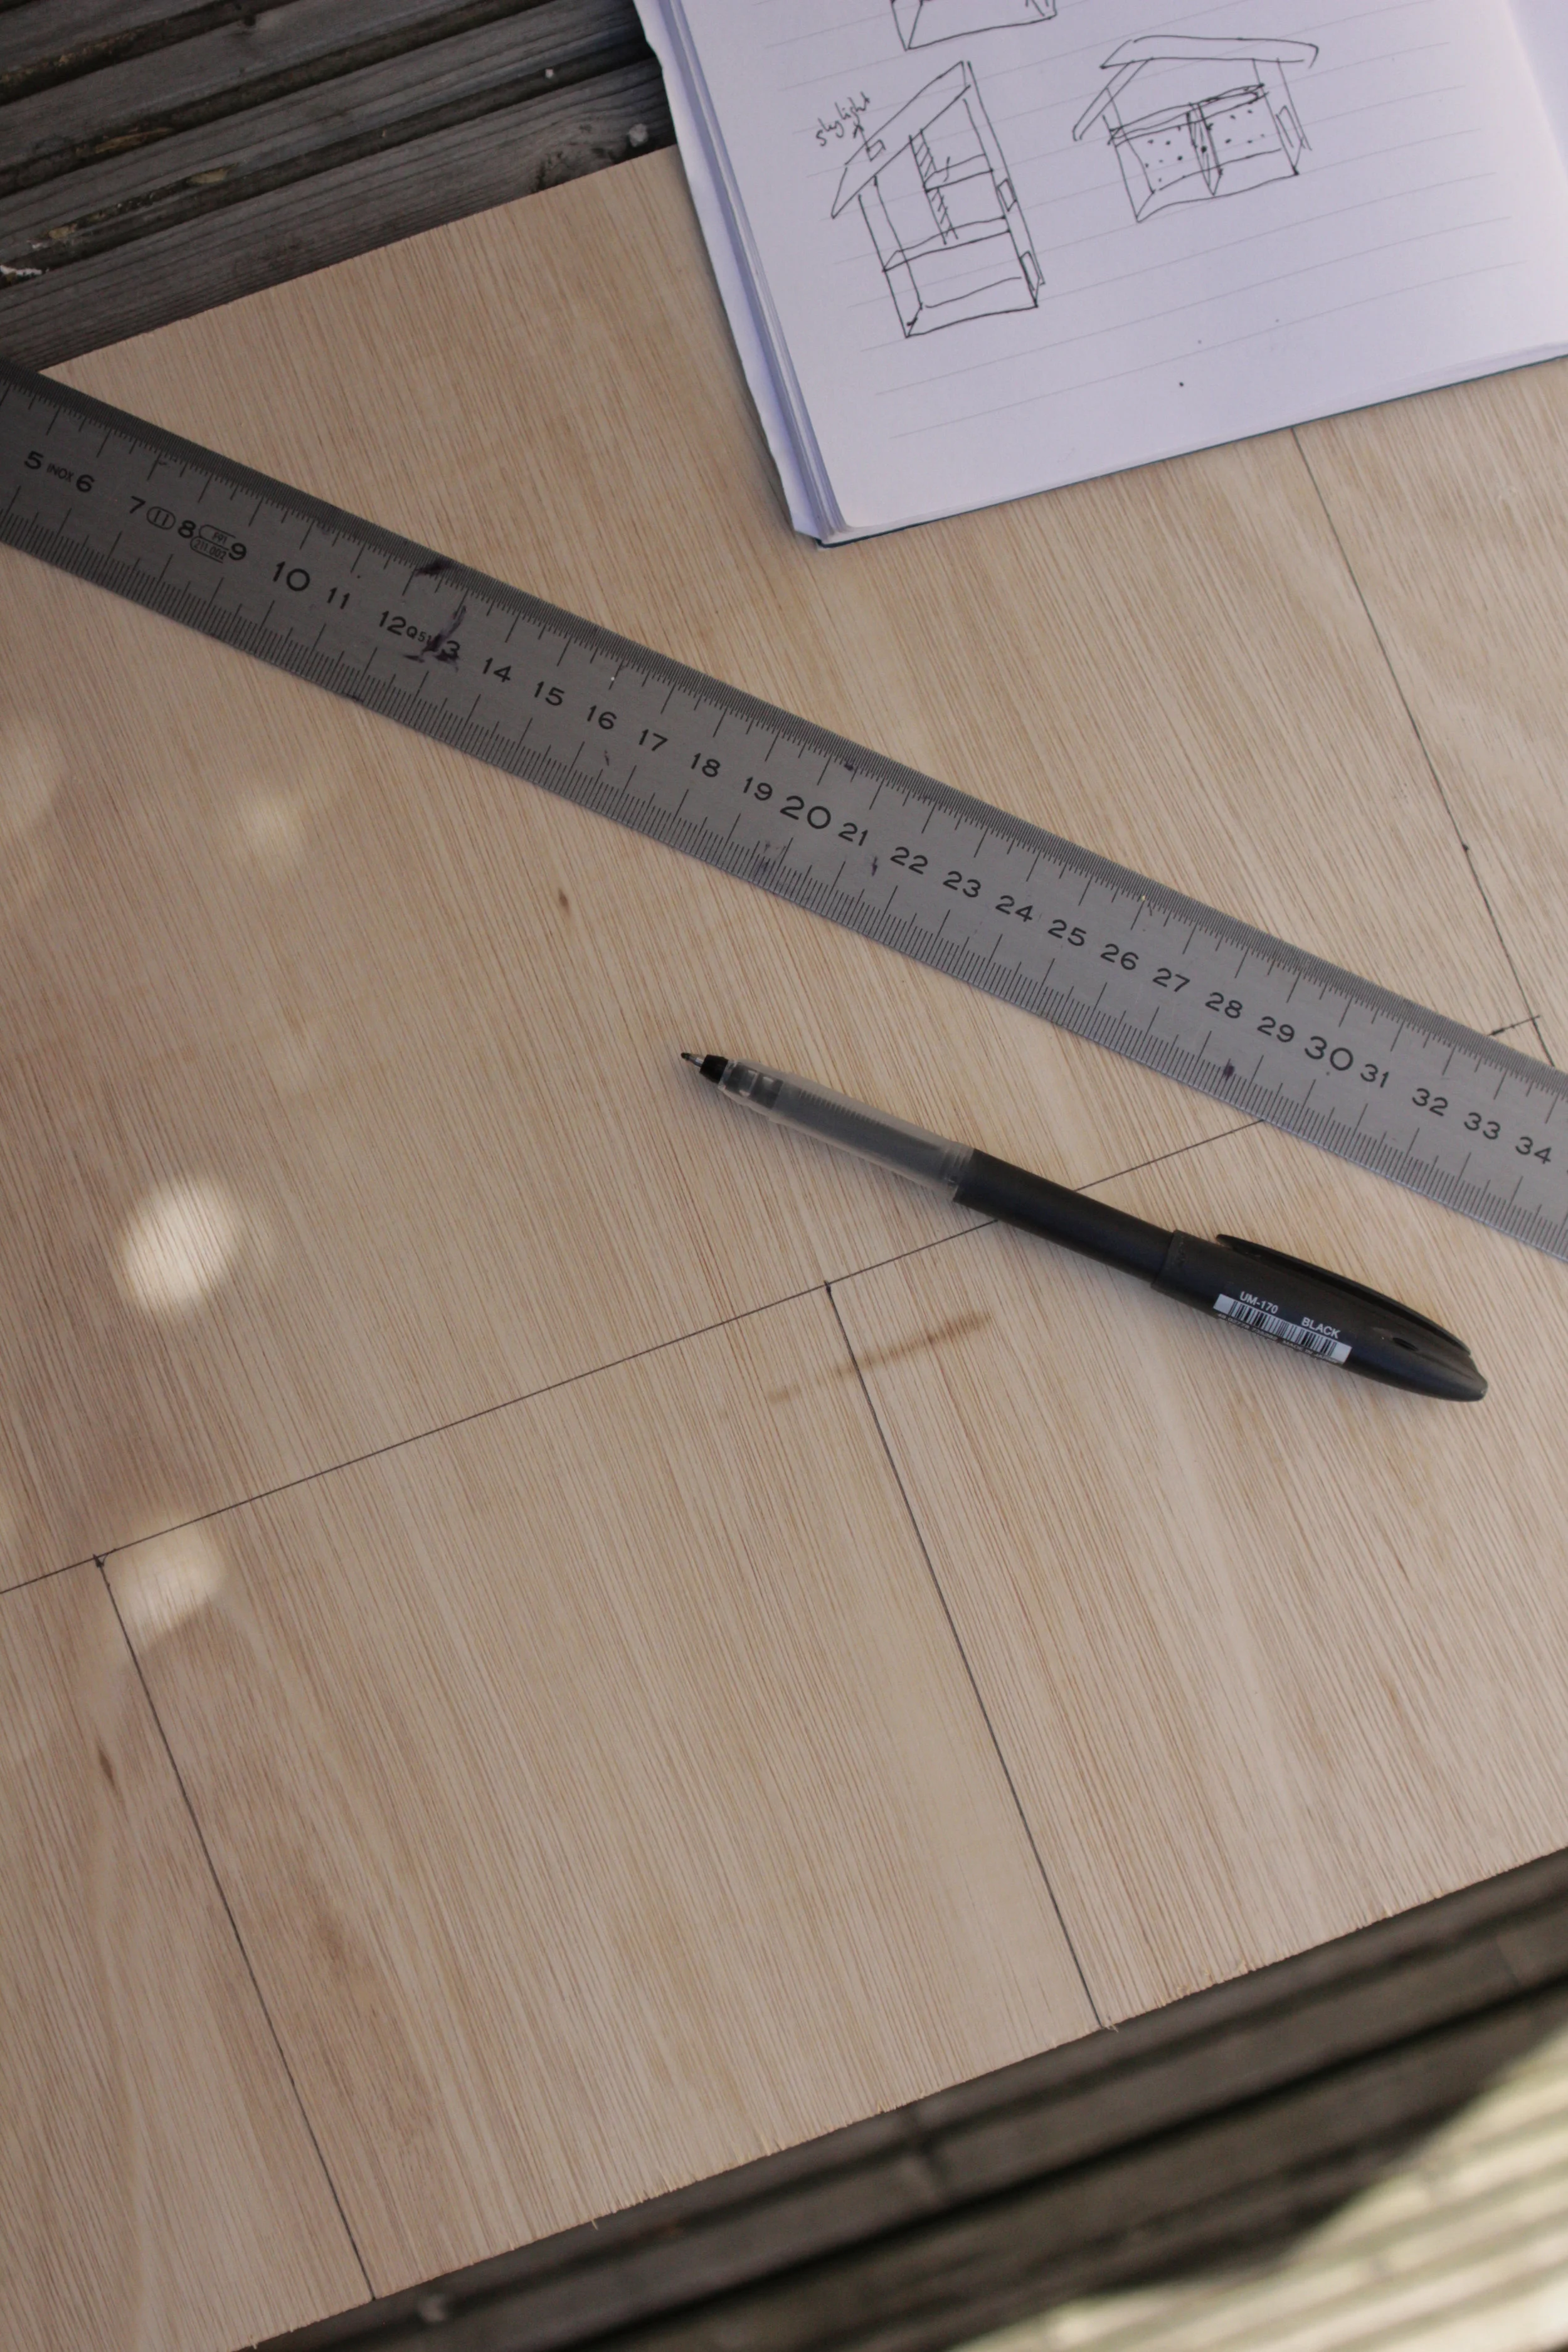
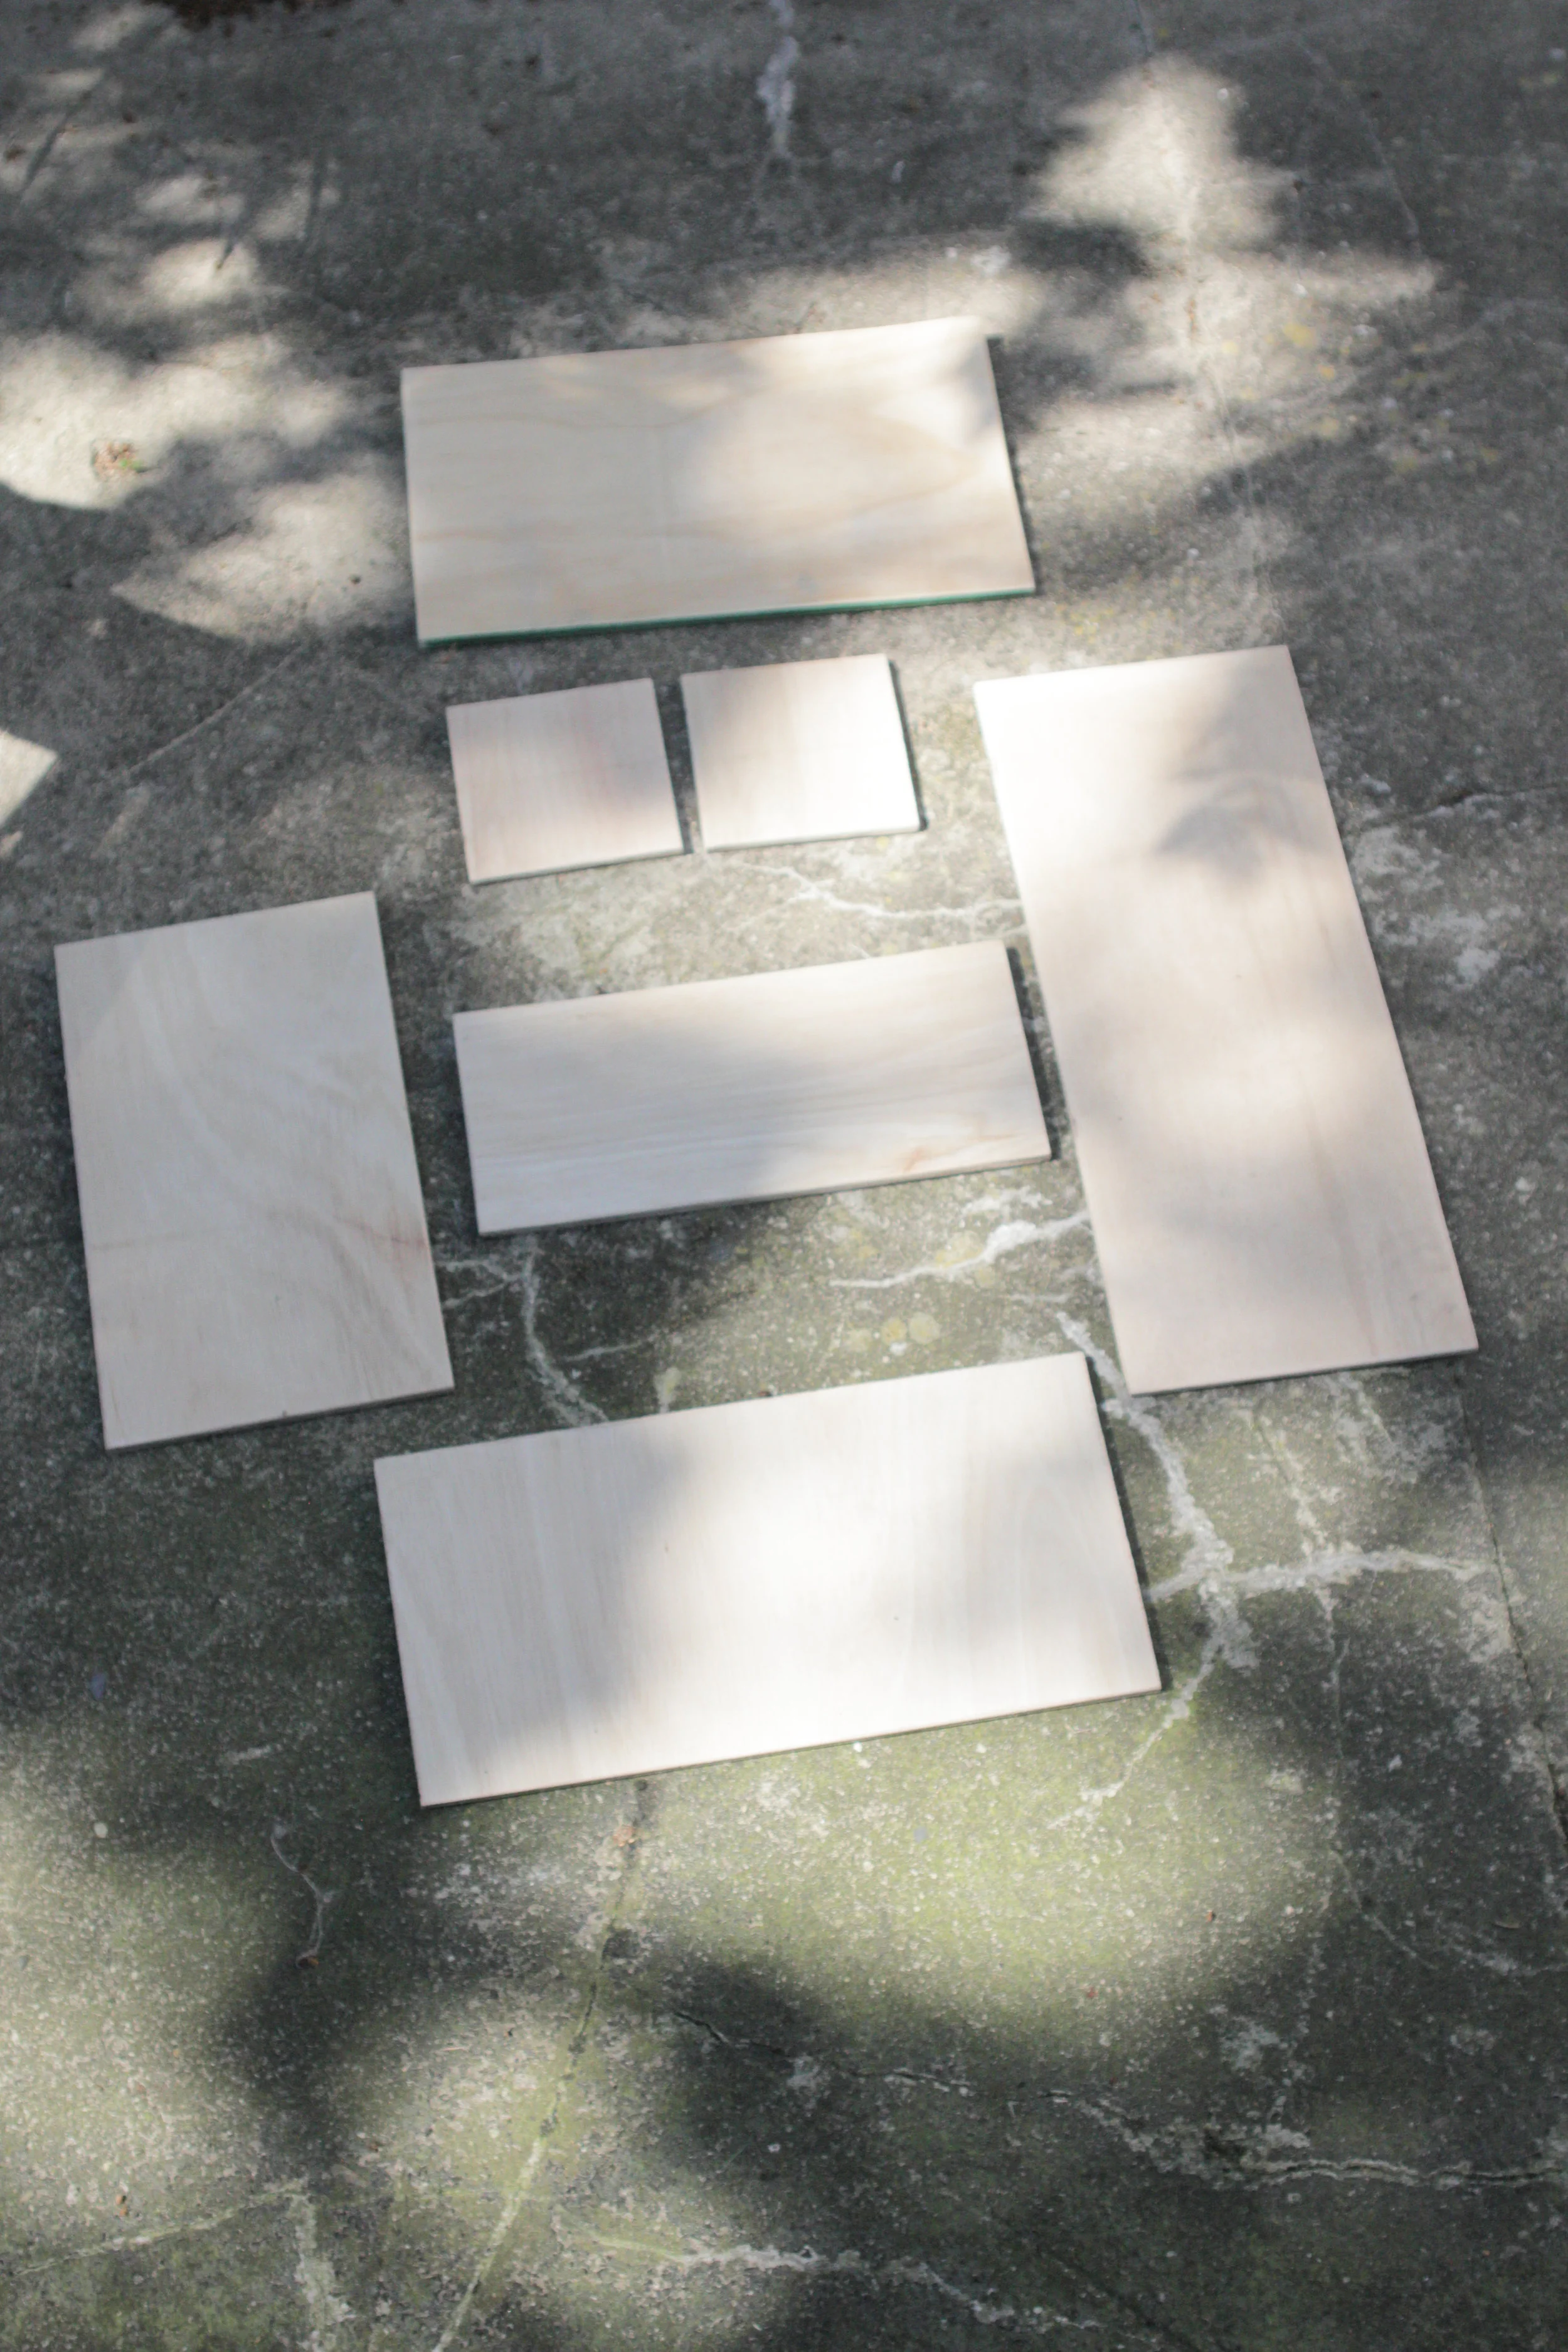
Cut list
Base 20 x 33 cm
First floor 15 x 33 cm
Mezzanine 2x 12 x 12 cm
Roof 25 x 40 cm
Sides 40 x 20 cm
50 x 20 cm
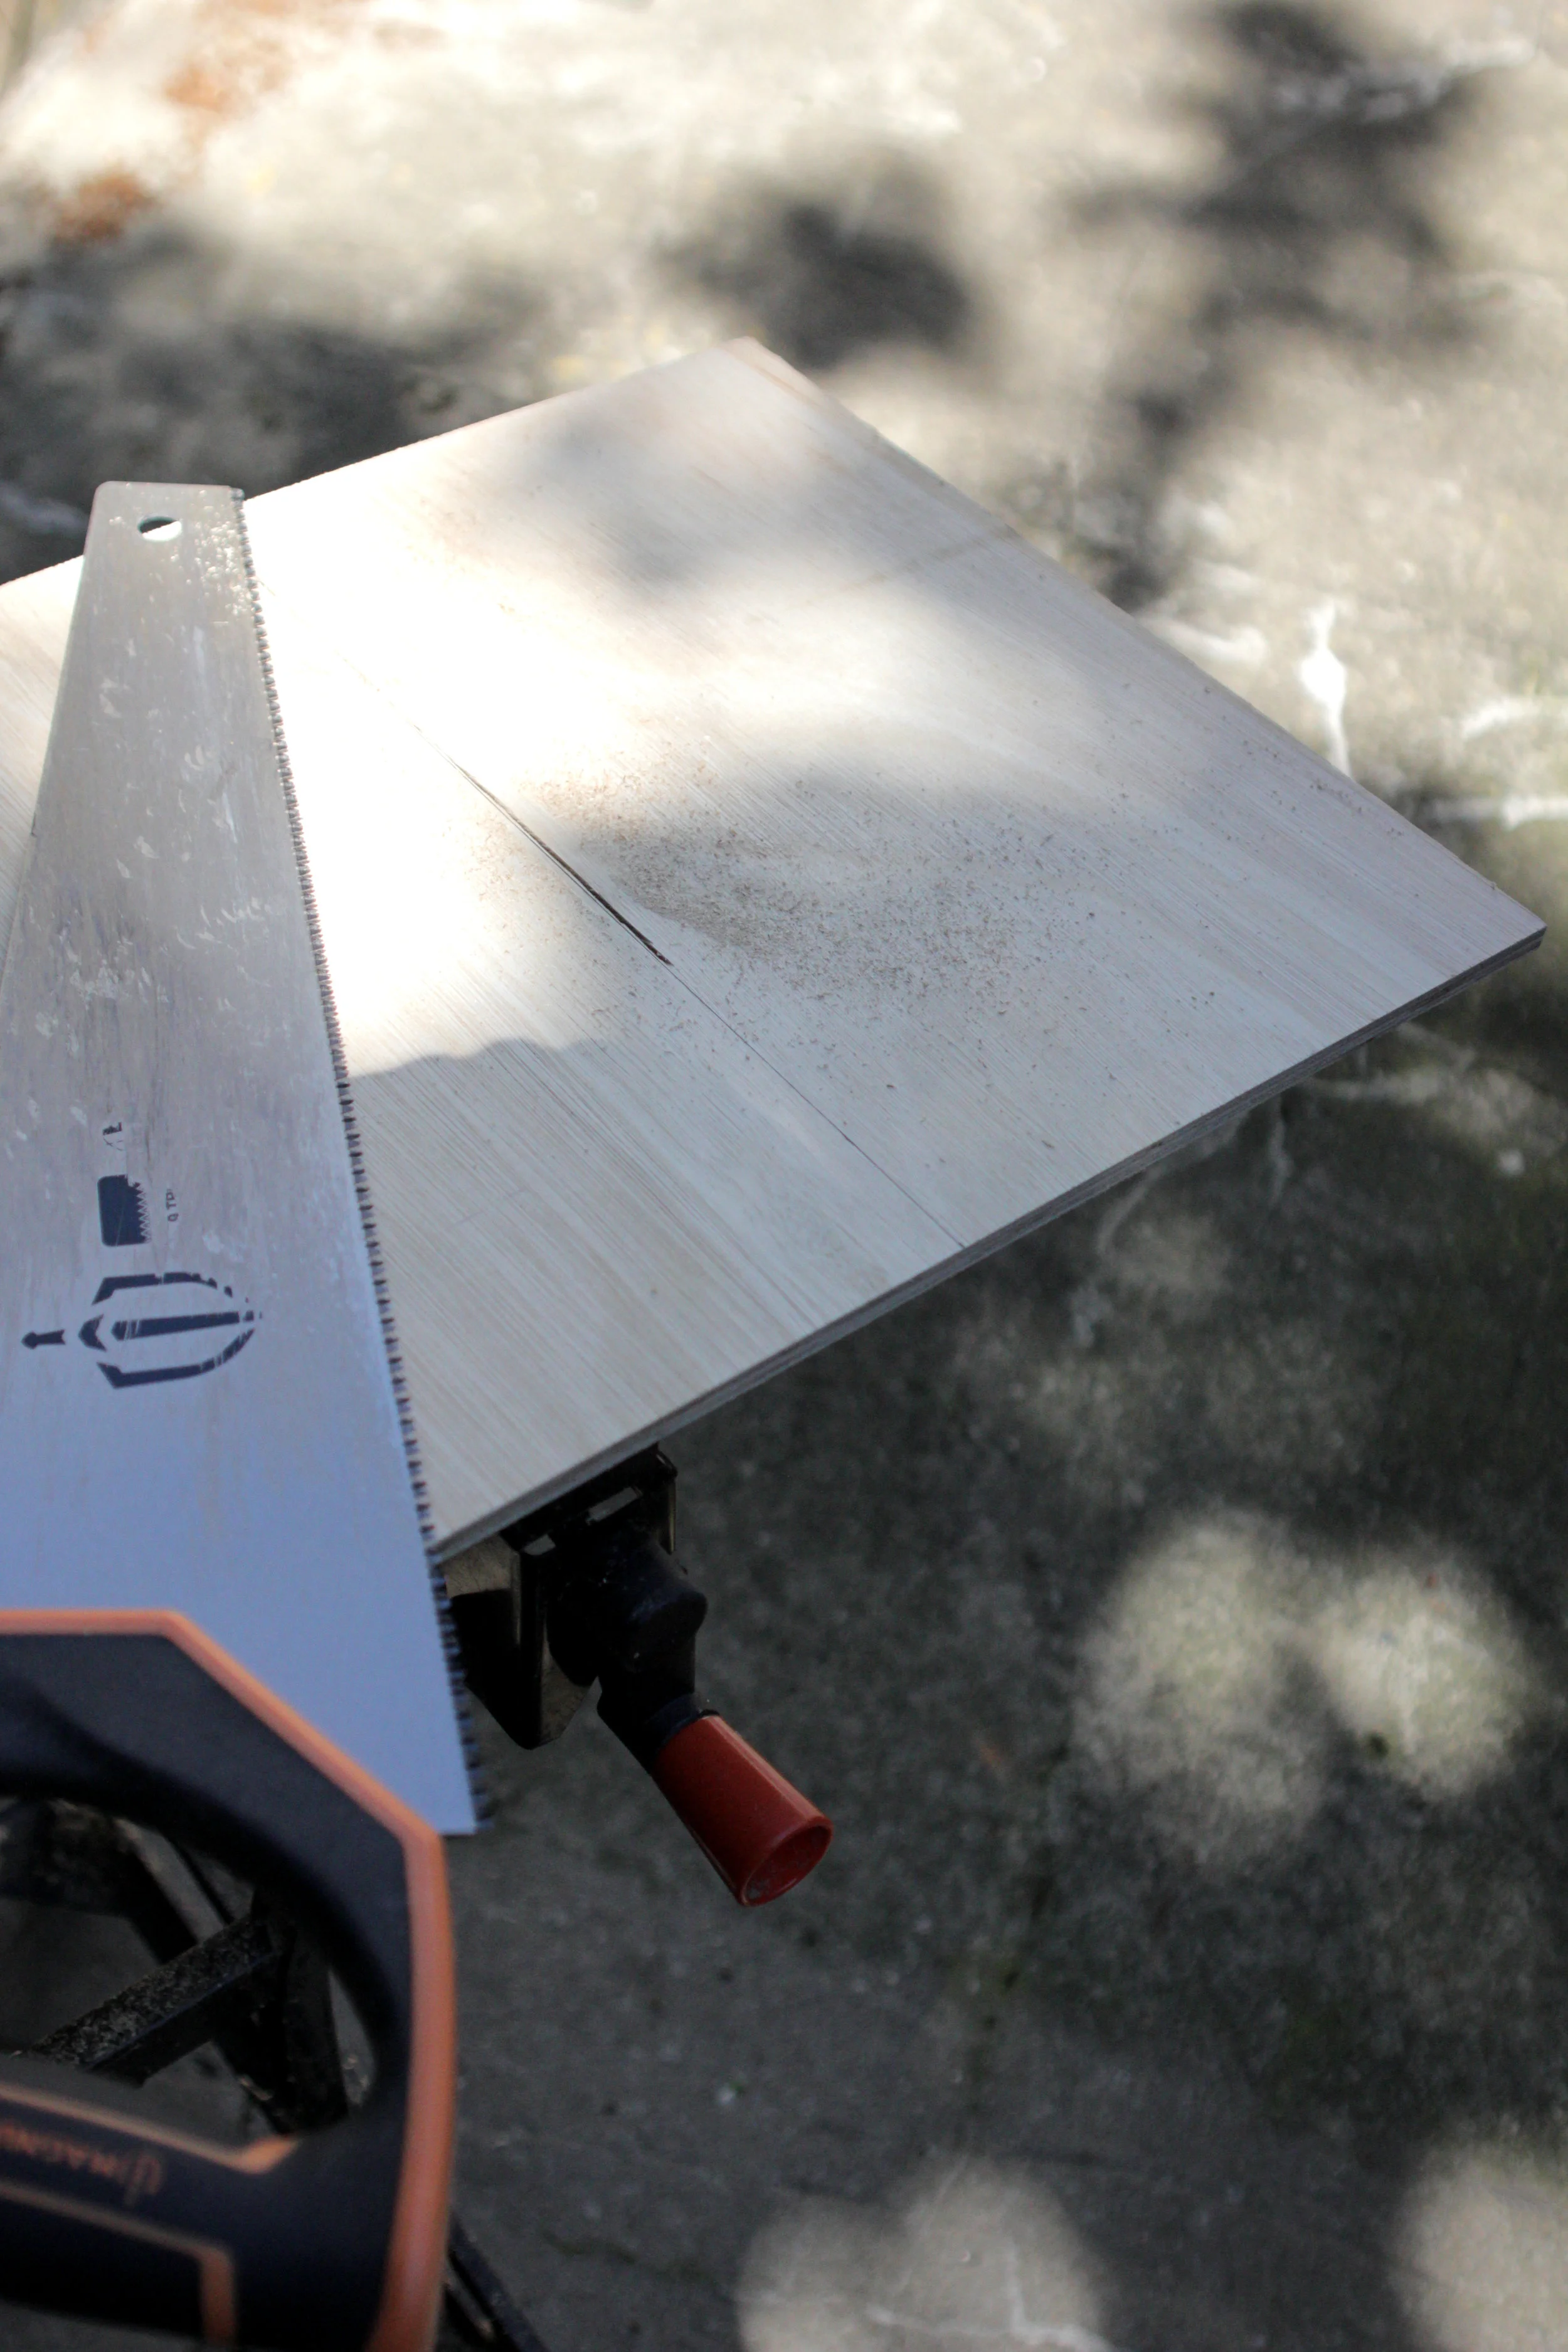

On your 9 mm thick plywood mark the pieces you need, saw them out and sand smooth. Make sure the wood is very smooth as you don’t want your child to end up with splinters in their little fingers.
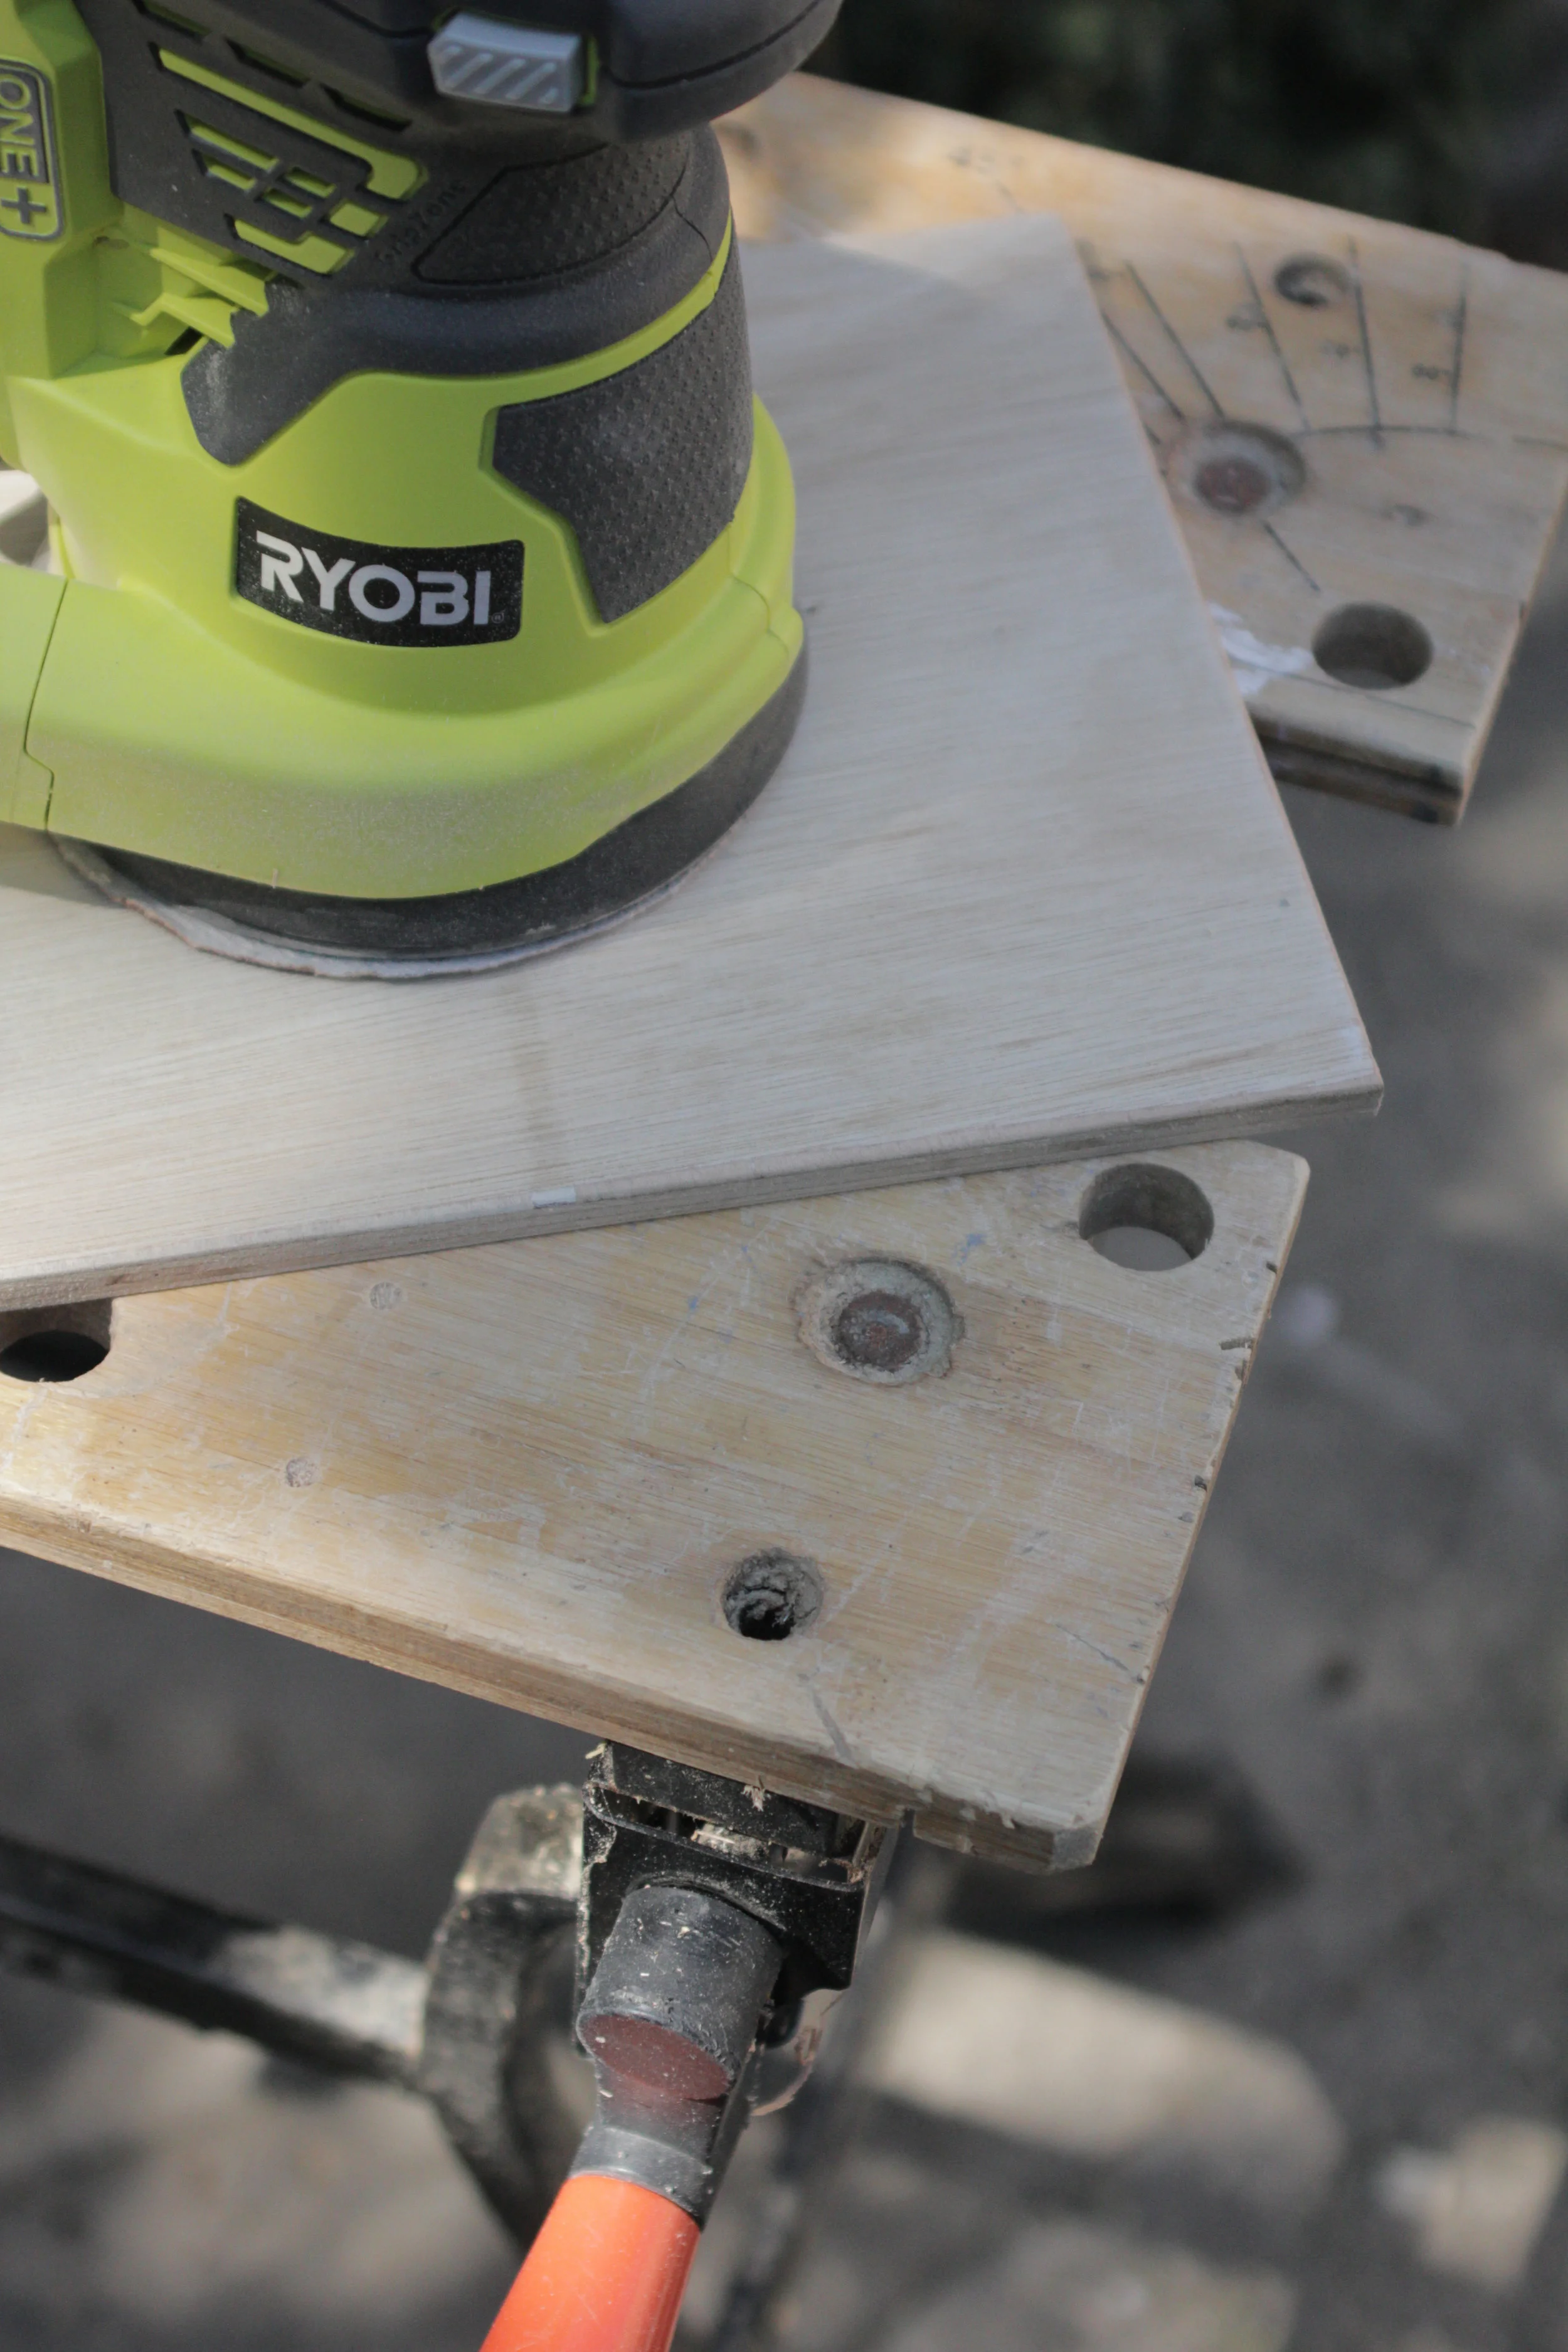
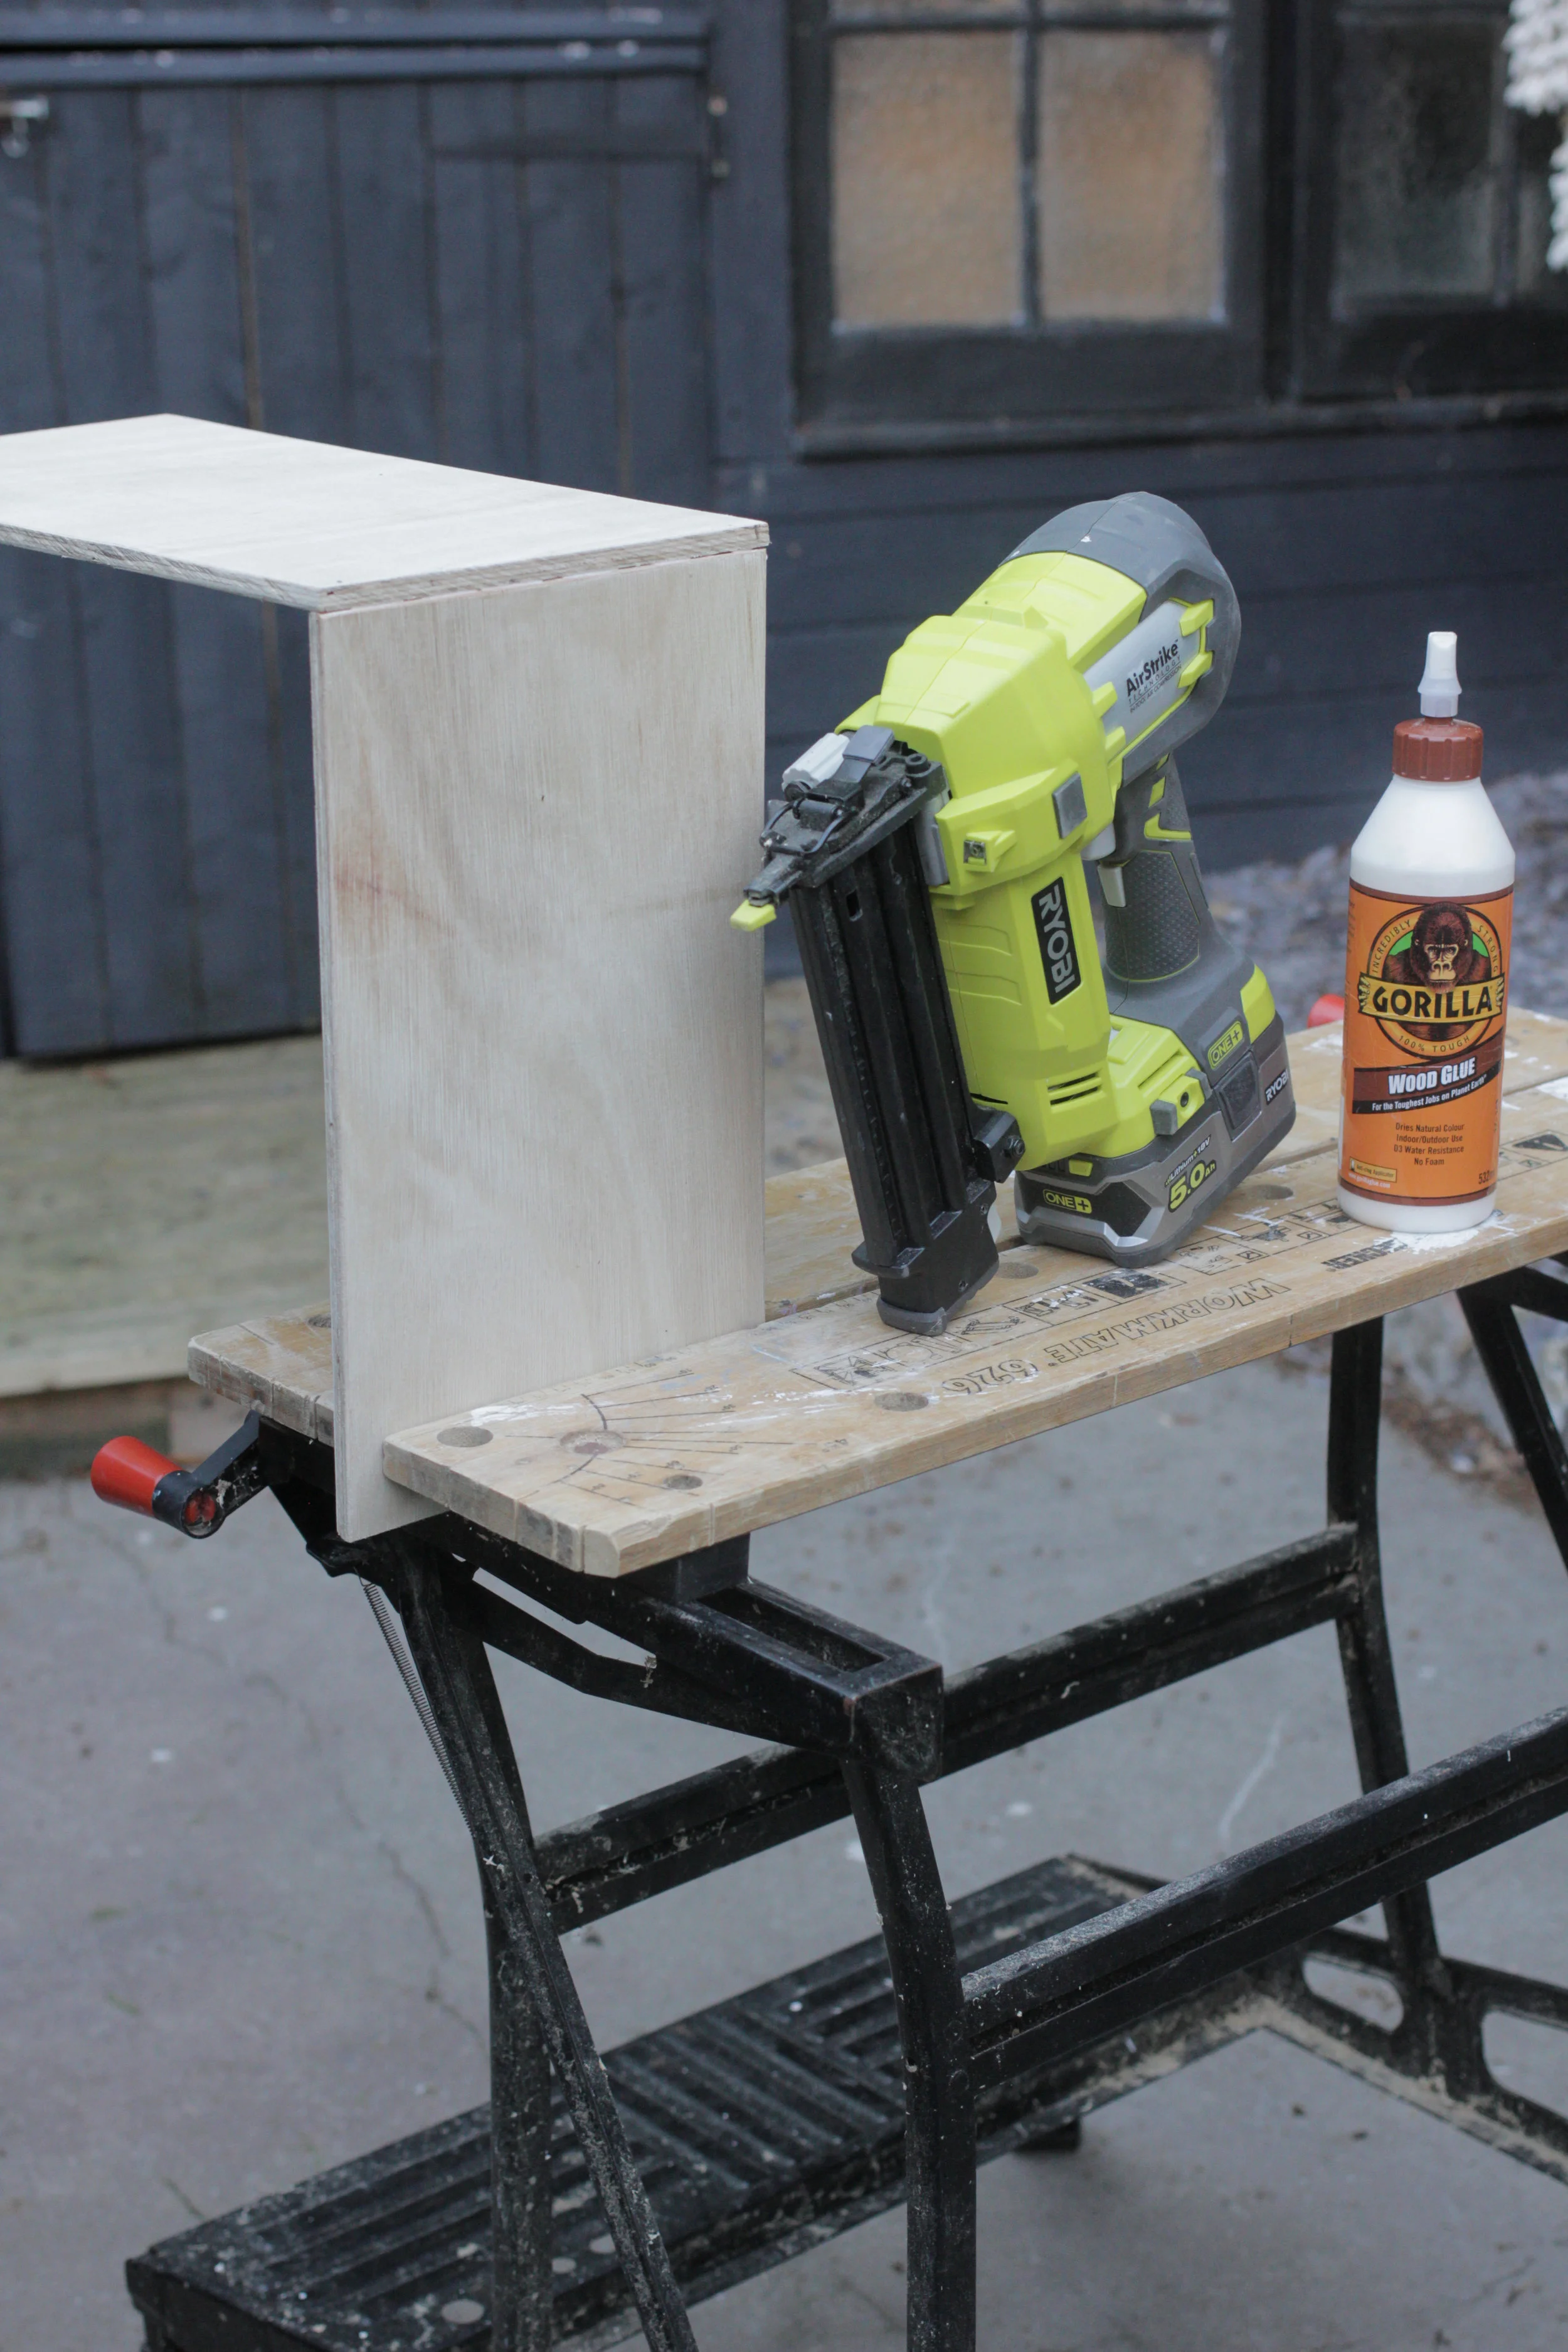
With all your pieces cut and sanded it is time to assemble.
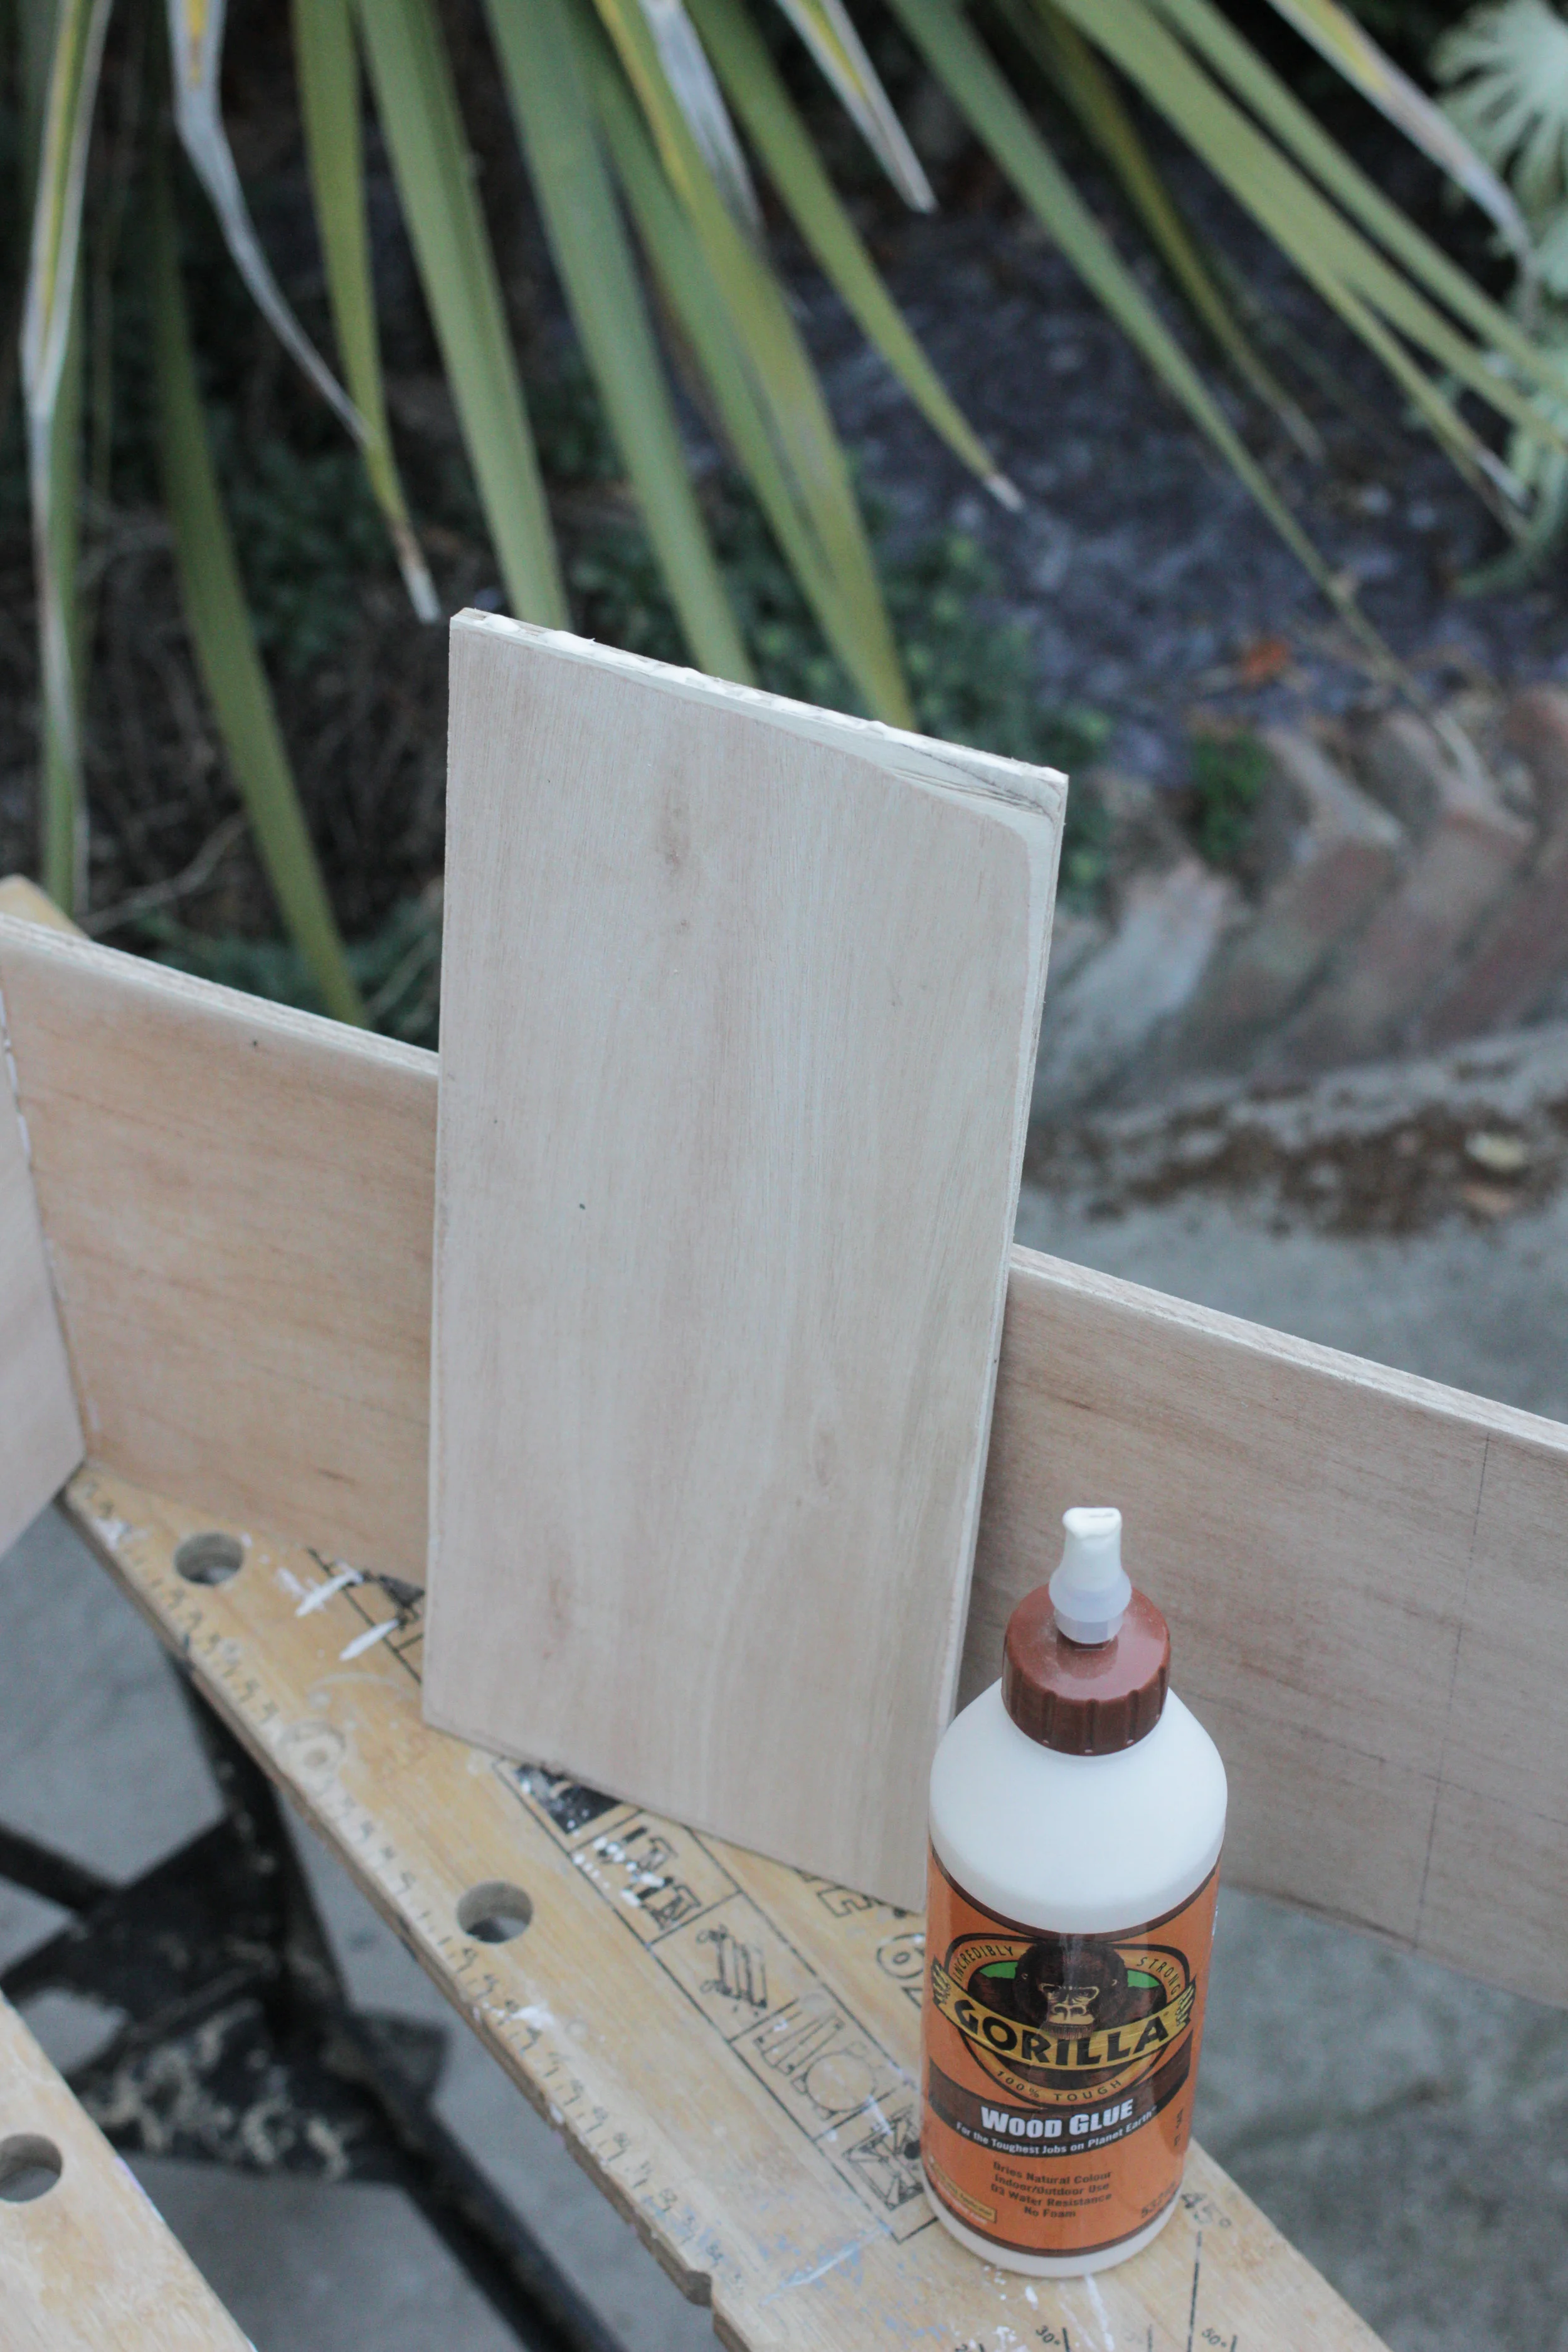
Start by glueing and nailing the sides to the base plate.
Add Gorilla Wood Glue generously to the edges of the base, line the sides up, grip together and nail in place.
Three or four nails per side will do
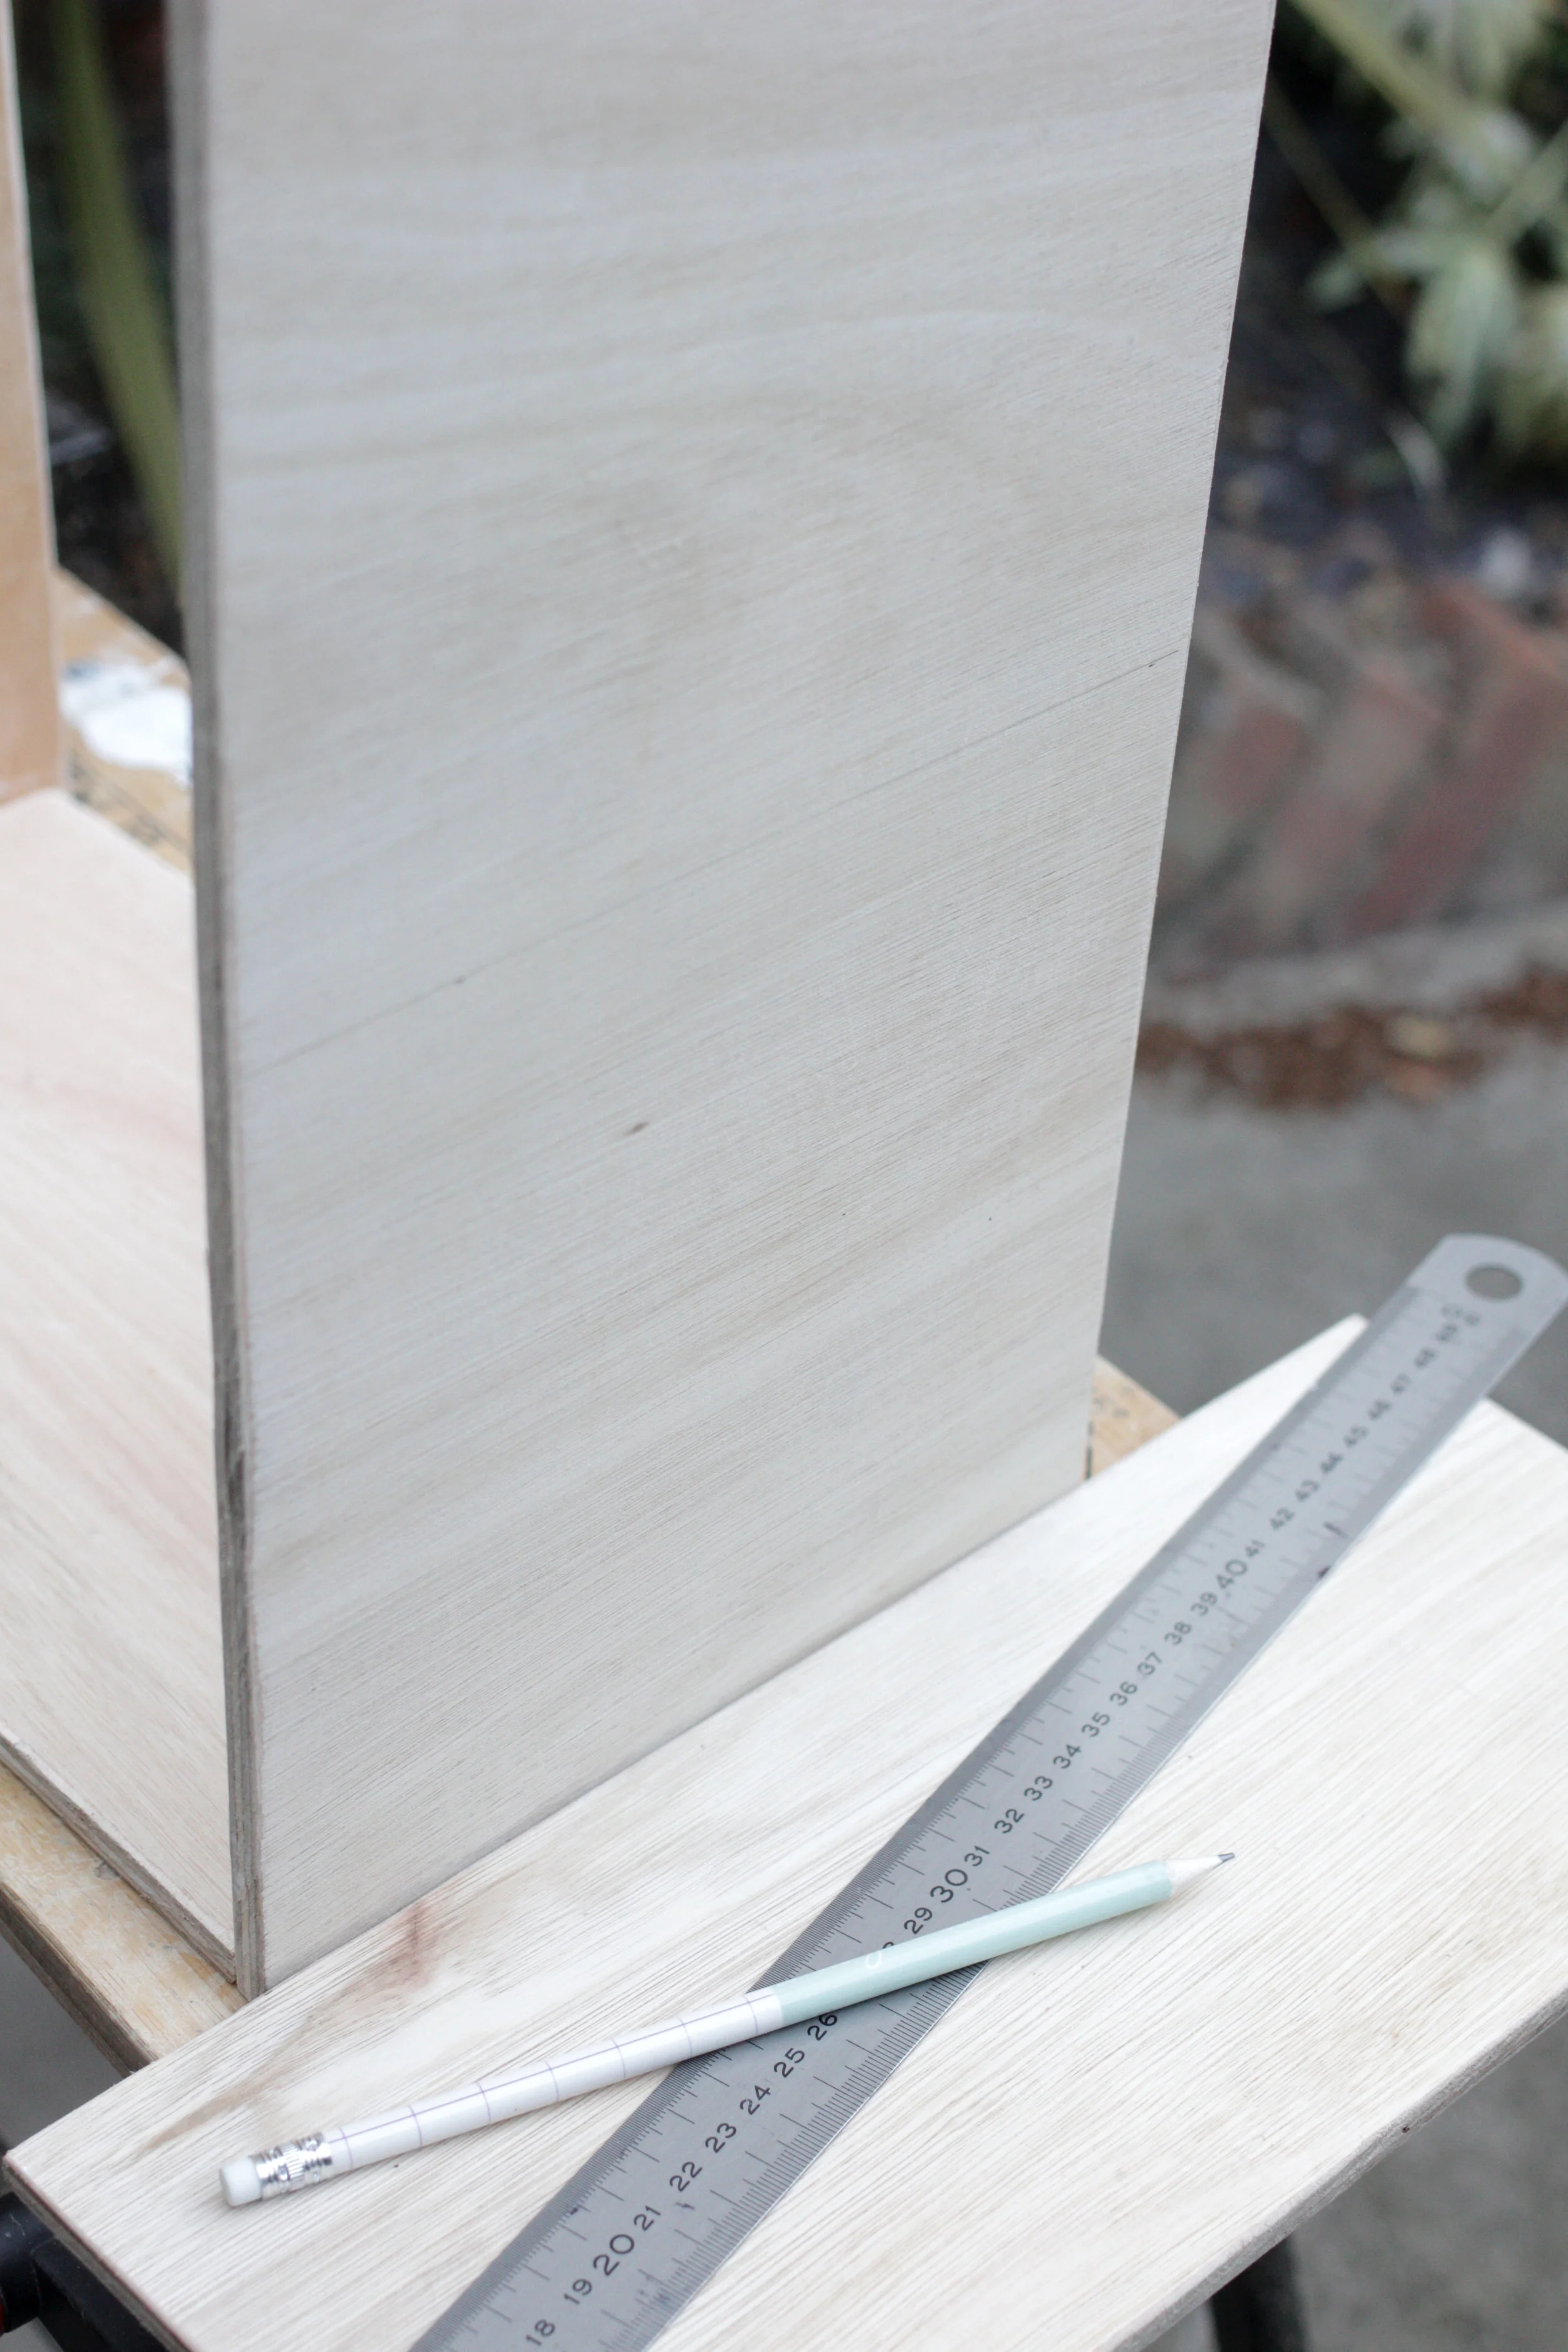
Draw a line where you want your 1st floor to go, I did mine 15 cm from the base.
Draw a pencil line on the outside and inside of the sides.
Apply Gorilla Wood Glue to the sides of the 1st floor piece and line up to the pencil mark.
Nail in place.
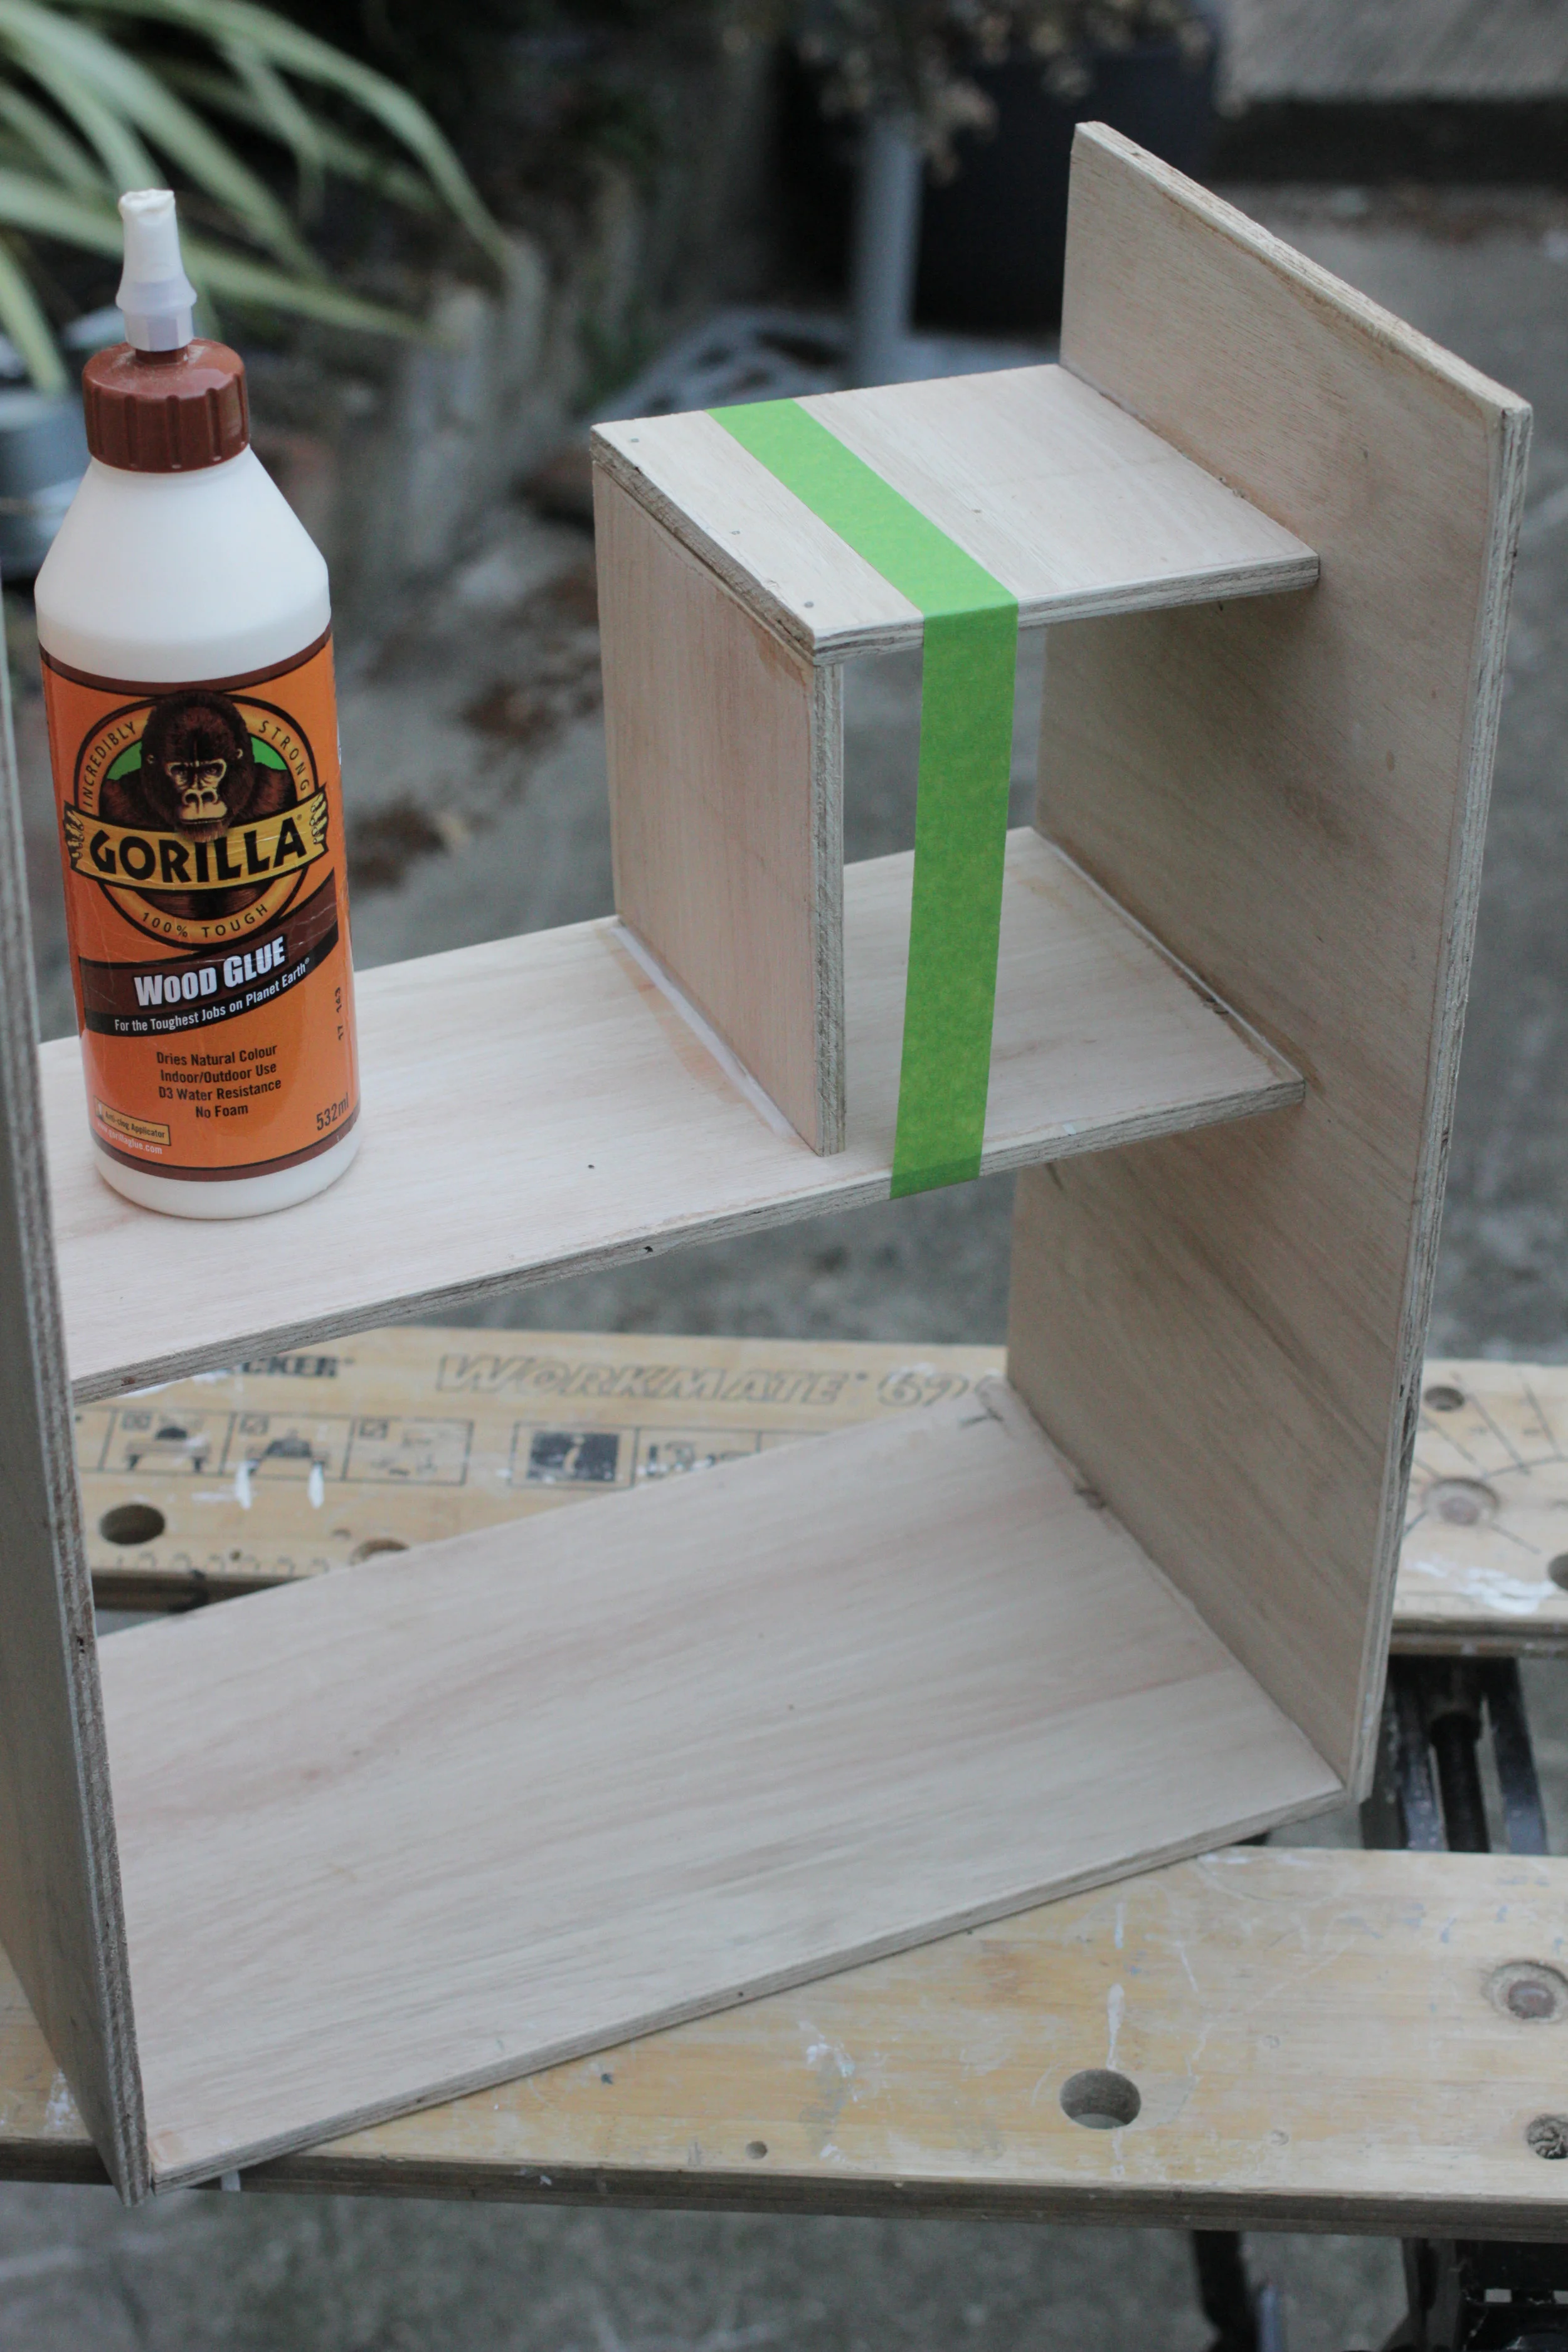
Glue the mezzanine pieces together with a bit of wood glue and secure in place with two nails. Apply more Gorilla Wood Glue to the sides and put in place on the first floor. Use a bit of masking tape to keep the mezzanine in place while the glue is drying, leave to cure for 24 hours.
Secure the mezzanine in place with a couple of nails trough the side. Don’t worry about nailing it in place on the floor too, the glue is strong enough to keep the mezzanine in the right space. Remove any excess glue with a clean, wet cloth or scrape it off once the glue dries.
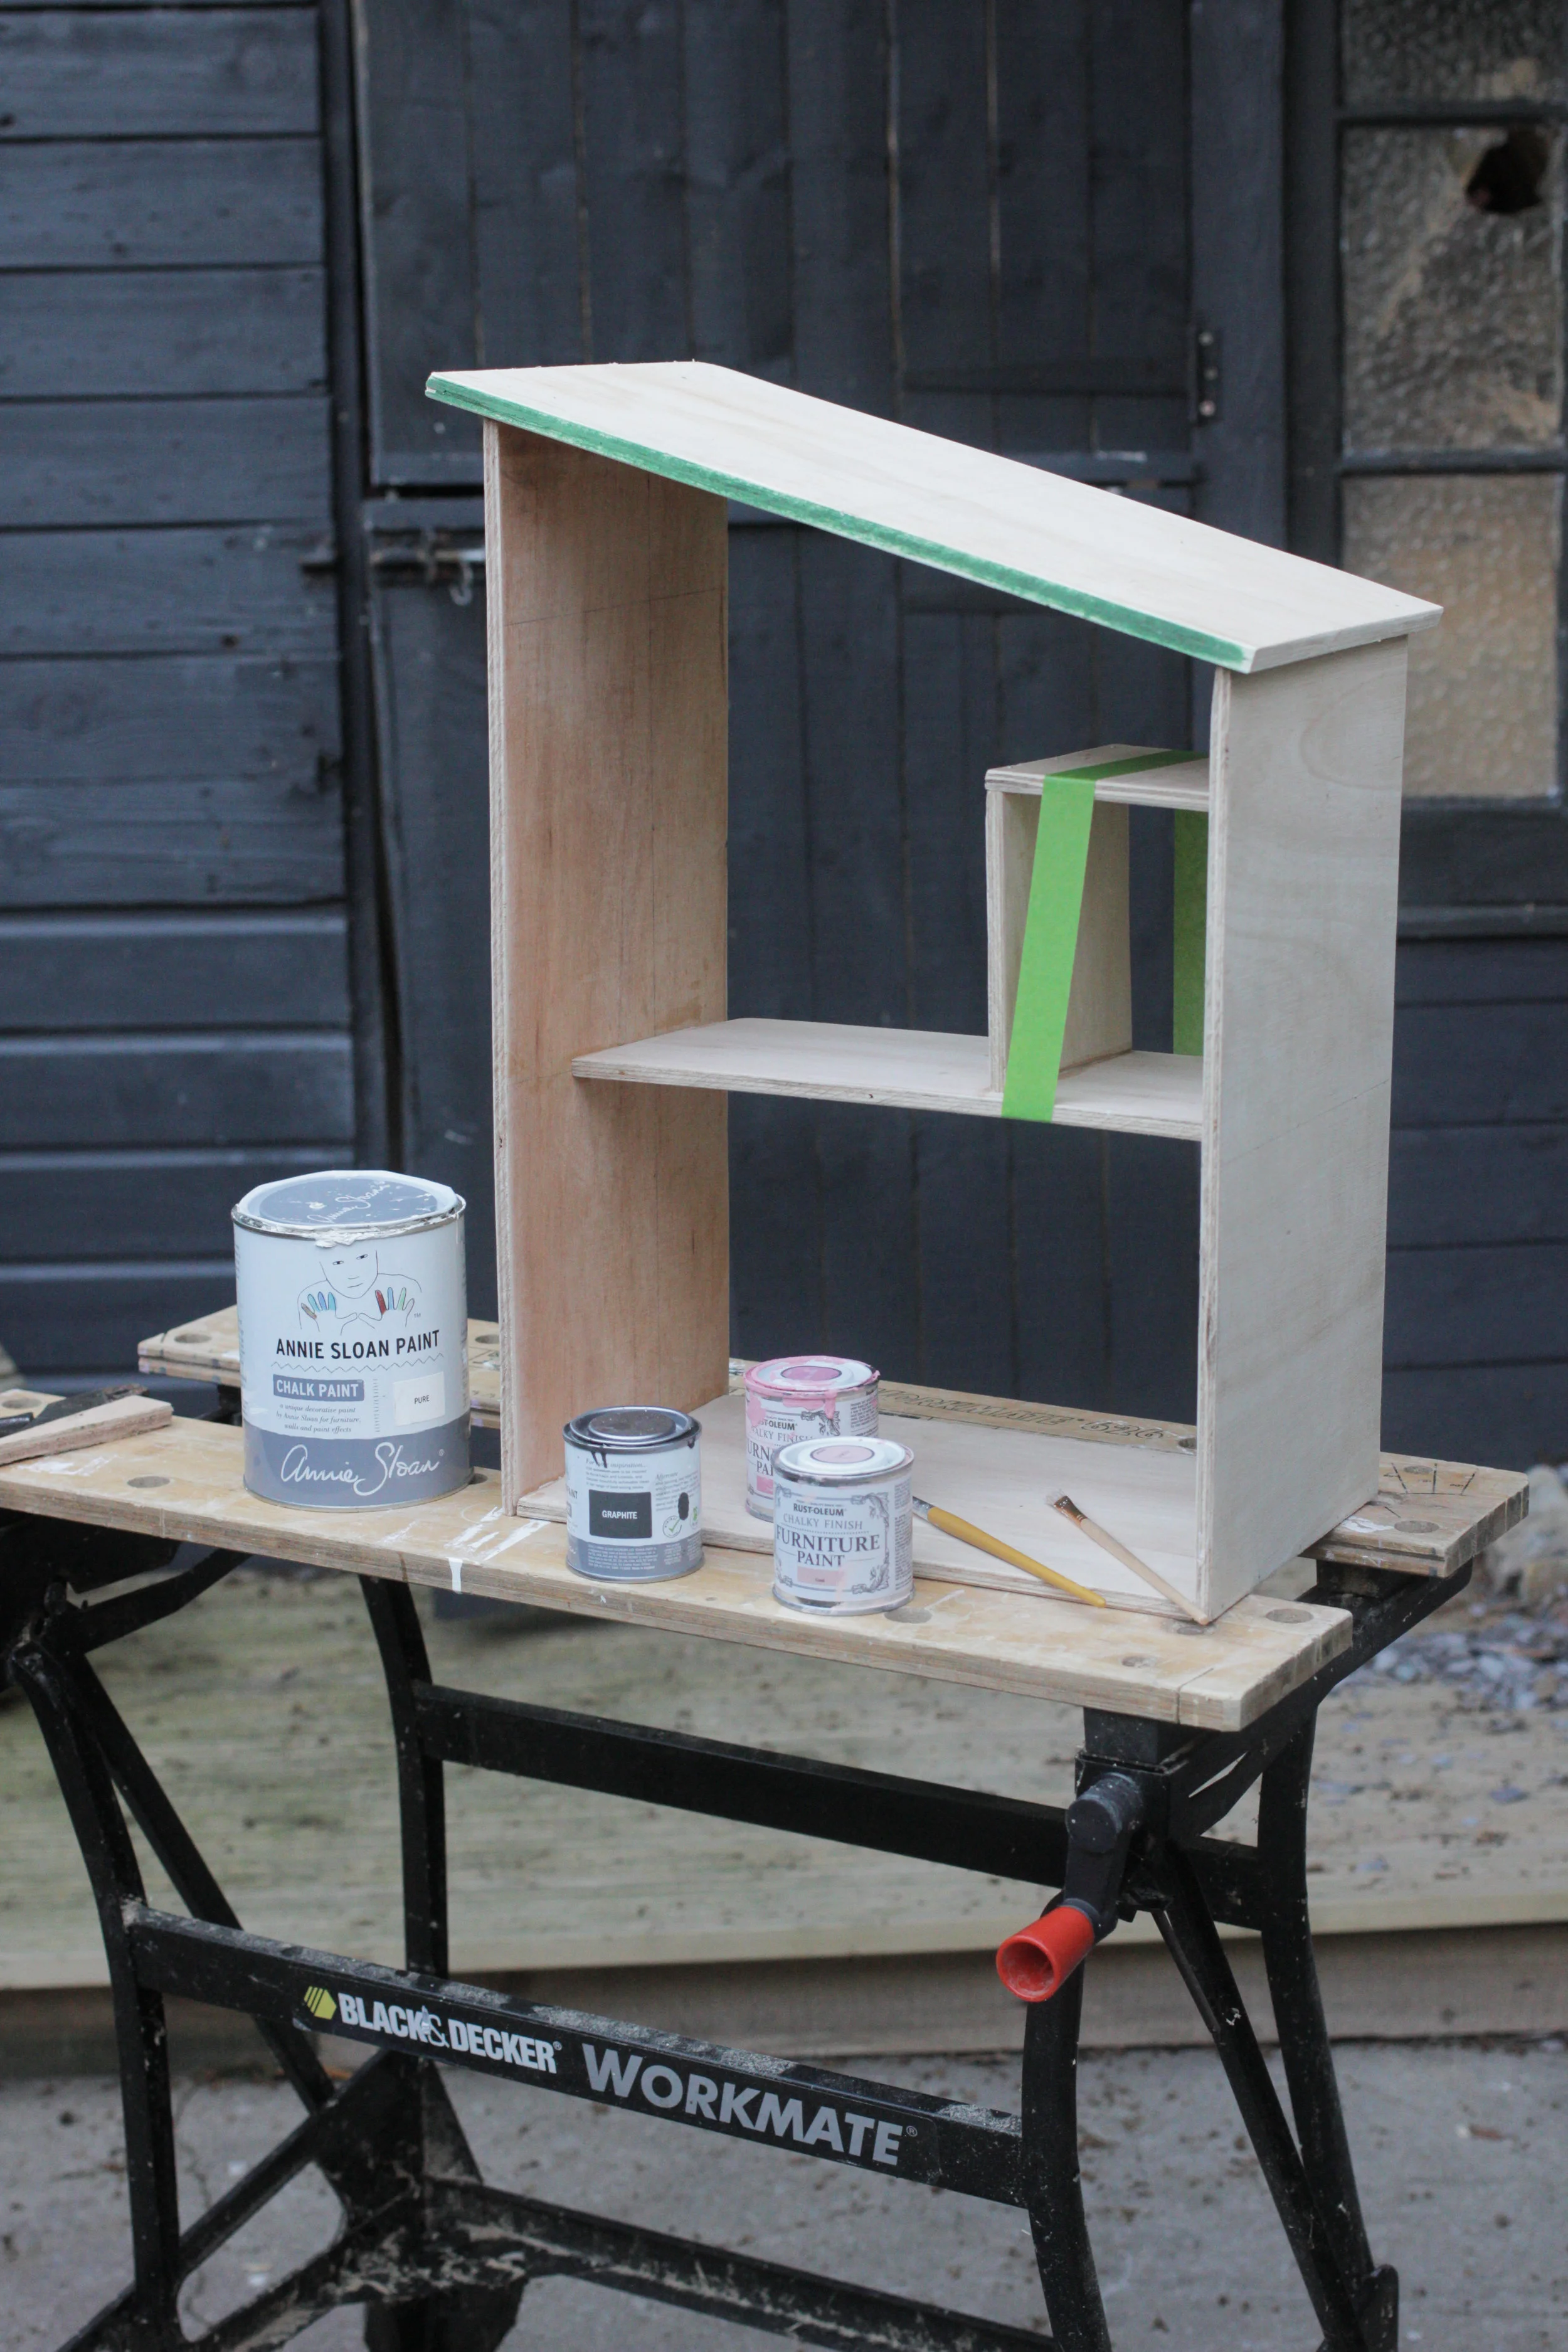
Its’t time to decorate!
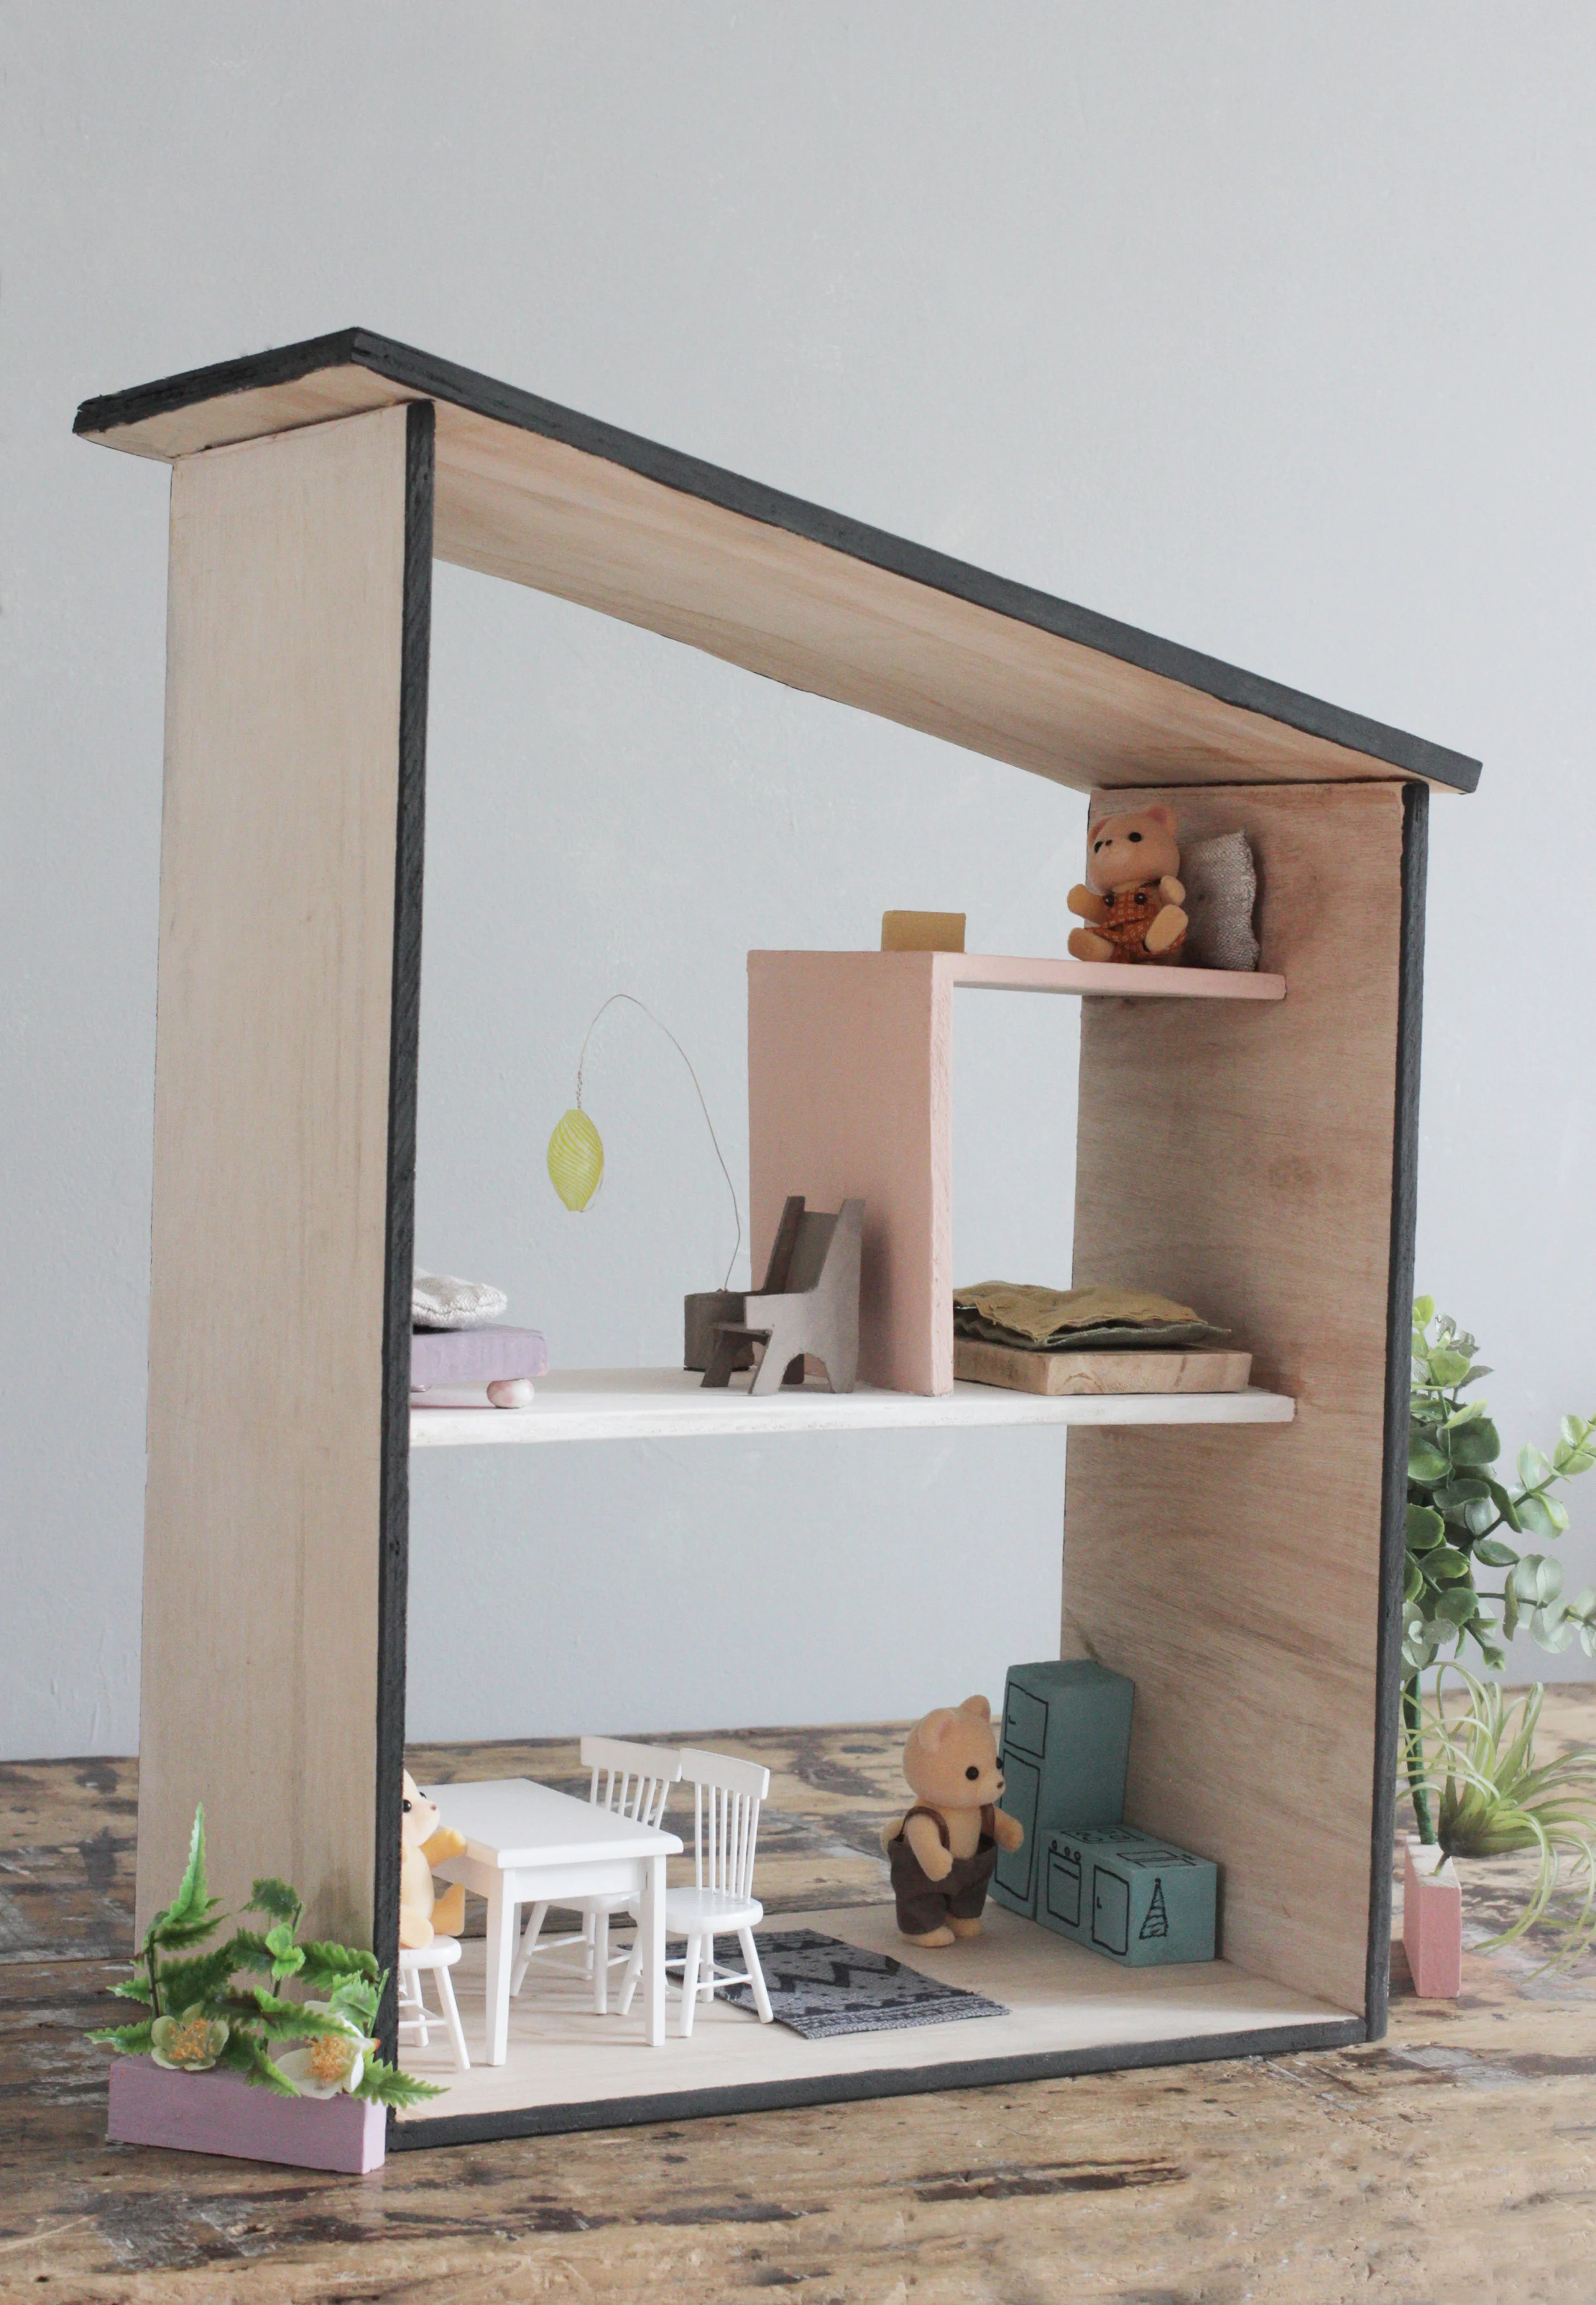
Paint however you seem fit, I gave the roof a dark grey colour with Annie Sloan Chalk paint in charcoal and used the same colour on the sides of the plywood giving the house a dark trim. The mezzanine got a coat of Coral Furniture paint from Rust-Oleum. I painted the first floor white with Annie Sloan Chalk Paint in Pure
You can fill your dolls house with shop bought furniture like the dining table and chairs I found on Amazon or you can make your own. Use pieces of ply left over form the house build or other small pieces you might have lying around.
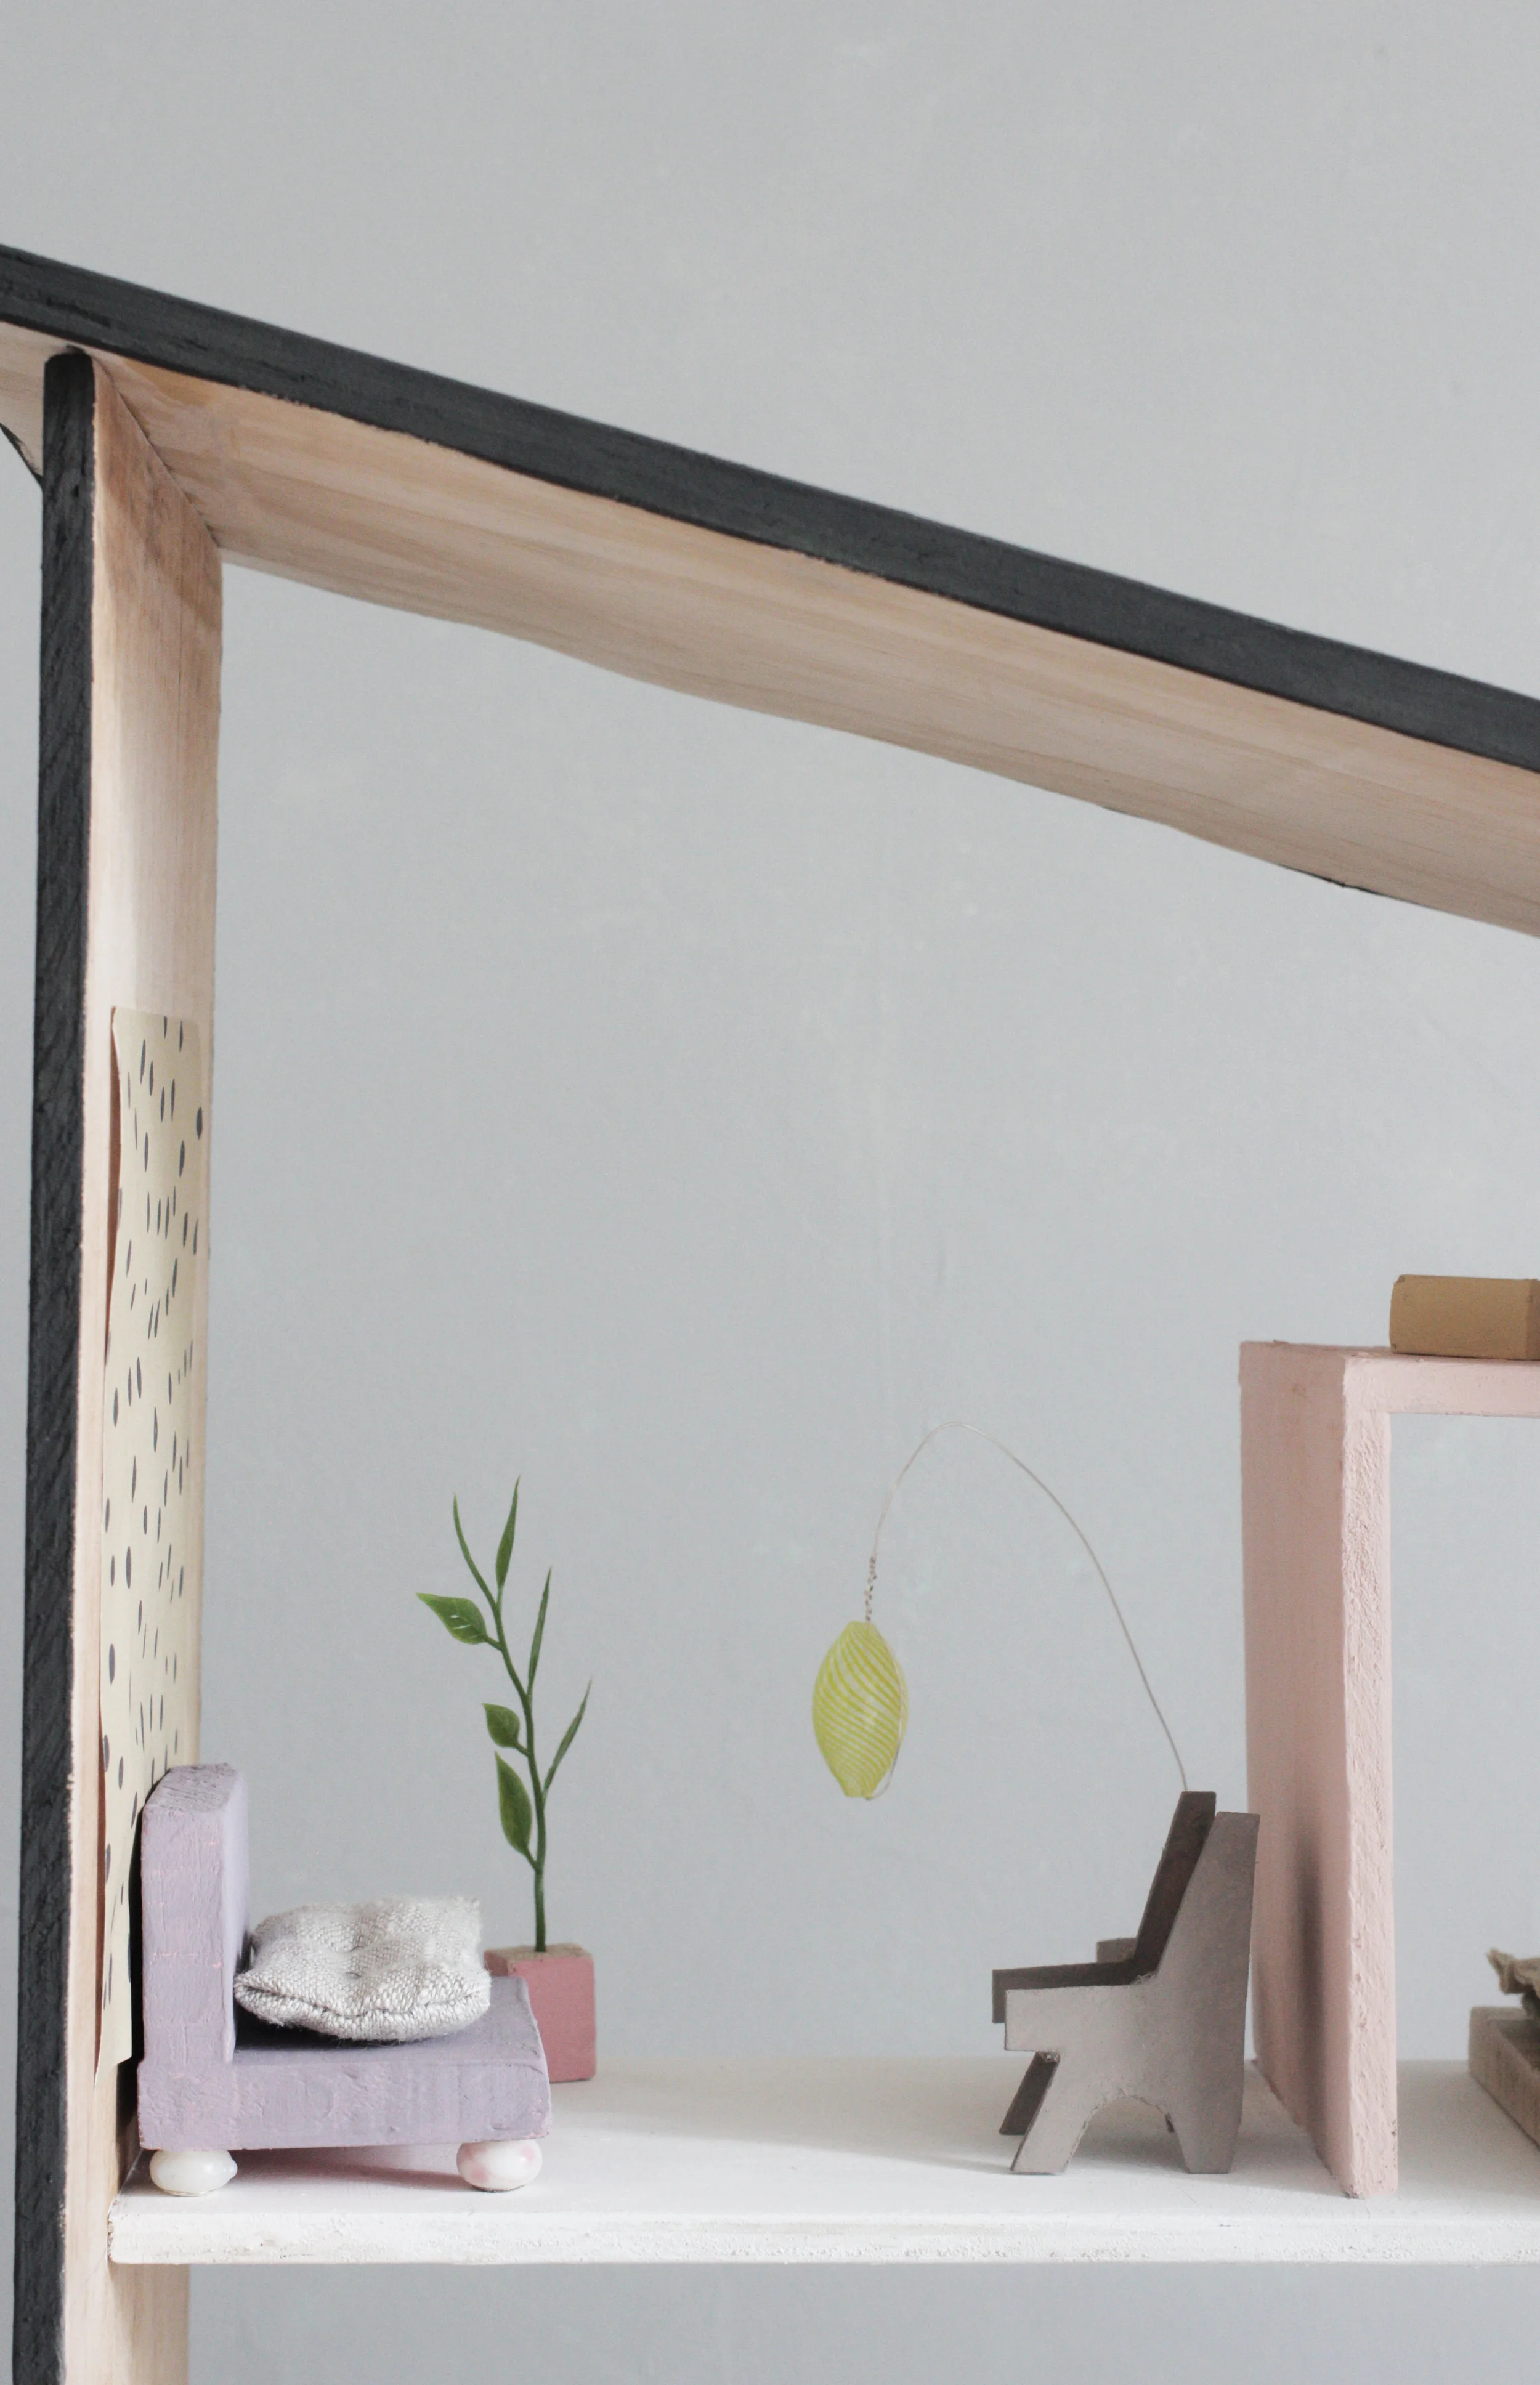
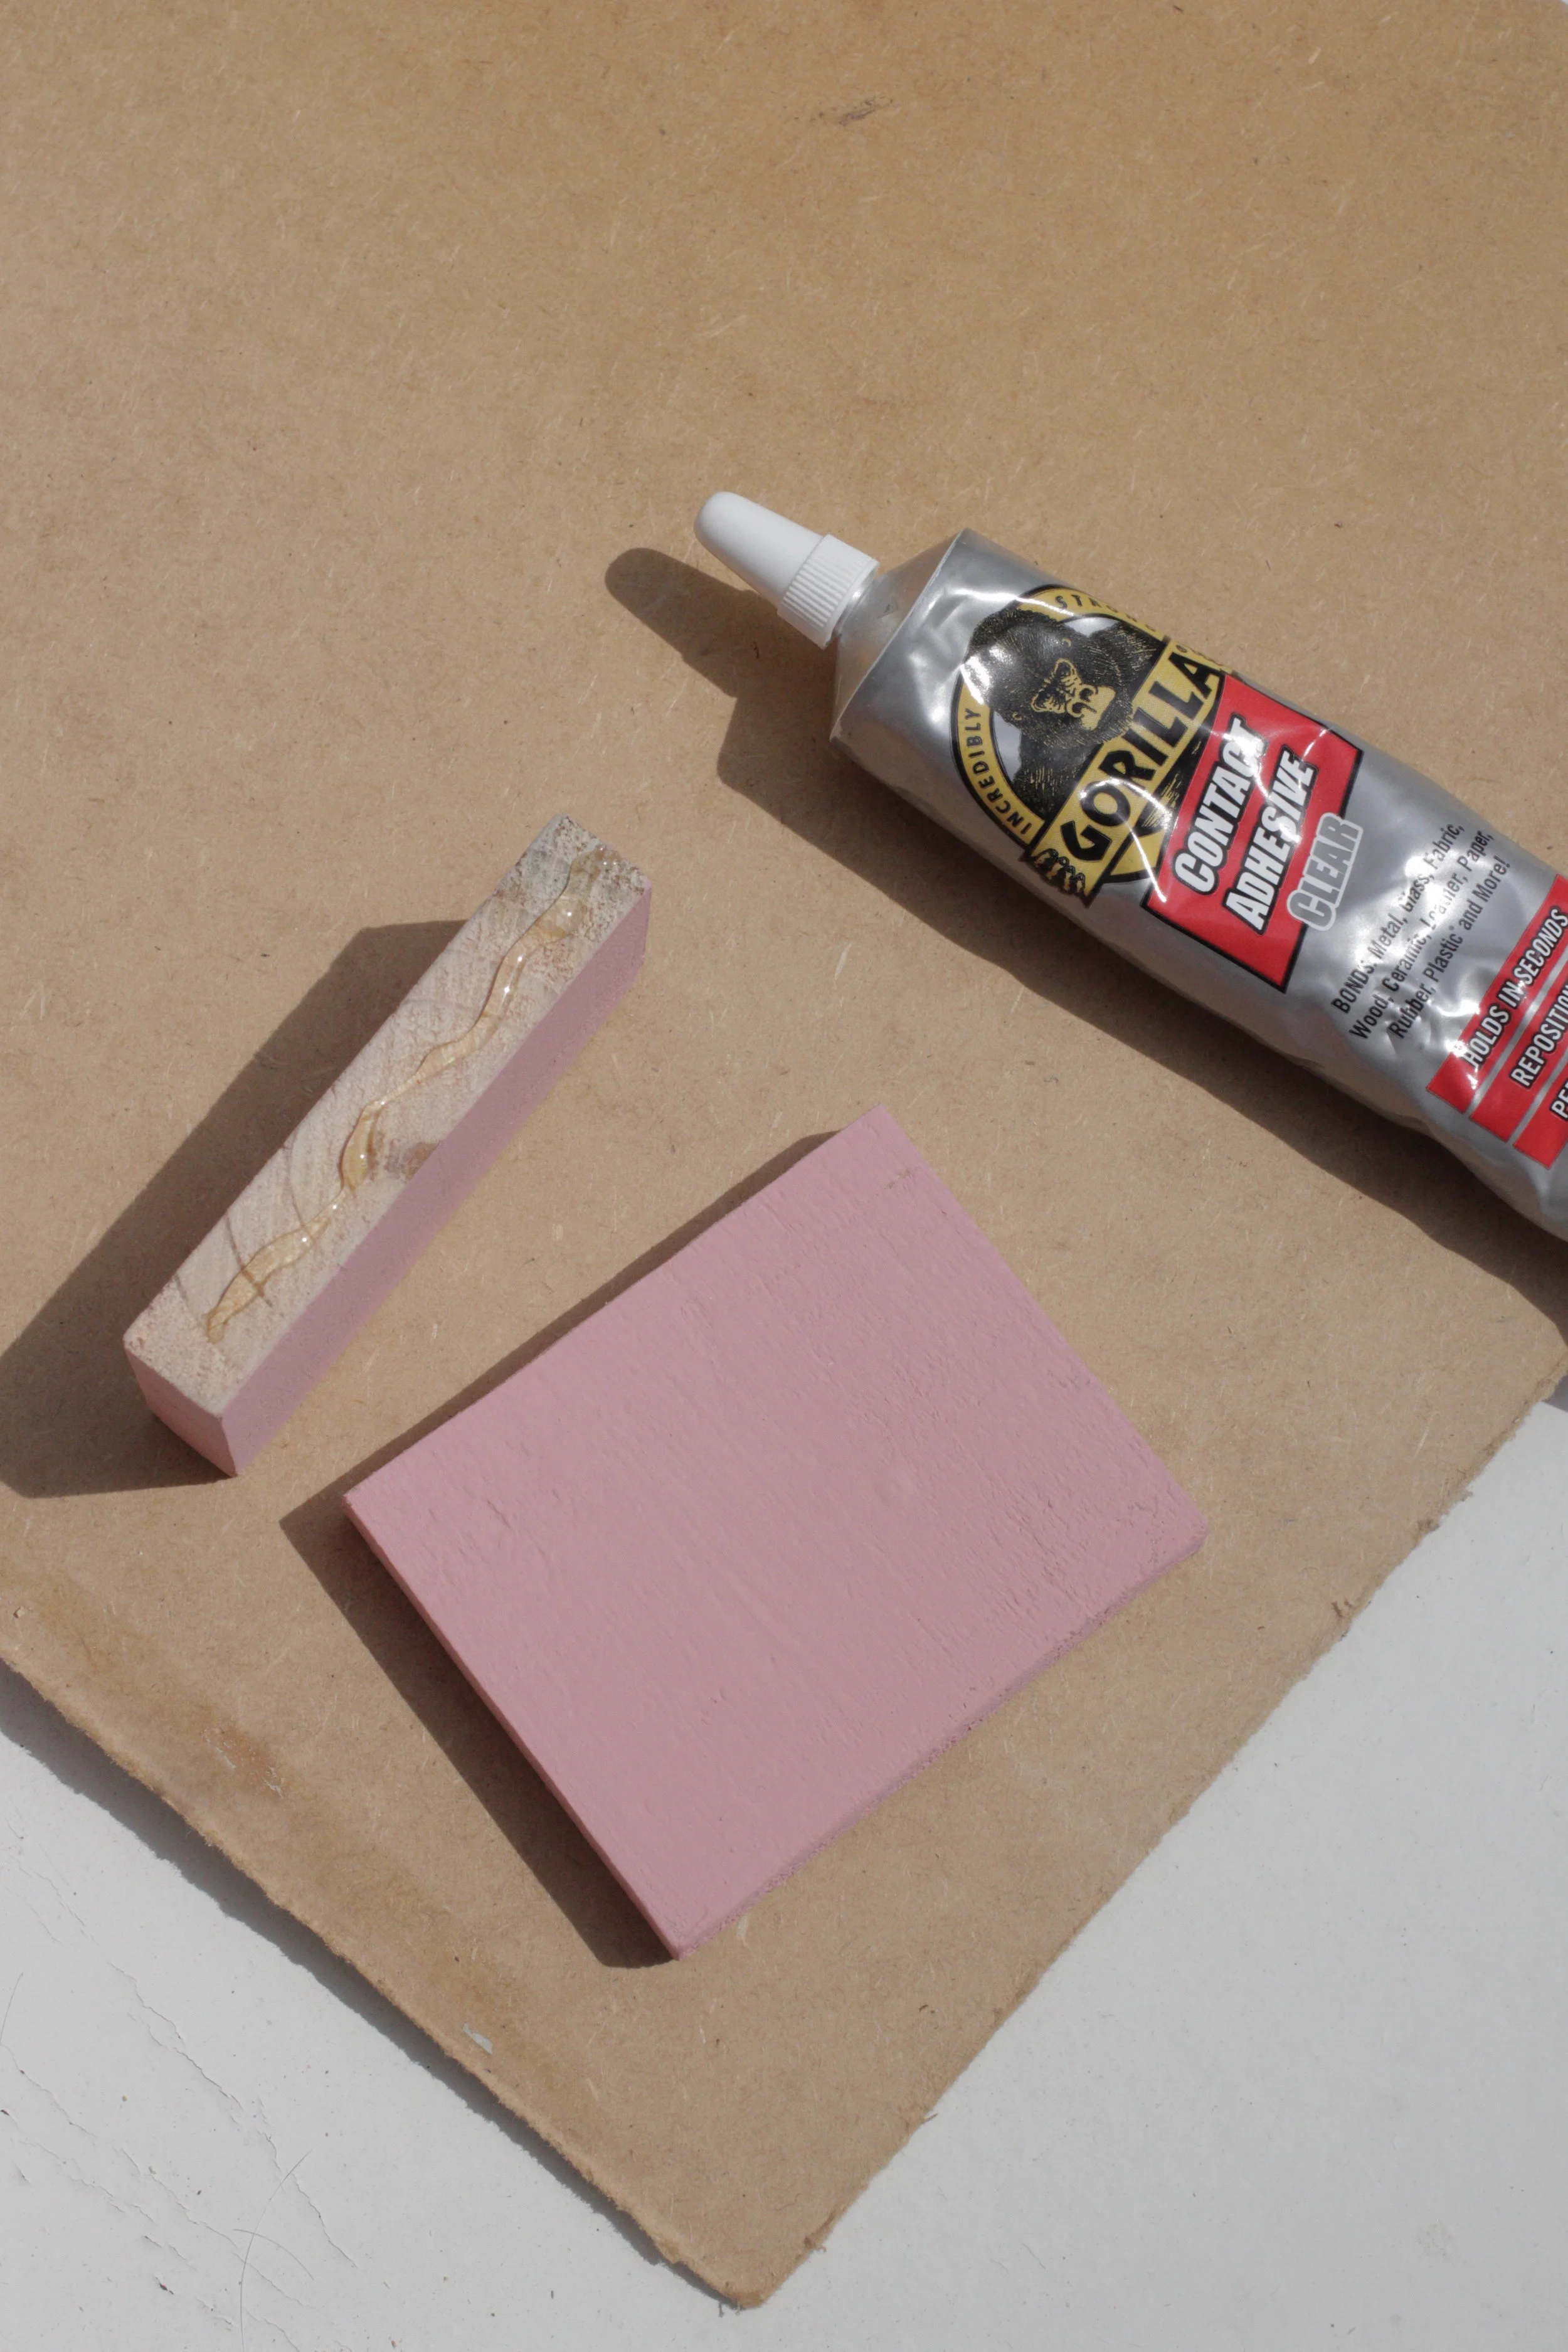
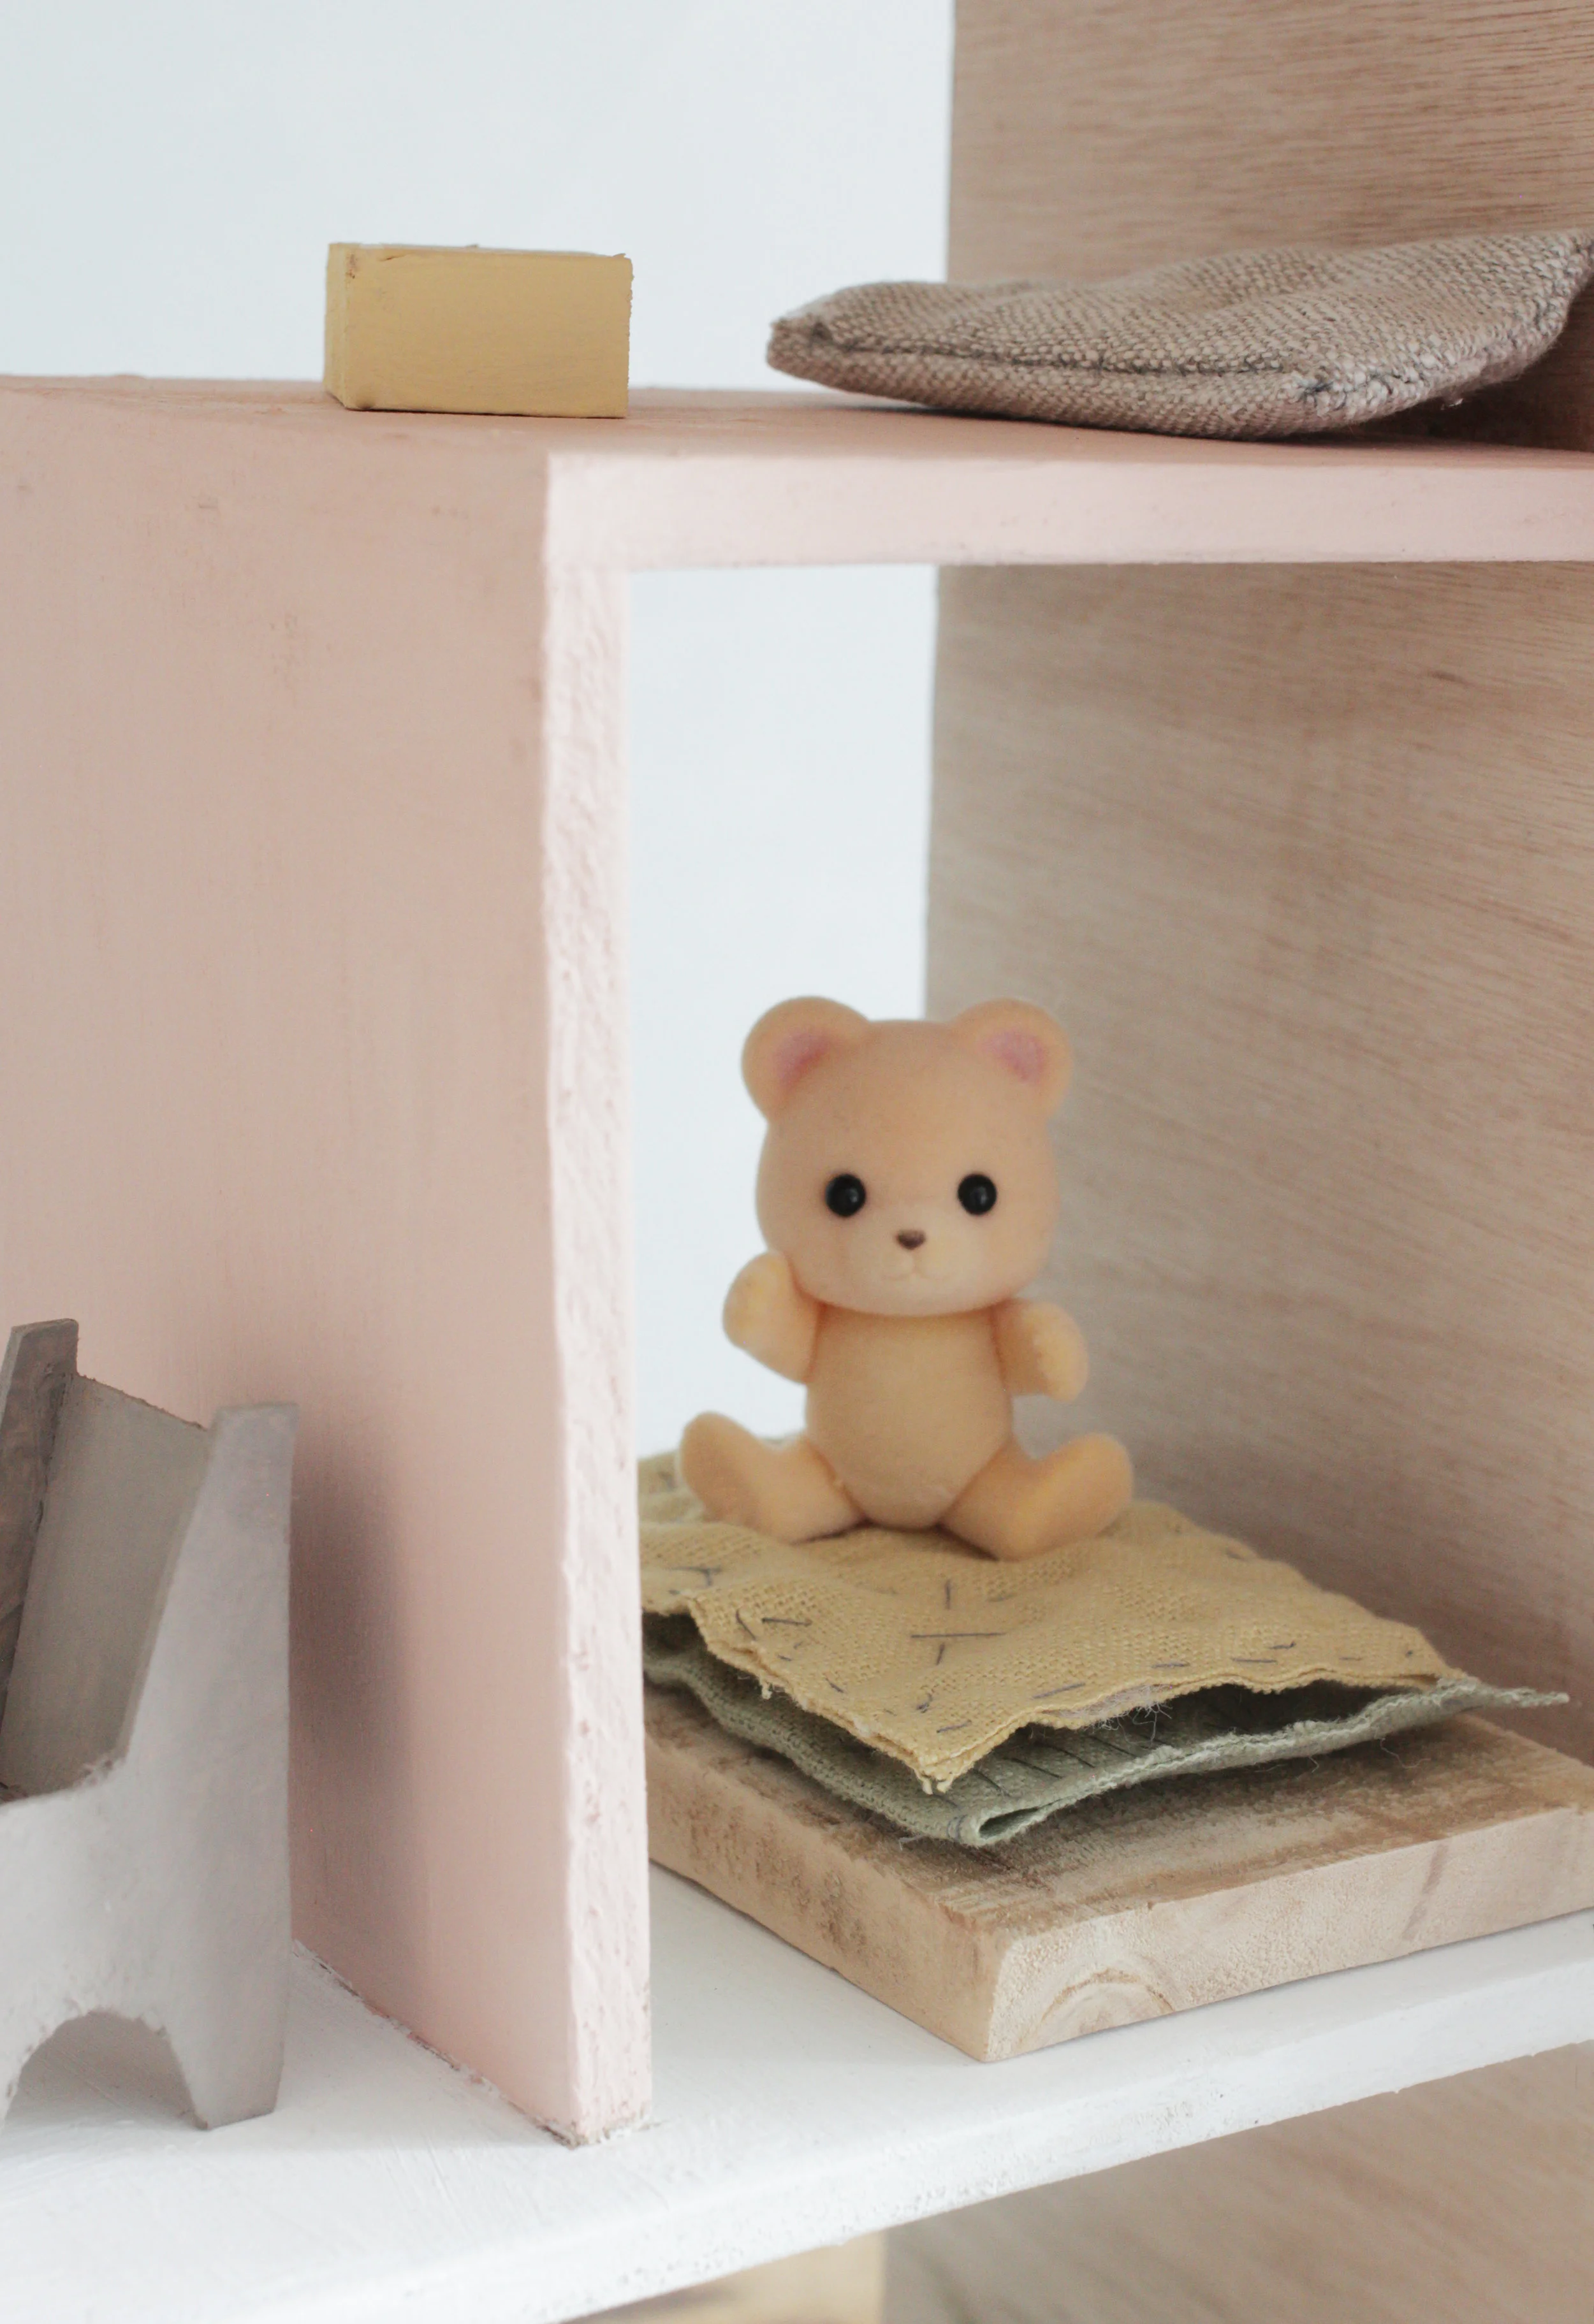
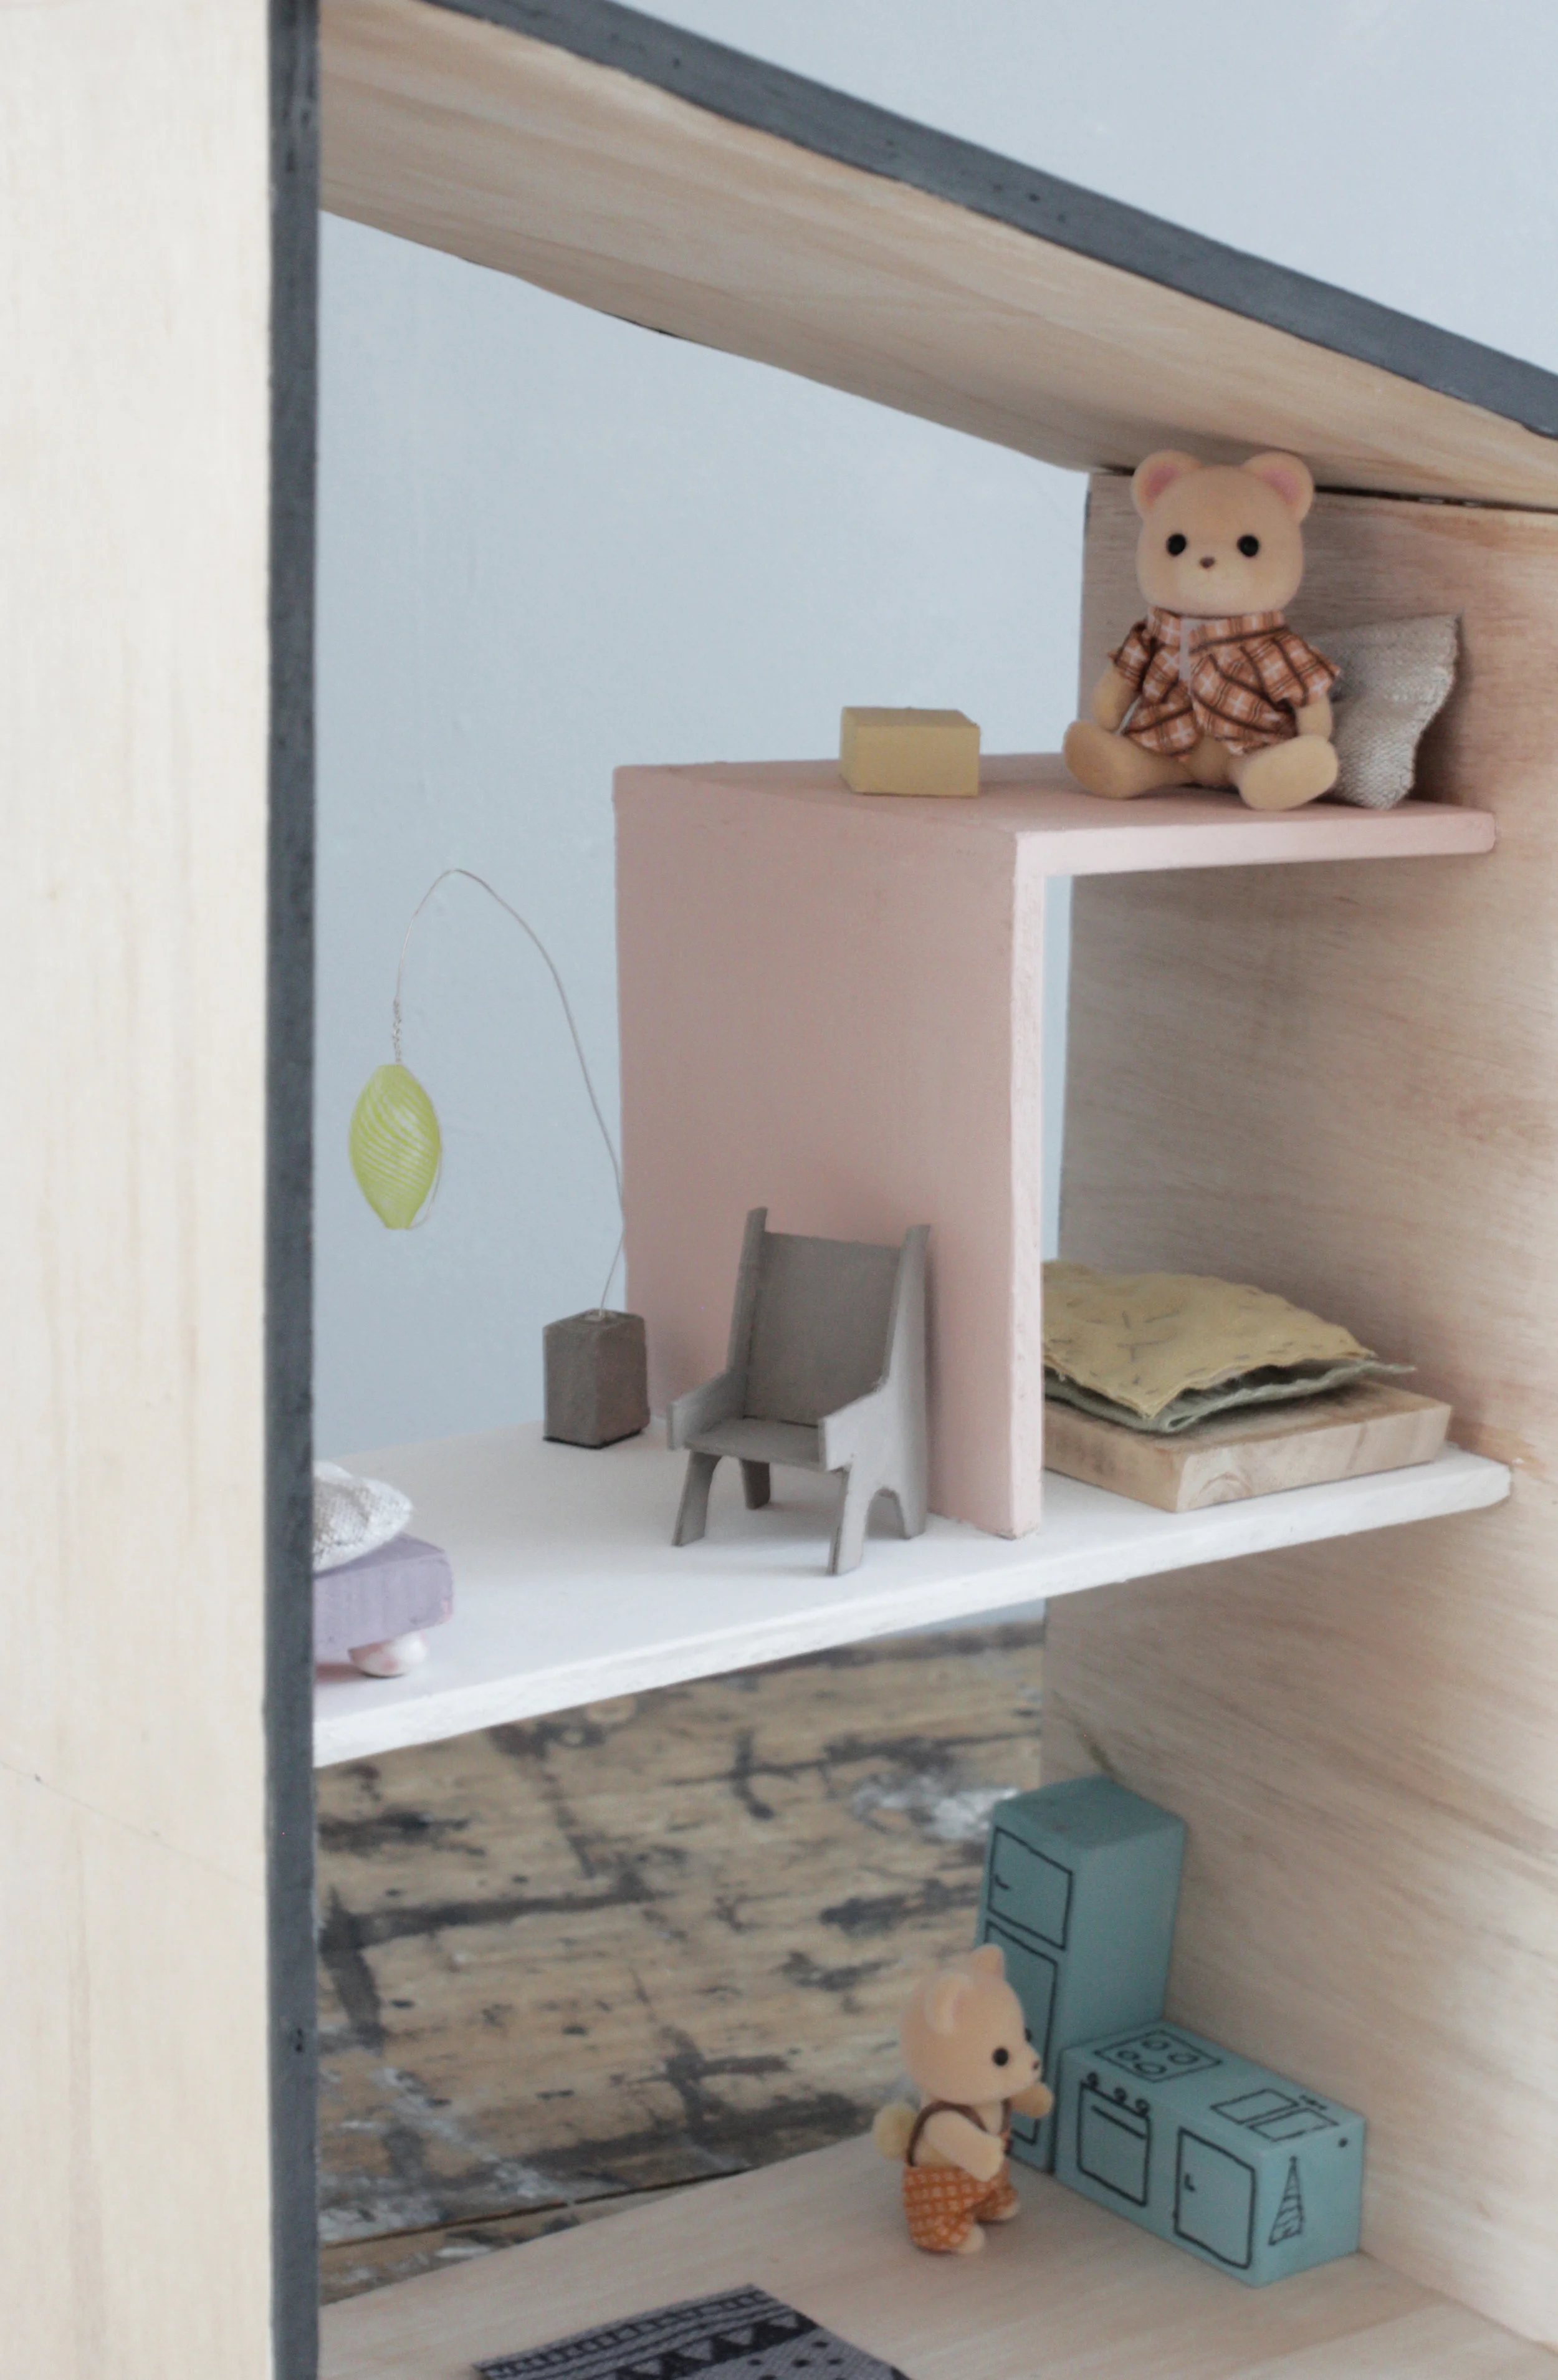
The sofa is made from two rectangular pieces of pallet wood glued together with Gorilla Wood Glue. Four beads make the sofa legs, I glued these on with Gorilla Contact Adhesive Clear, and I made the cushions from a bit of linen and wadding. The sofa is painted in Annie Sloan Chalk Paint in Emile.
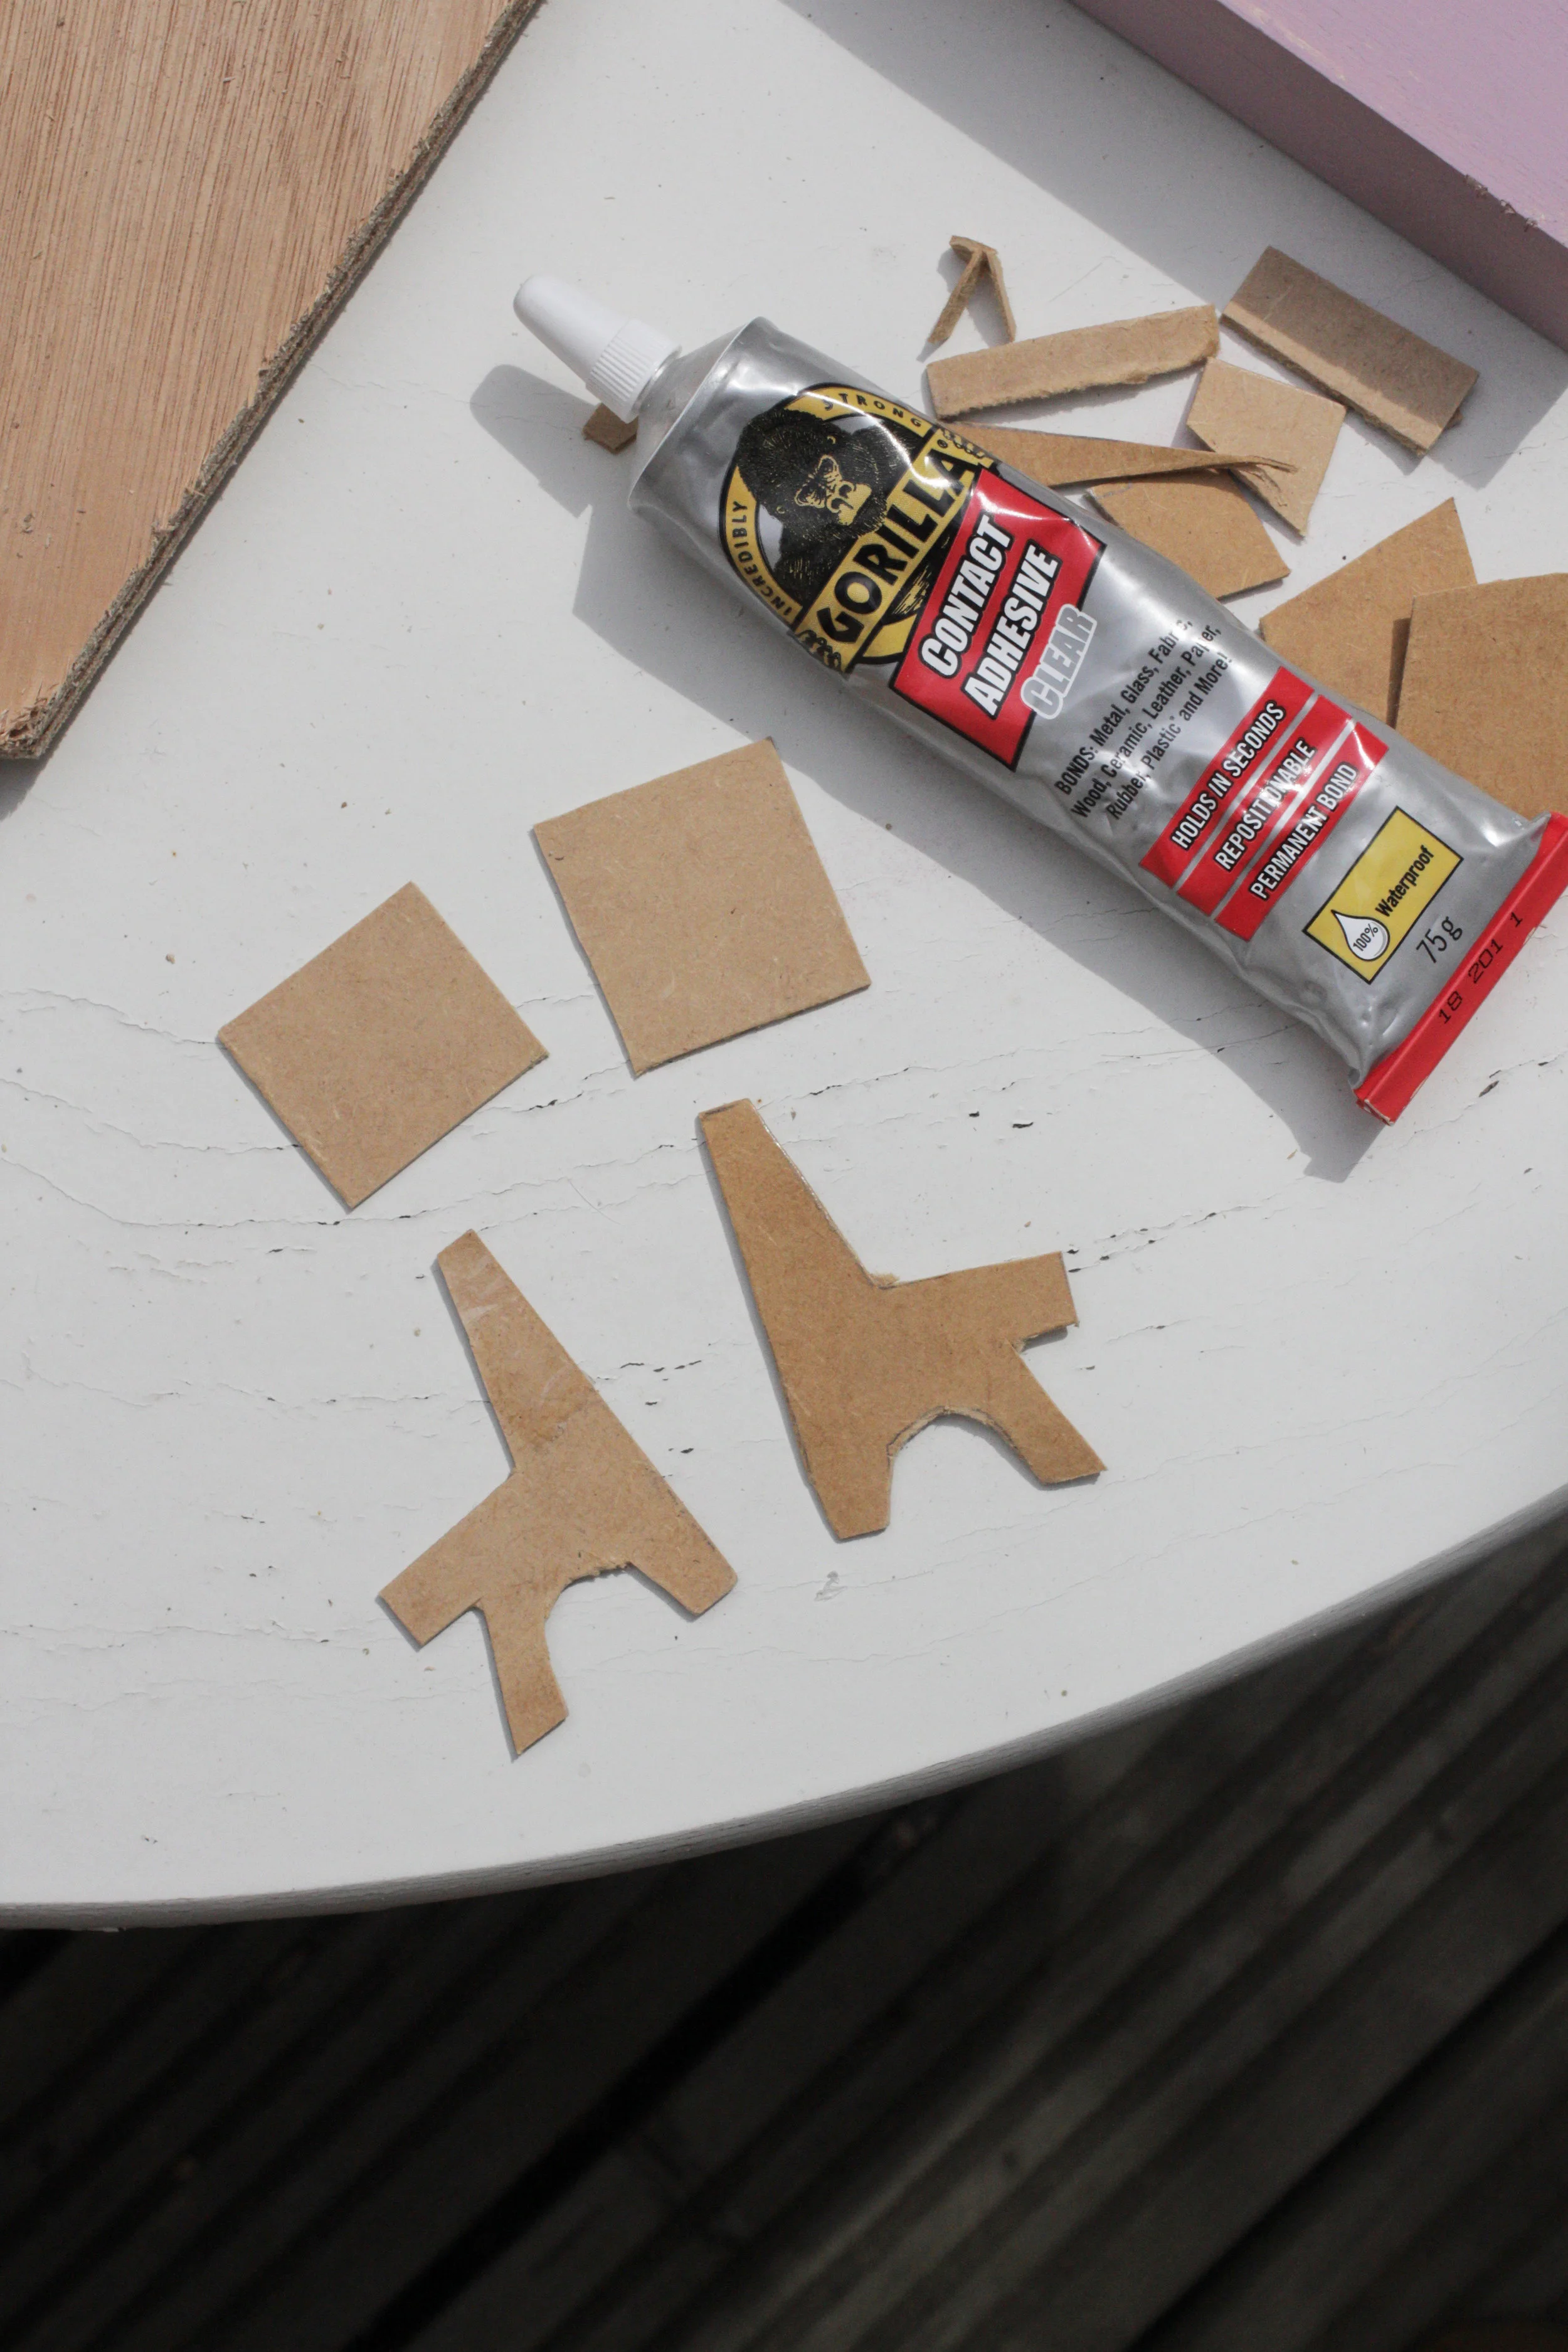
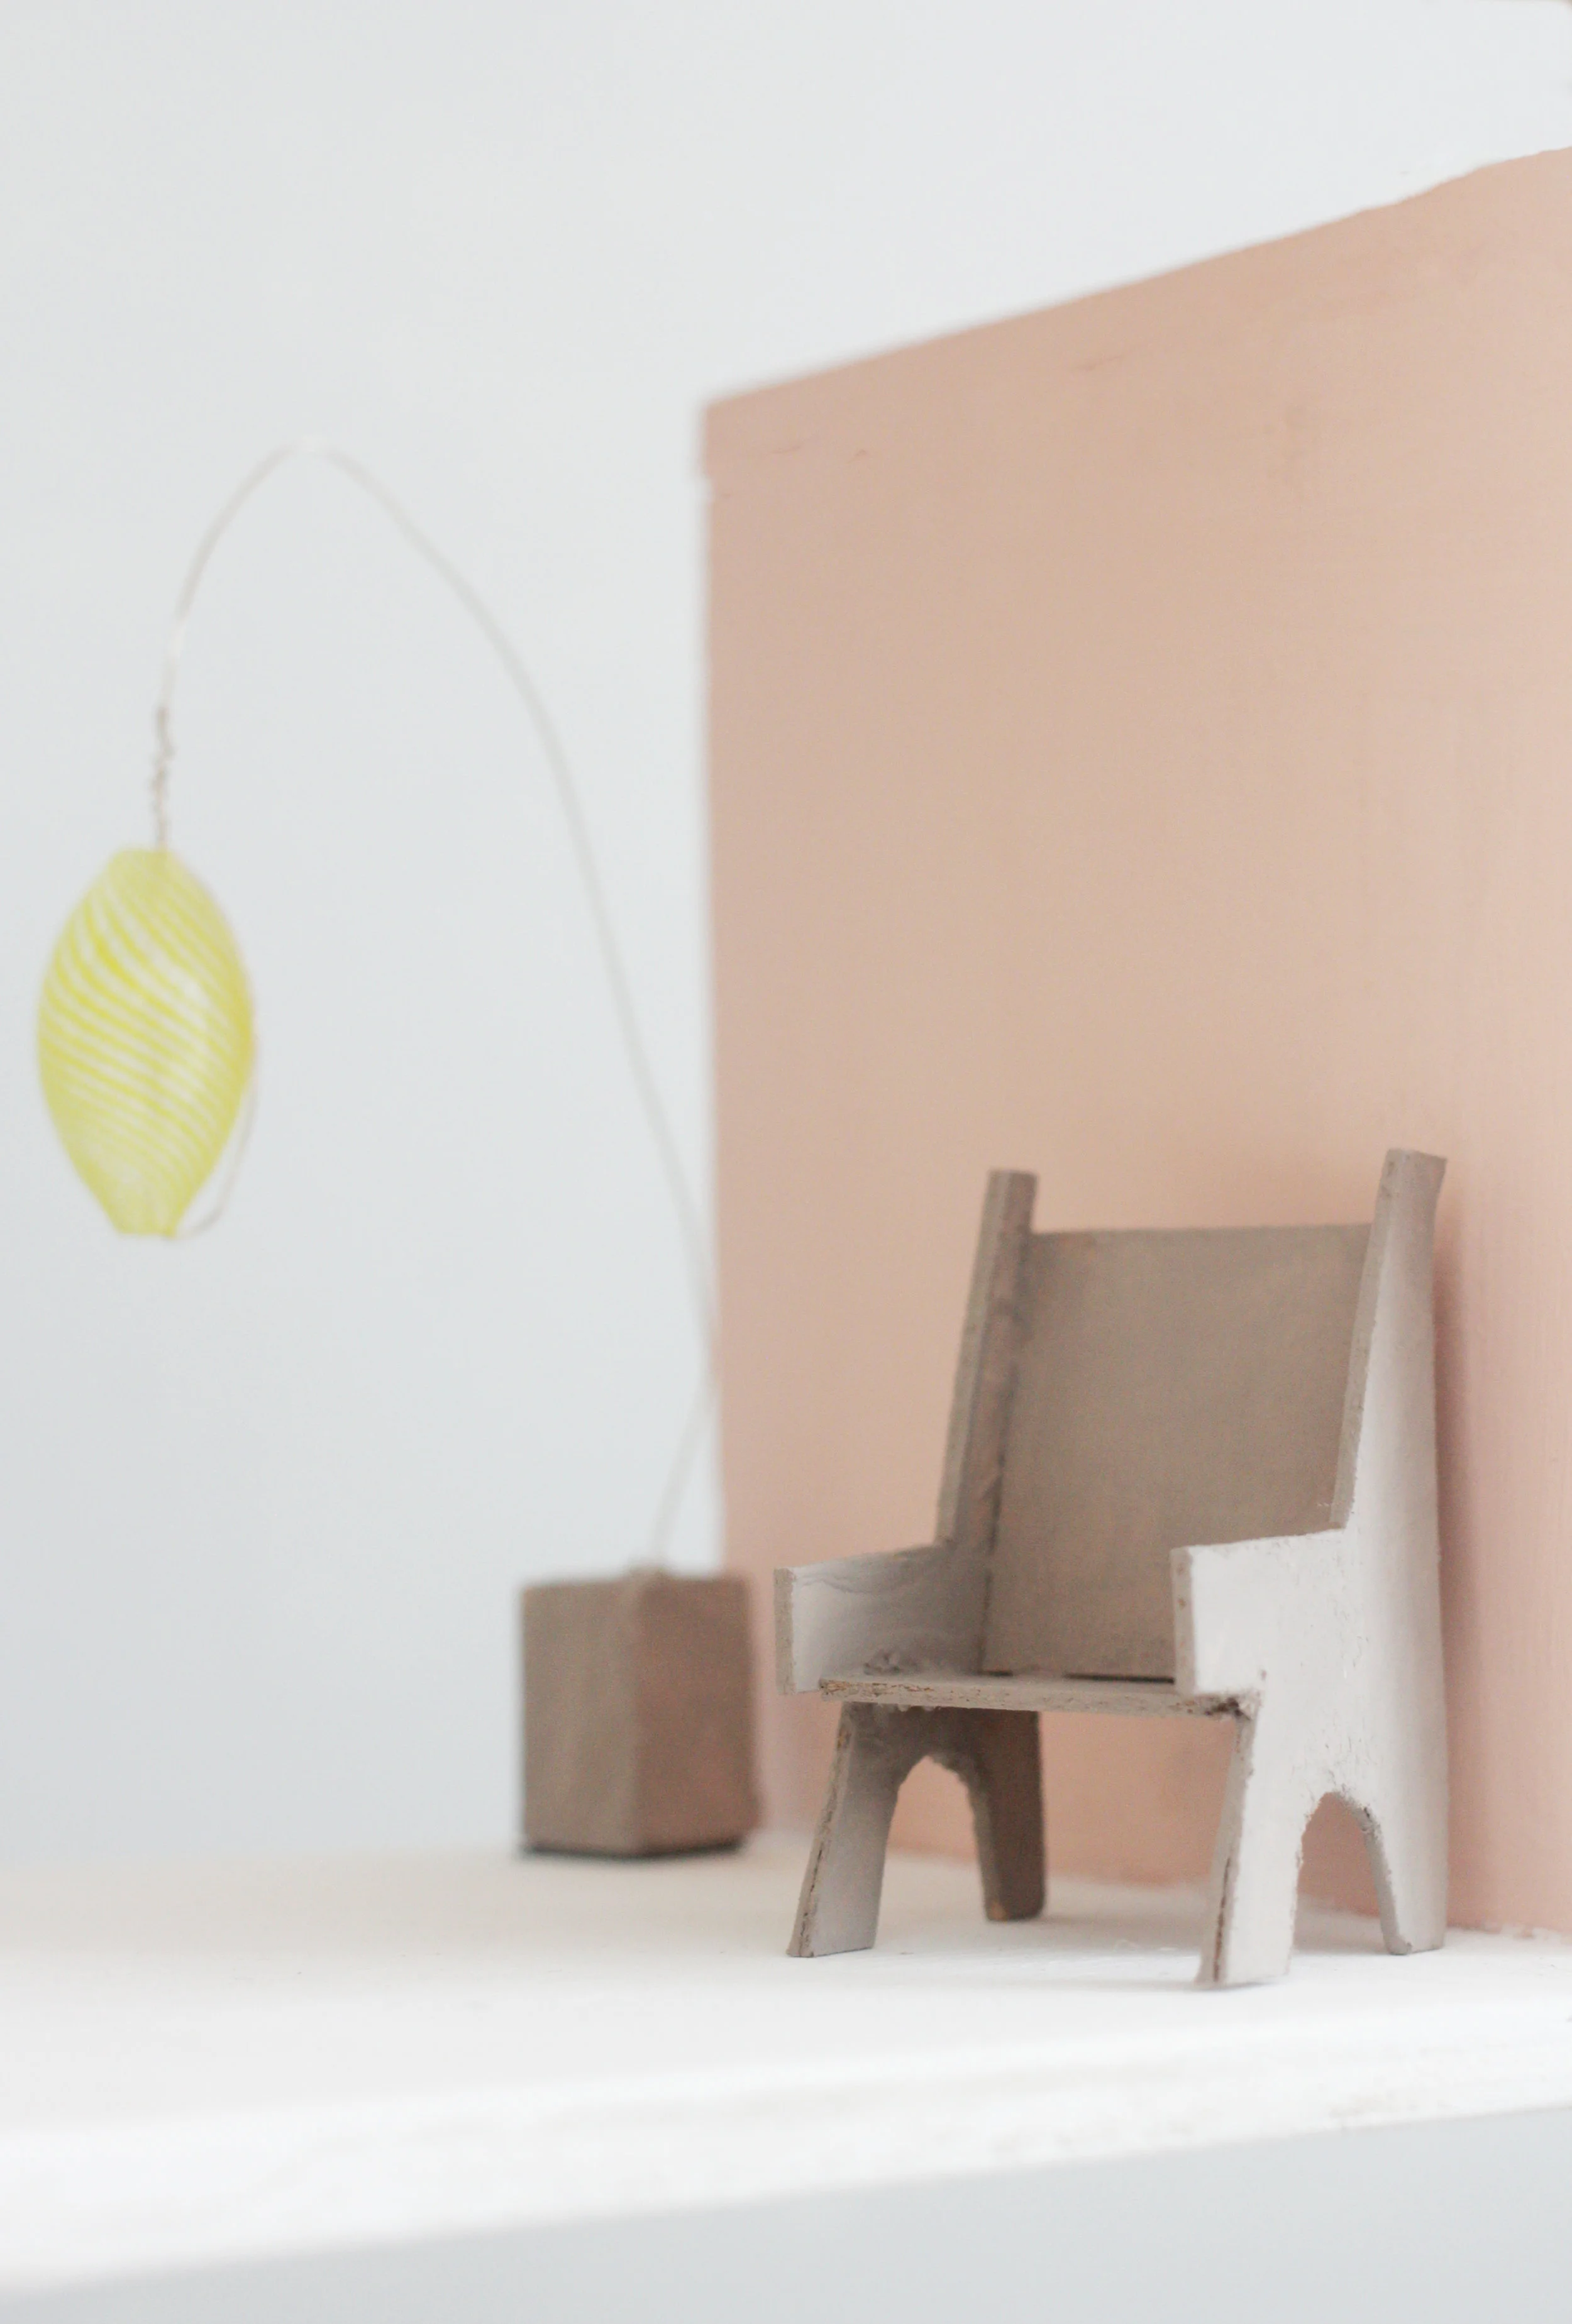
A piece of photo frame backing was perfect for the armchair. I cut the two sides into the shape as seen in the picture above. You also need two squares that will make the seating and back rest. Glue all the pieces together with Gorilla Contact Adhesive Clear and after the glue is dry give the chair a lick of paint. I used Annie Sloan in Coco.
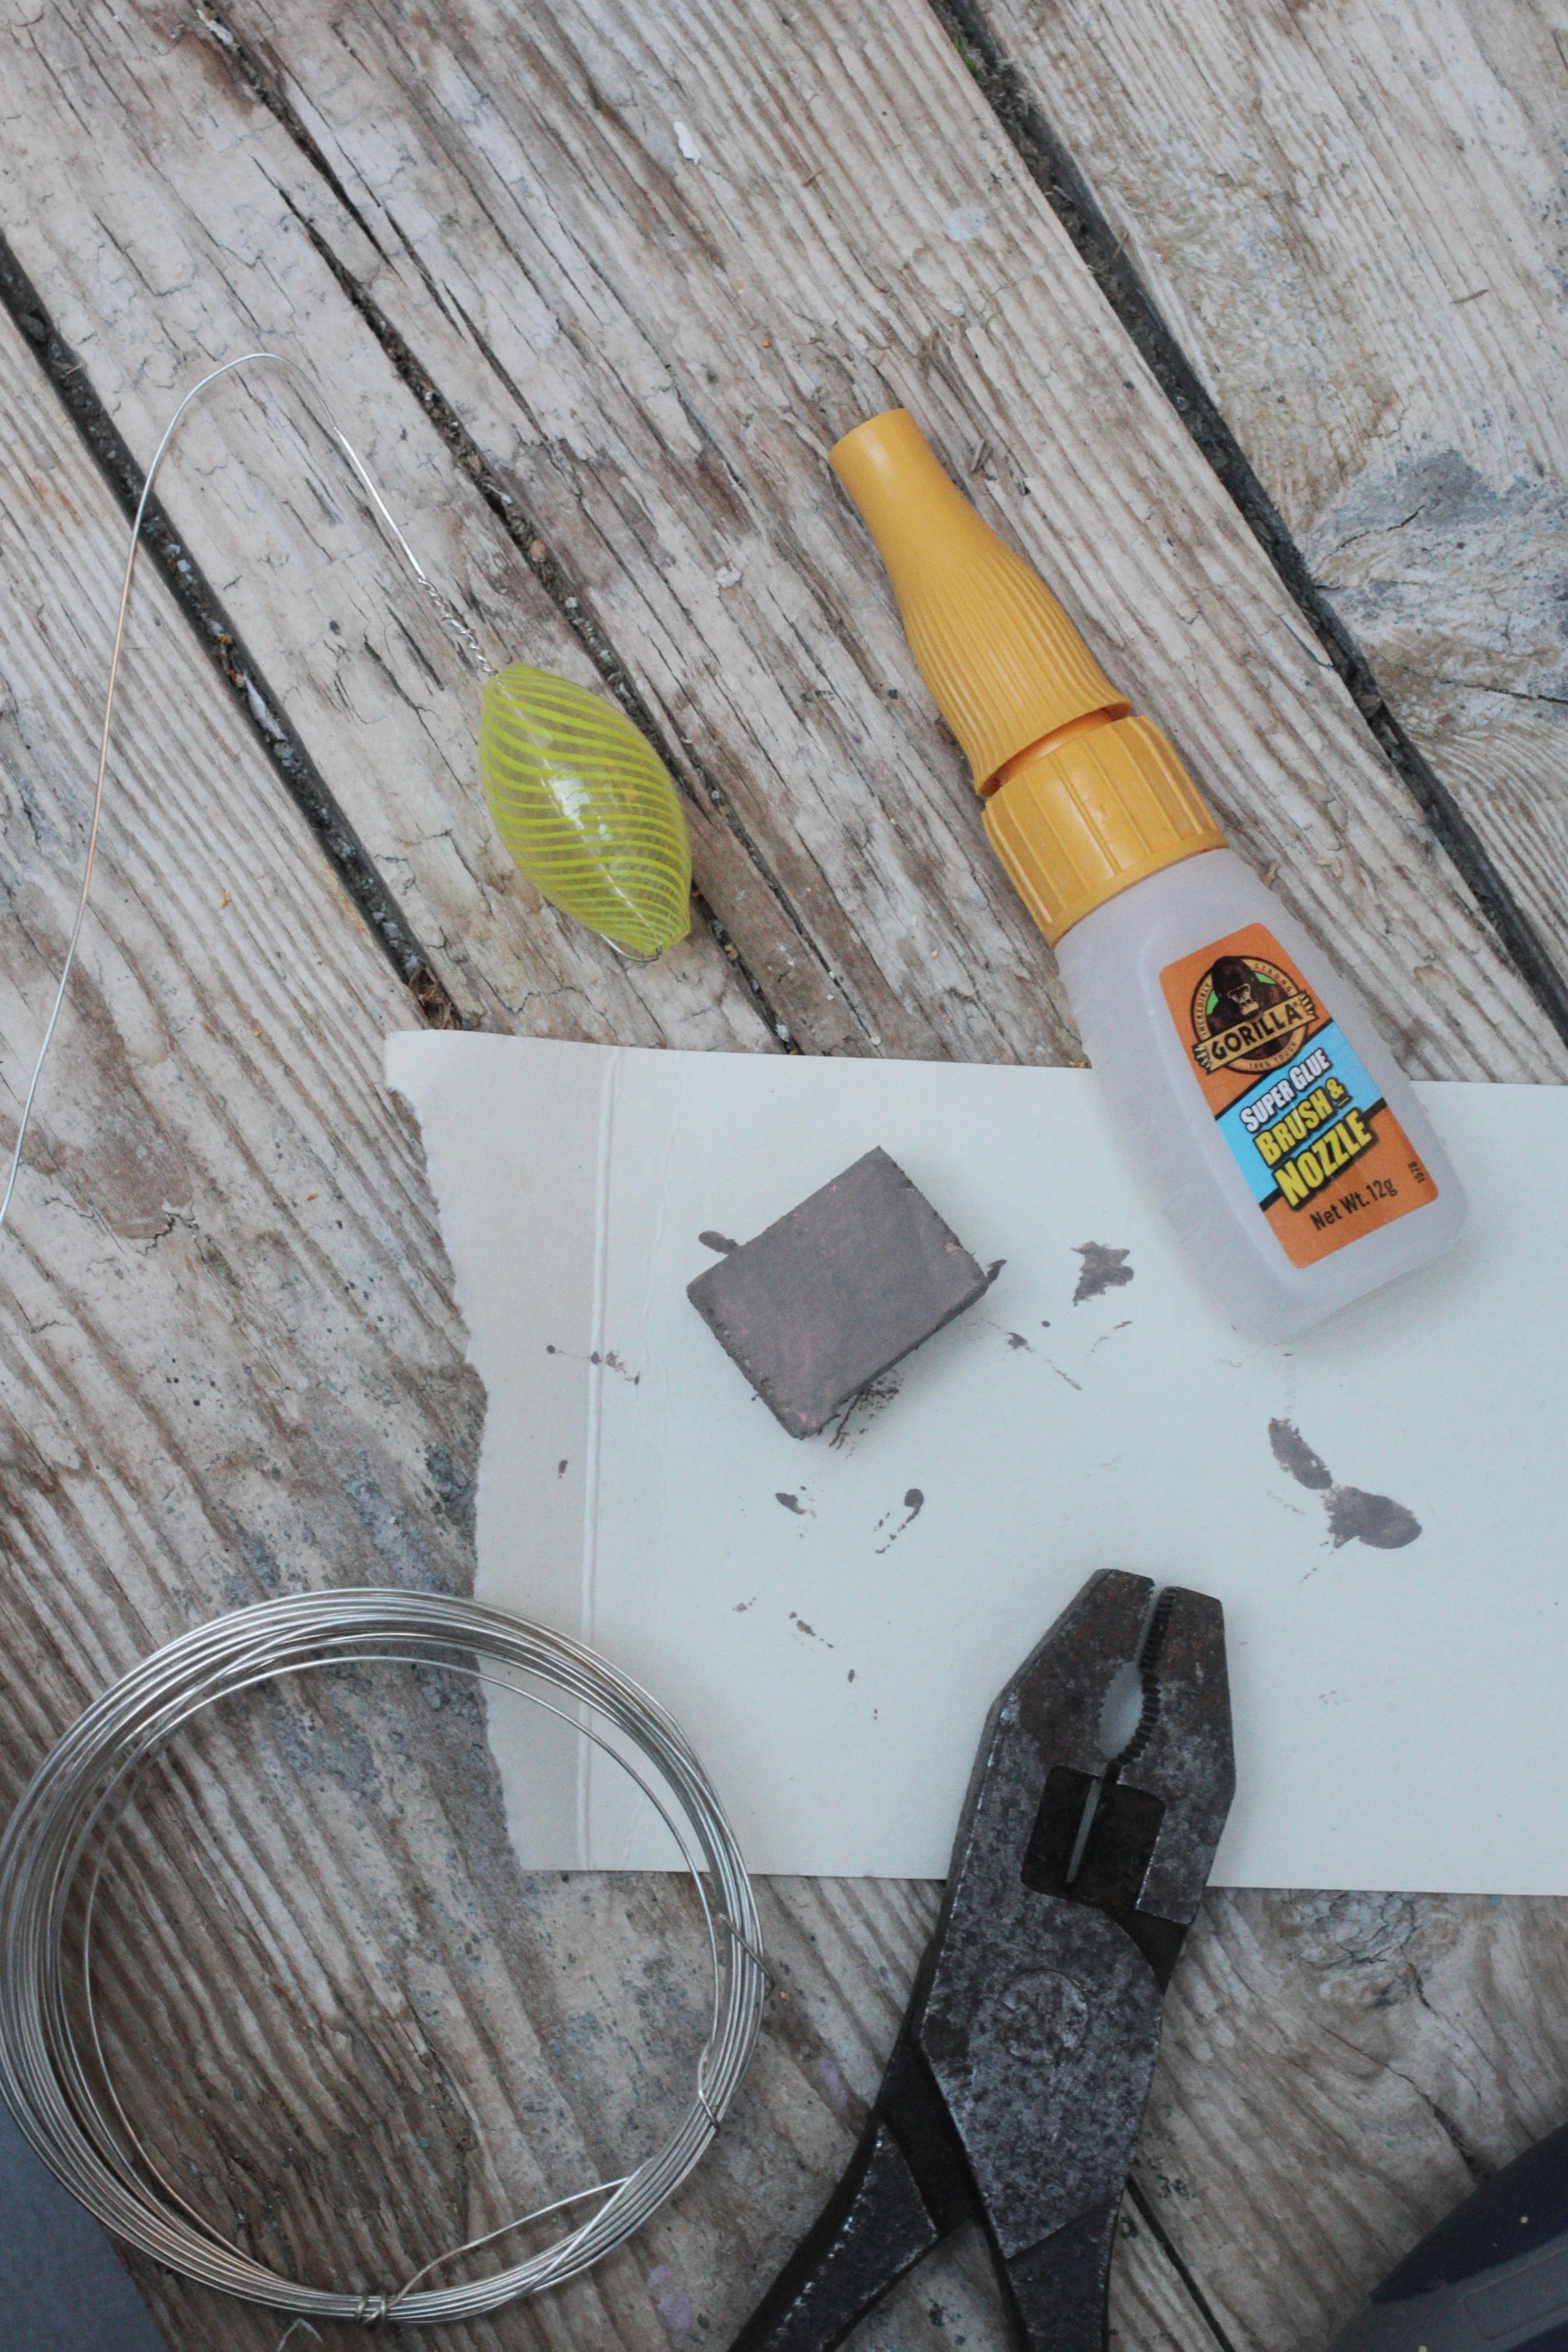
The lamp is made from a square piece of wood, a bit of metal wire and a bead. Drill a small hole in the wood. Attach a big bead to a piece of metal wire and glue the wire into the hole in the wood. I used small amounts of Gorilla Super Glue With Brush & Nozzle for this. Hold the wire in place for 10-45 seconds to make sure it sits in the middle.
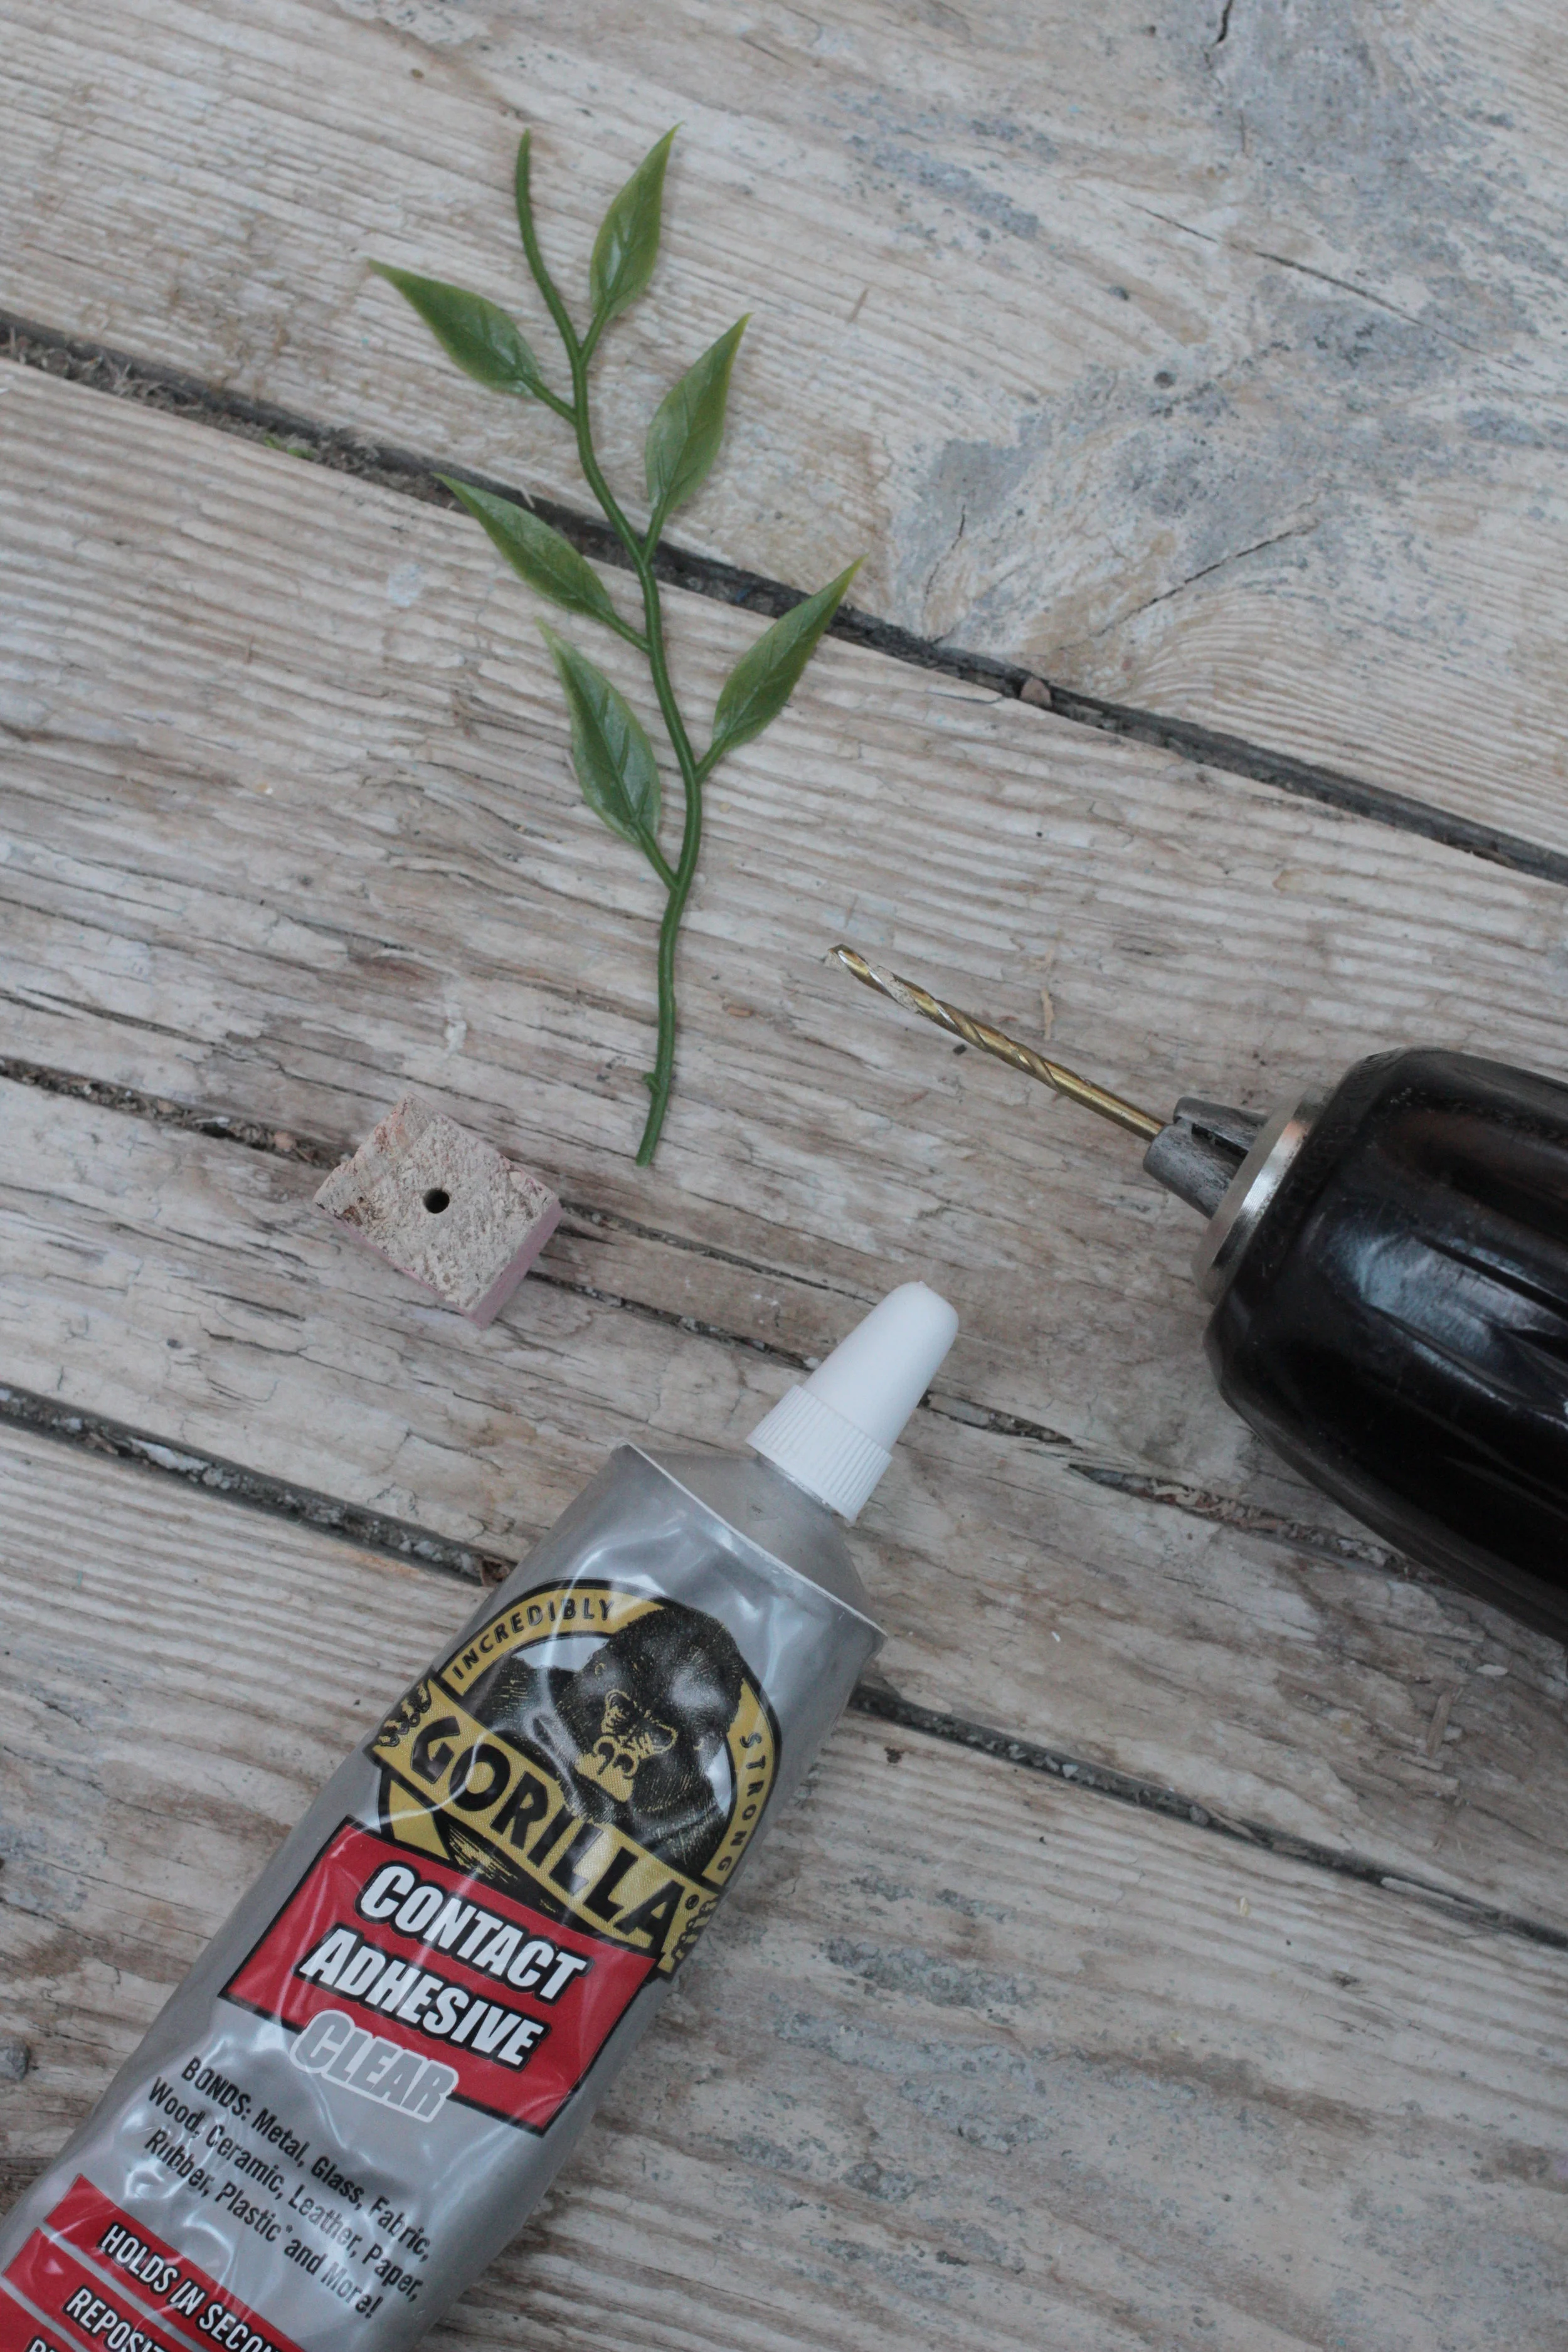
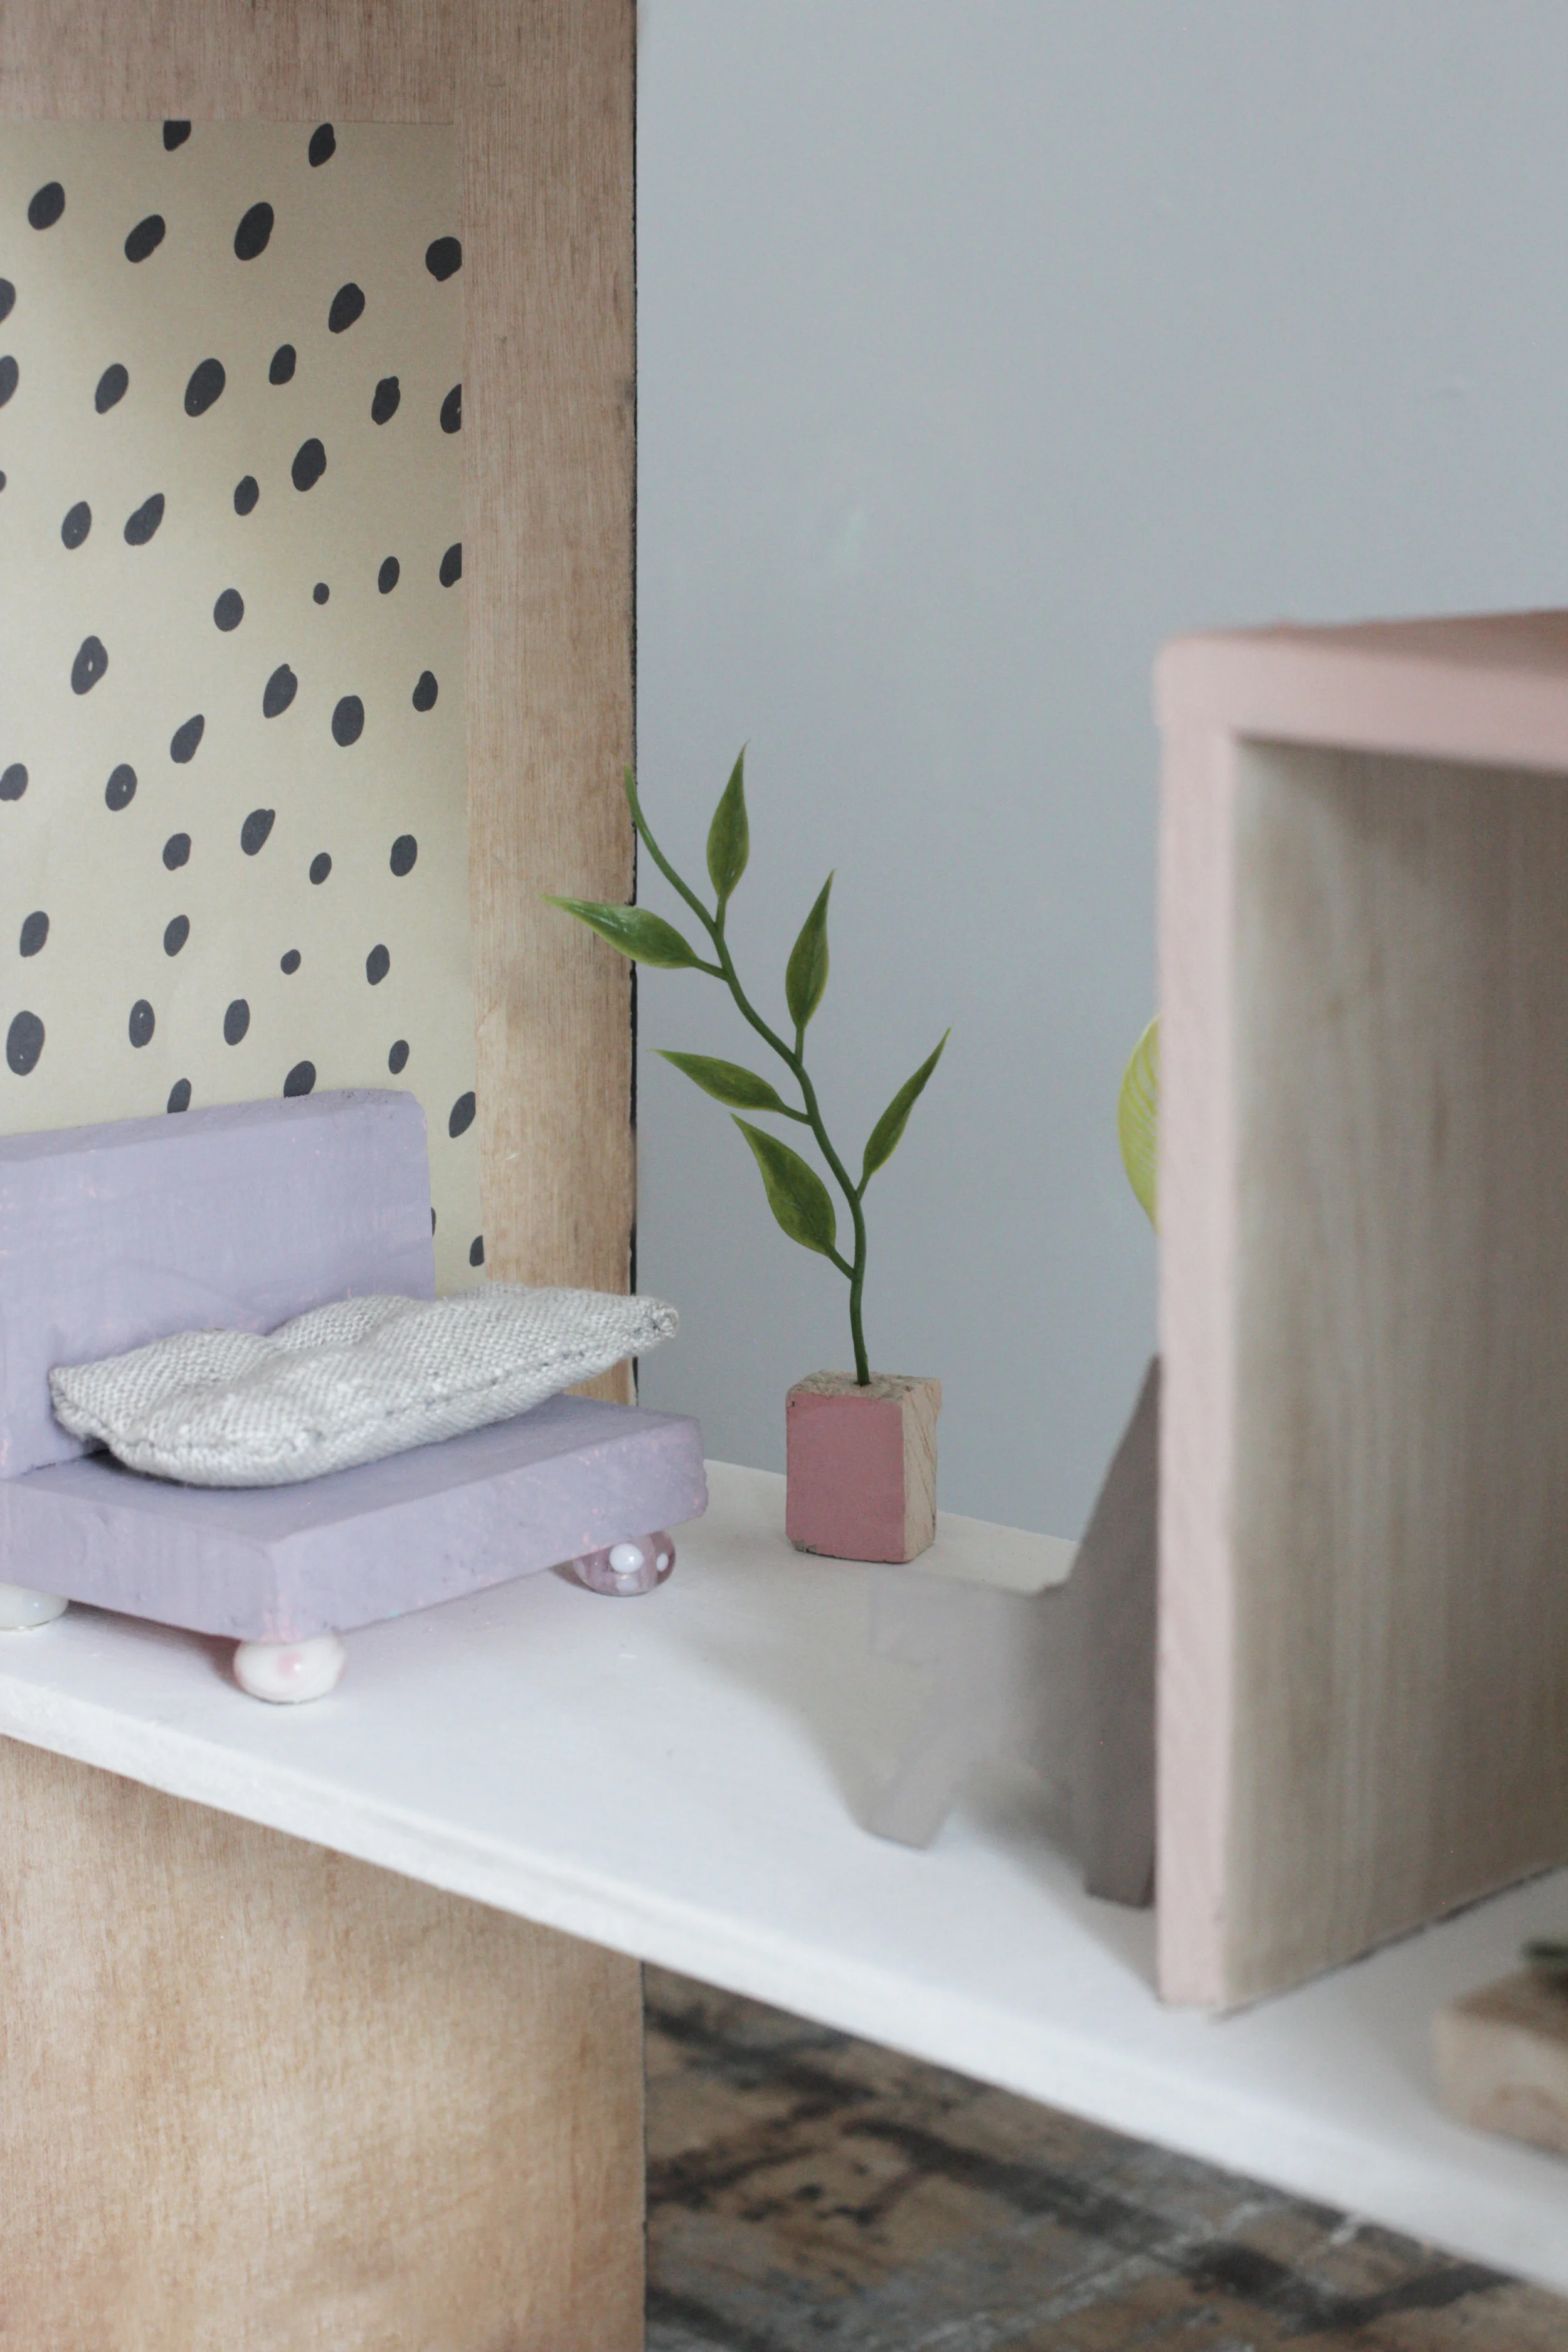
The plants are made in a similar way, drill a hole in a piece of wood and glue the piece of artificial plant in place.
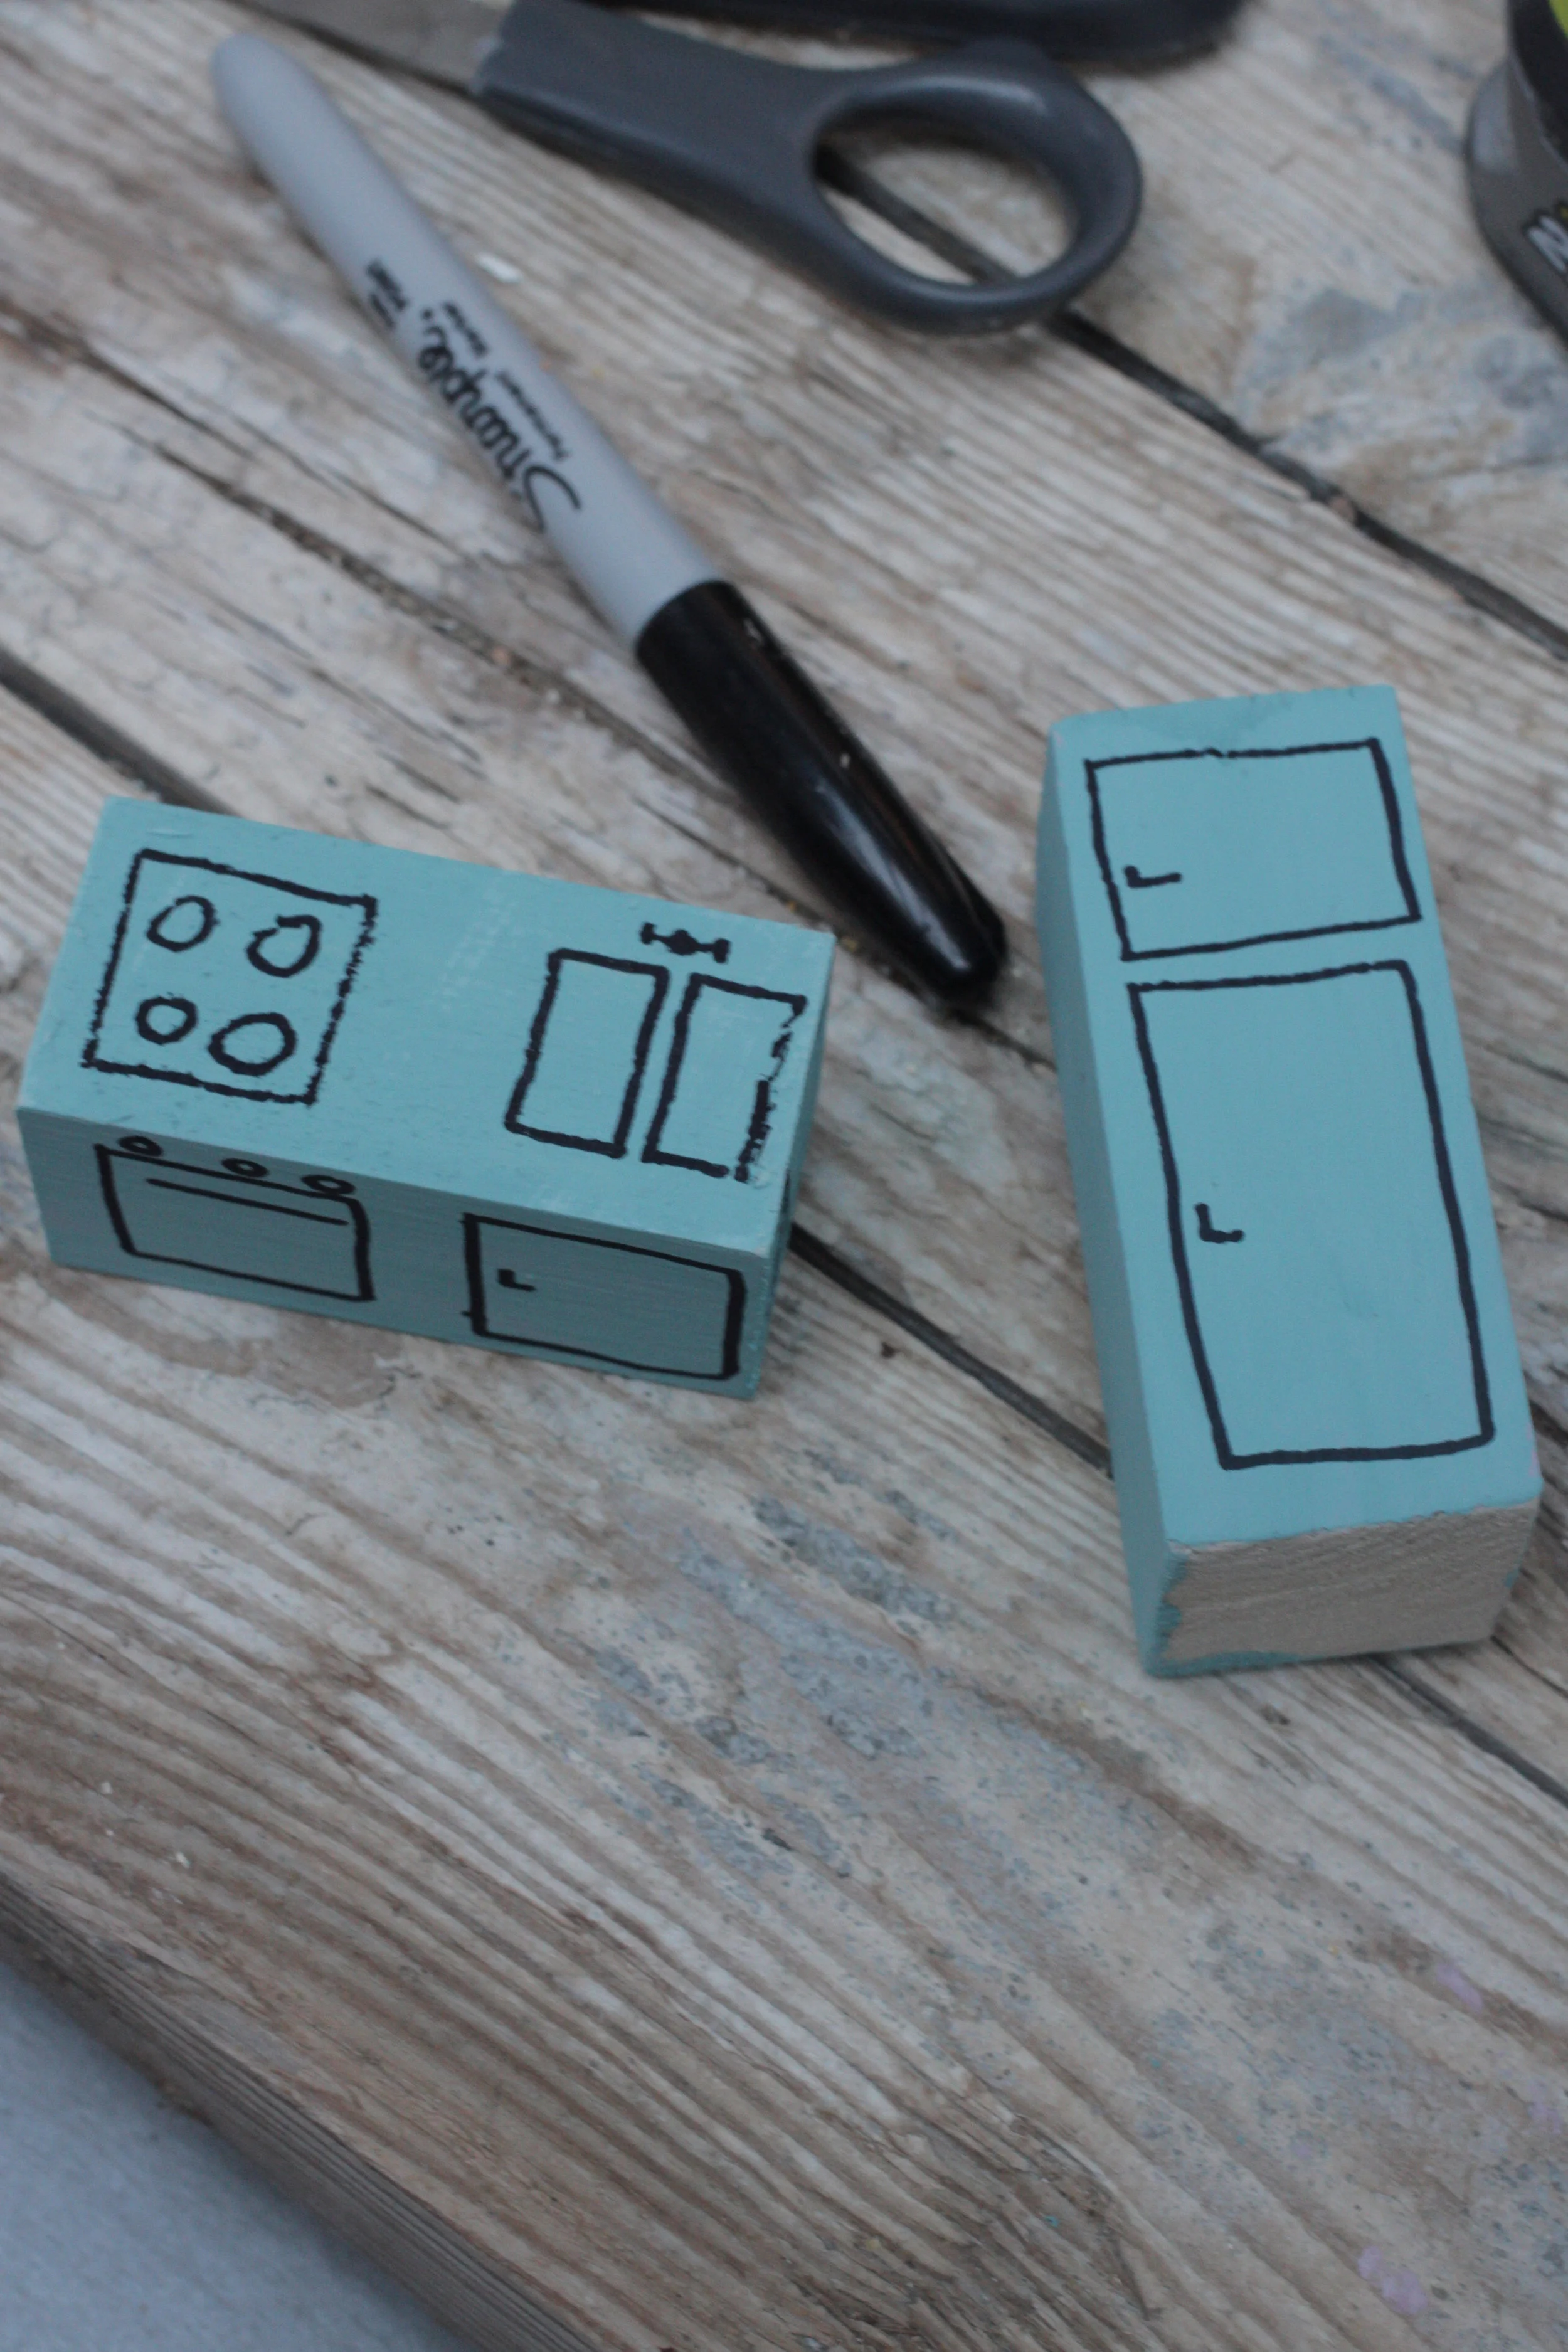
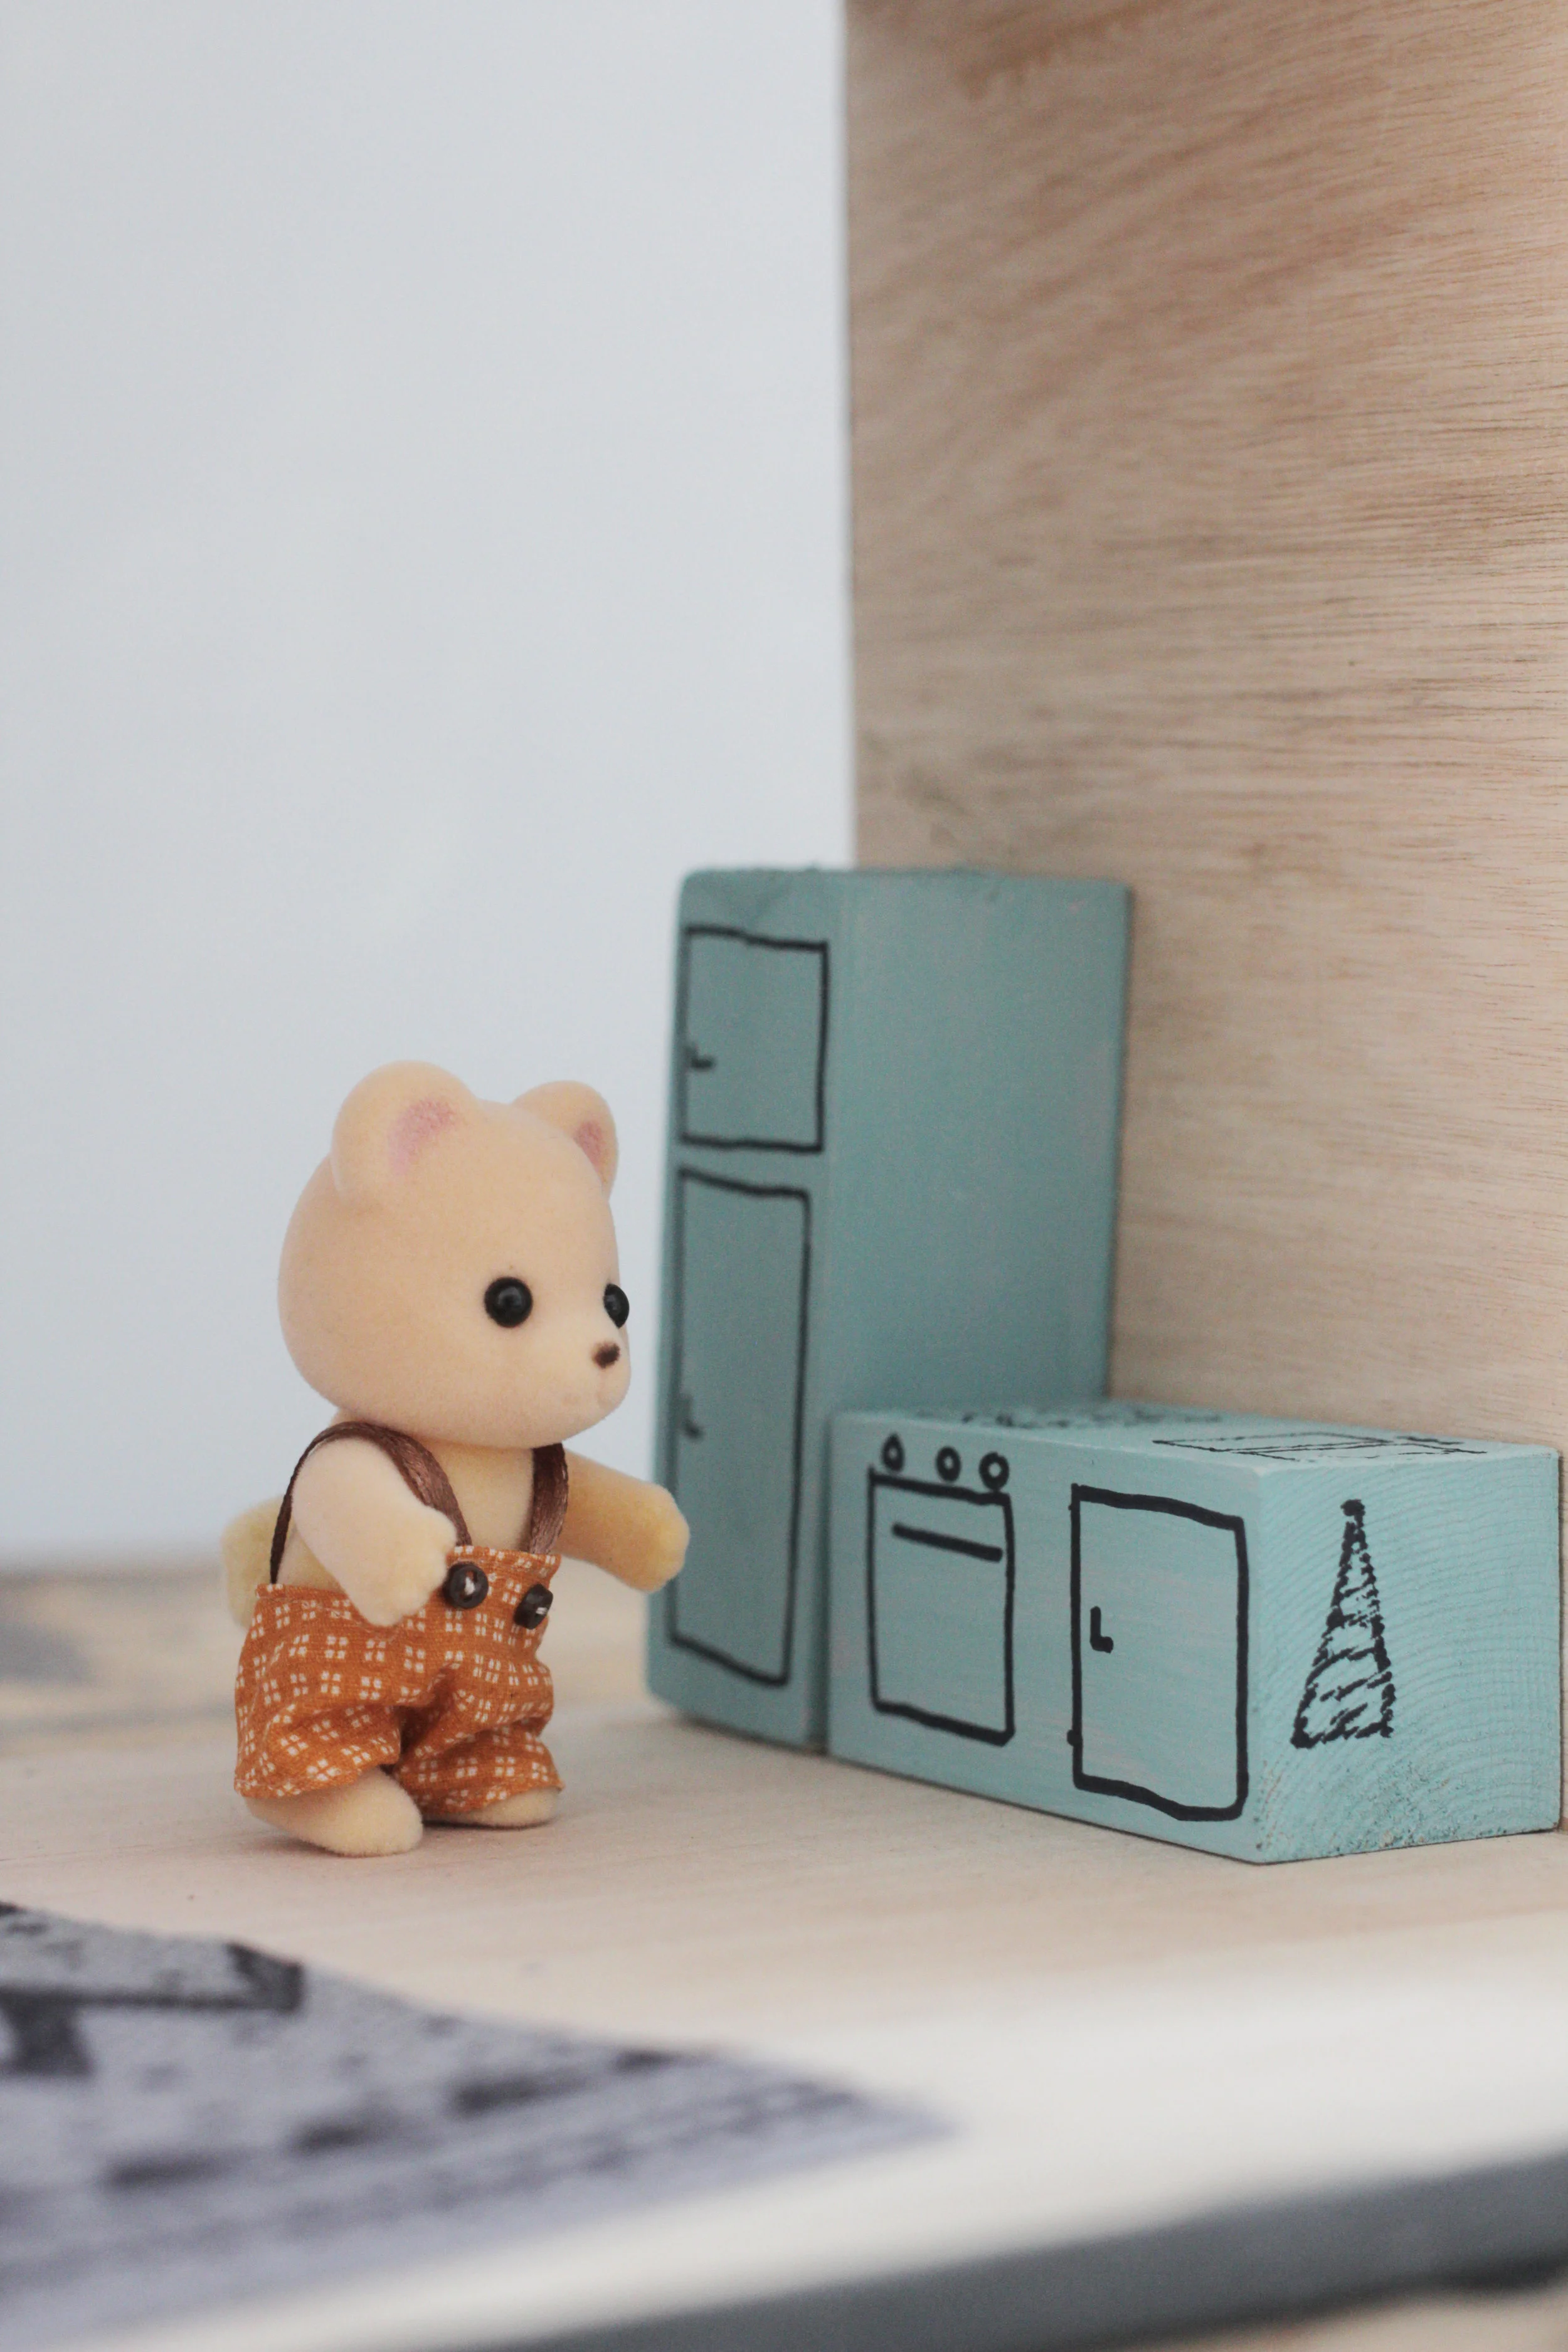
The kitchen is made from 2 blocks painted in Provence by Annie Sloan. Once the paint was dry I used a marker pen to draw the cooker, sink and fridge on.
A rectangular piece of wrapping paper is a very easy way to decorate the walls and a scrap piece of fabric turned rug by cutting it into a rectangle and by drawing on a pattern with a black marker pen.
A piece of pallet wood sanded smooth makes for a perfect bed. I made two mattresses from some wadding and leftover pieces of linen. Cut two rectangles of fabric, the same size of the bed, place on top of each other the wrong sides facing and stitch together two long and one short sides. Turn the fabric the right way round, stuff with a piece of wadding and stitch closed. You can add decorative stitches to the mattress to create a quilted effect. I also made an extra floor cushion to use on the mezzanine.
If you don’t fancy using needle and thread you can use Gorilla Contact Adhesive Clear to glue the pieces of fabric together with the piece of wadding sandwiched in the middle.
have been using Gorilla Wood Glue for years as you might know from my books, it really is my favourite wood glue so it is so lovely to team up with Gorilla to show you this dolls house make.

What pieces of furniture should I make next? I’m tempted to make a tiny macrame wall hanging or even a small painting for the wall. Might even make a few extra plants to have on the outside of the house.
I’m curious who’s enjoying the house more, Kiki or me!