

Build a cleaning caddy
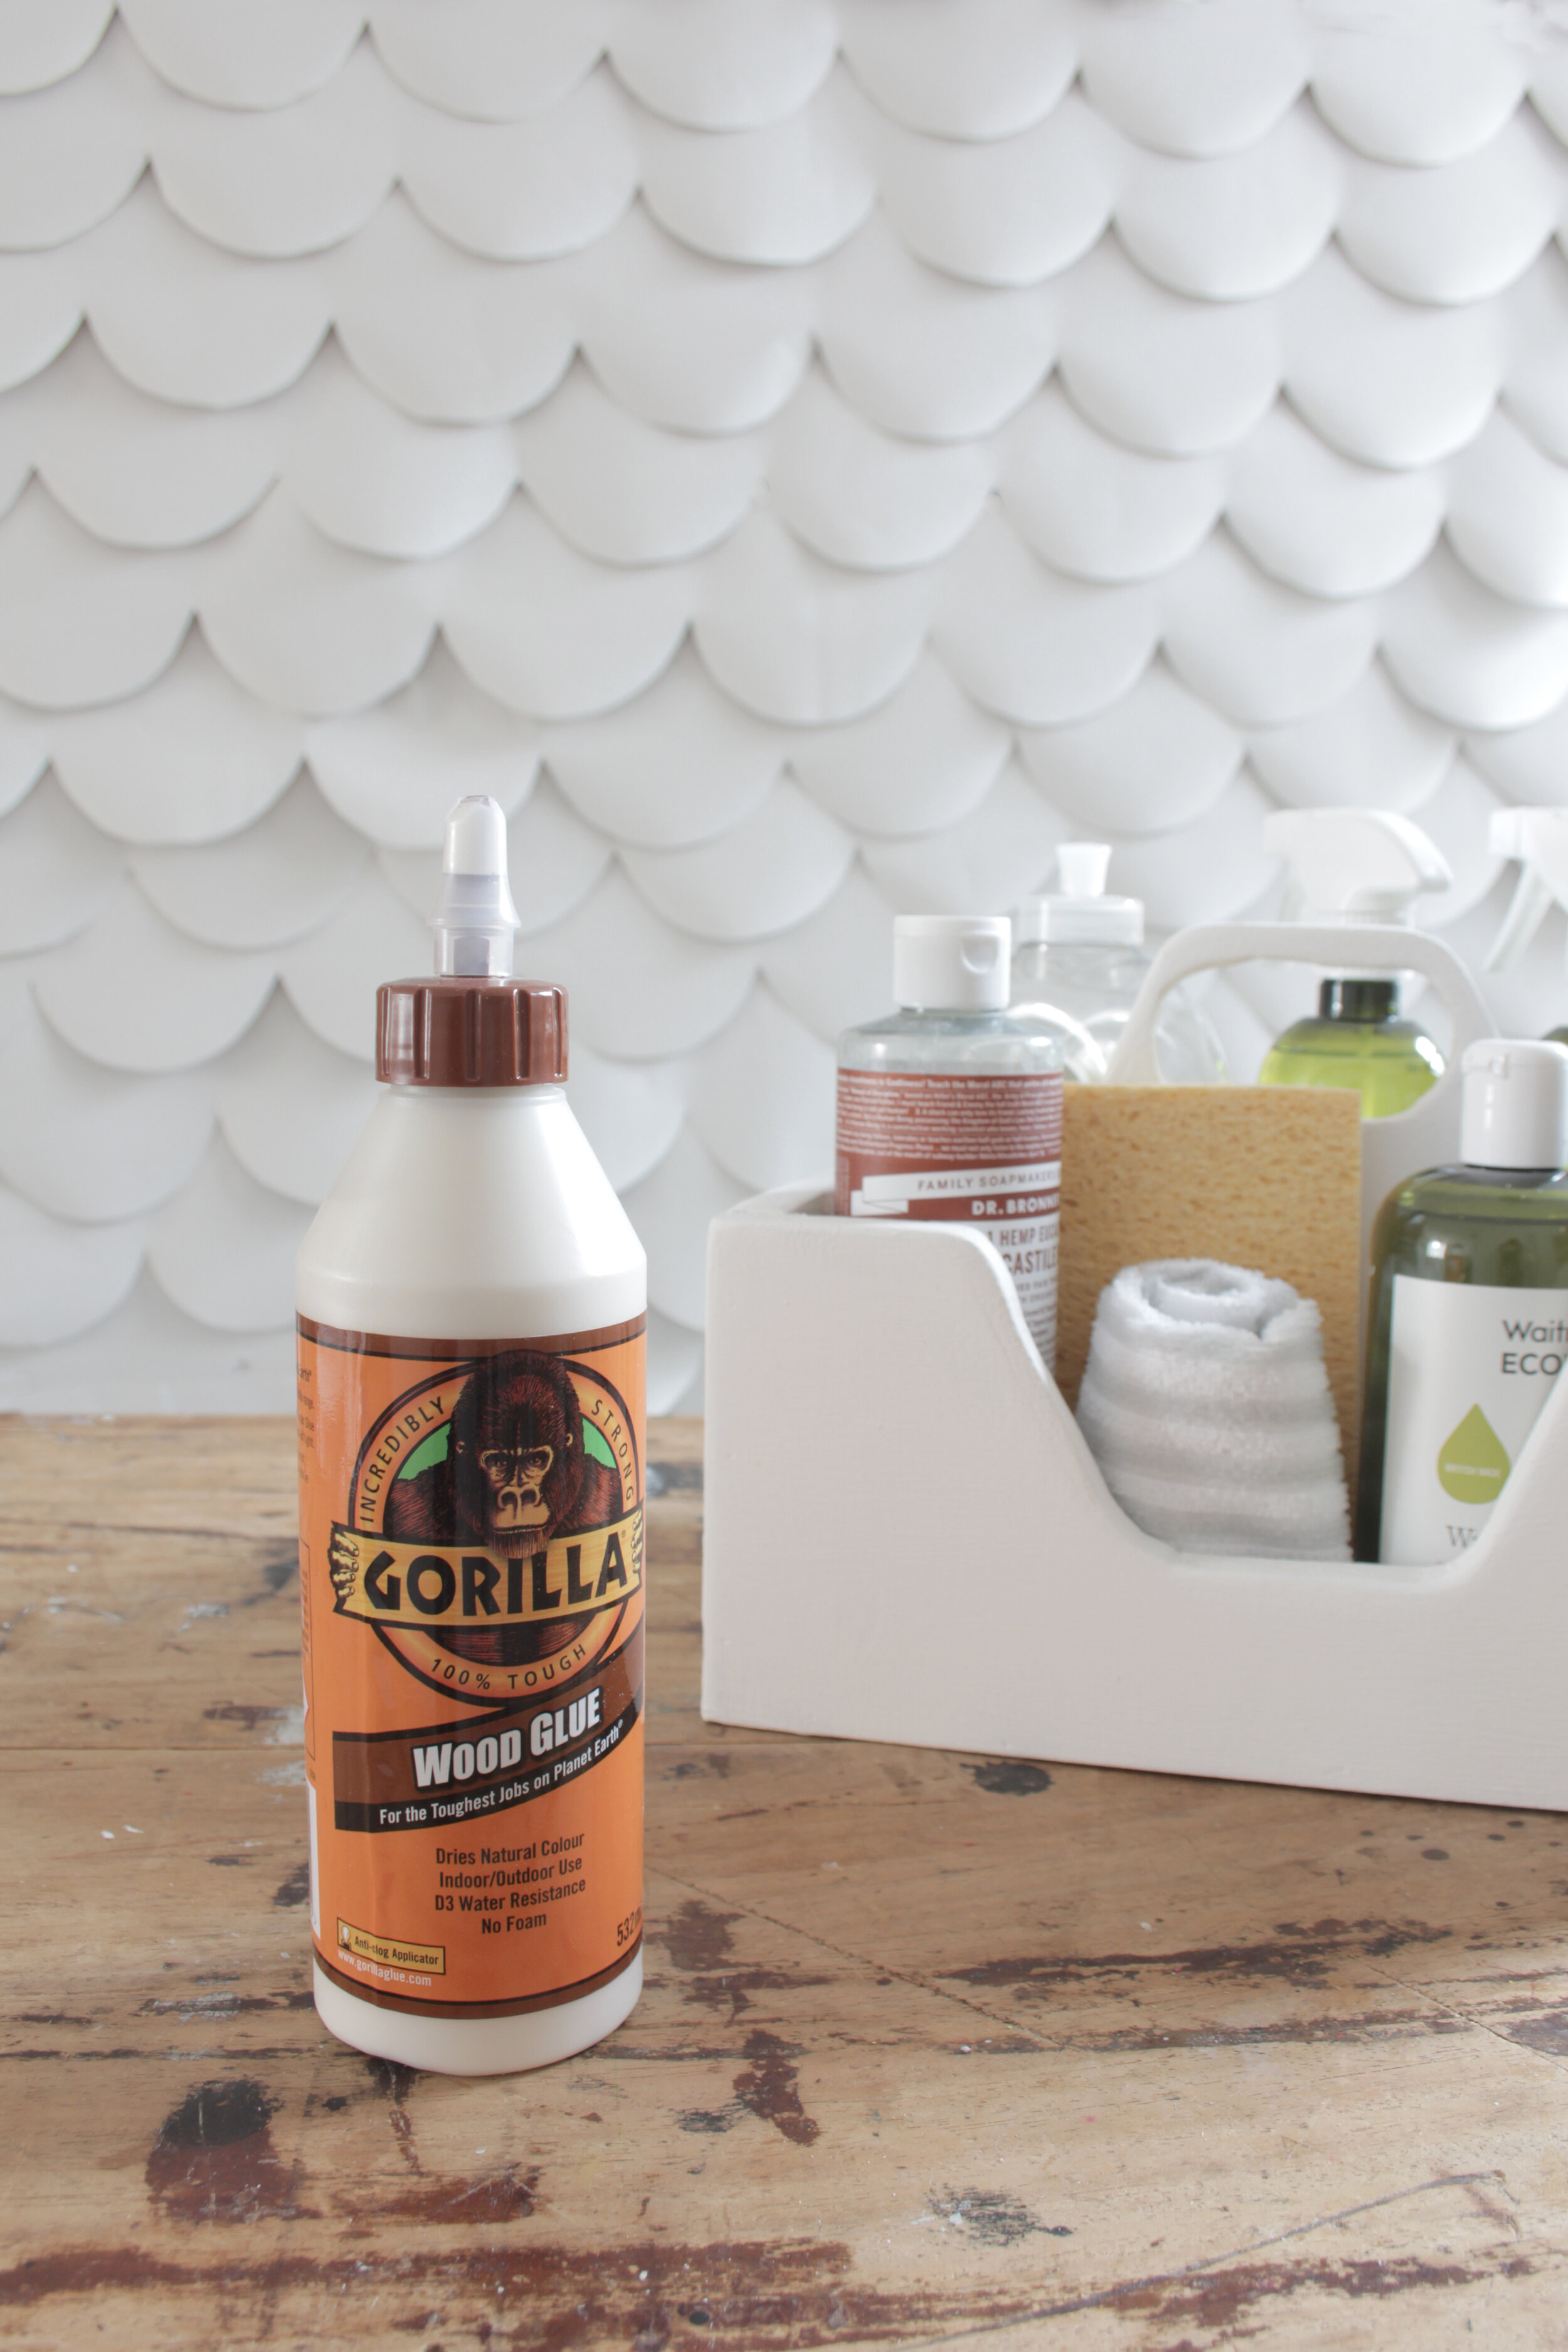
AD - this post is in collaboration with Gorilla Glue
There is nothing like seeing blossom, blue skies appear and the temperature going up to get you in the mood to give your house a big tidy up. It’s spring clean time!
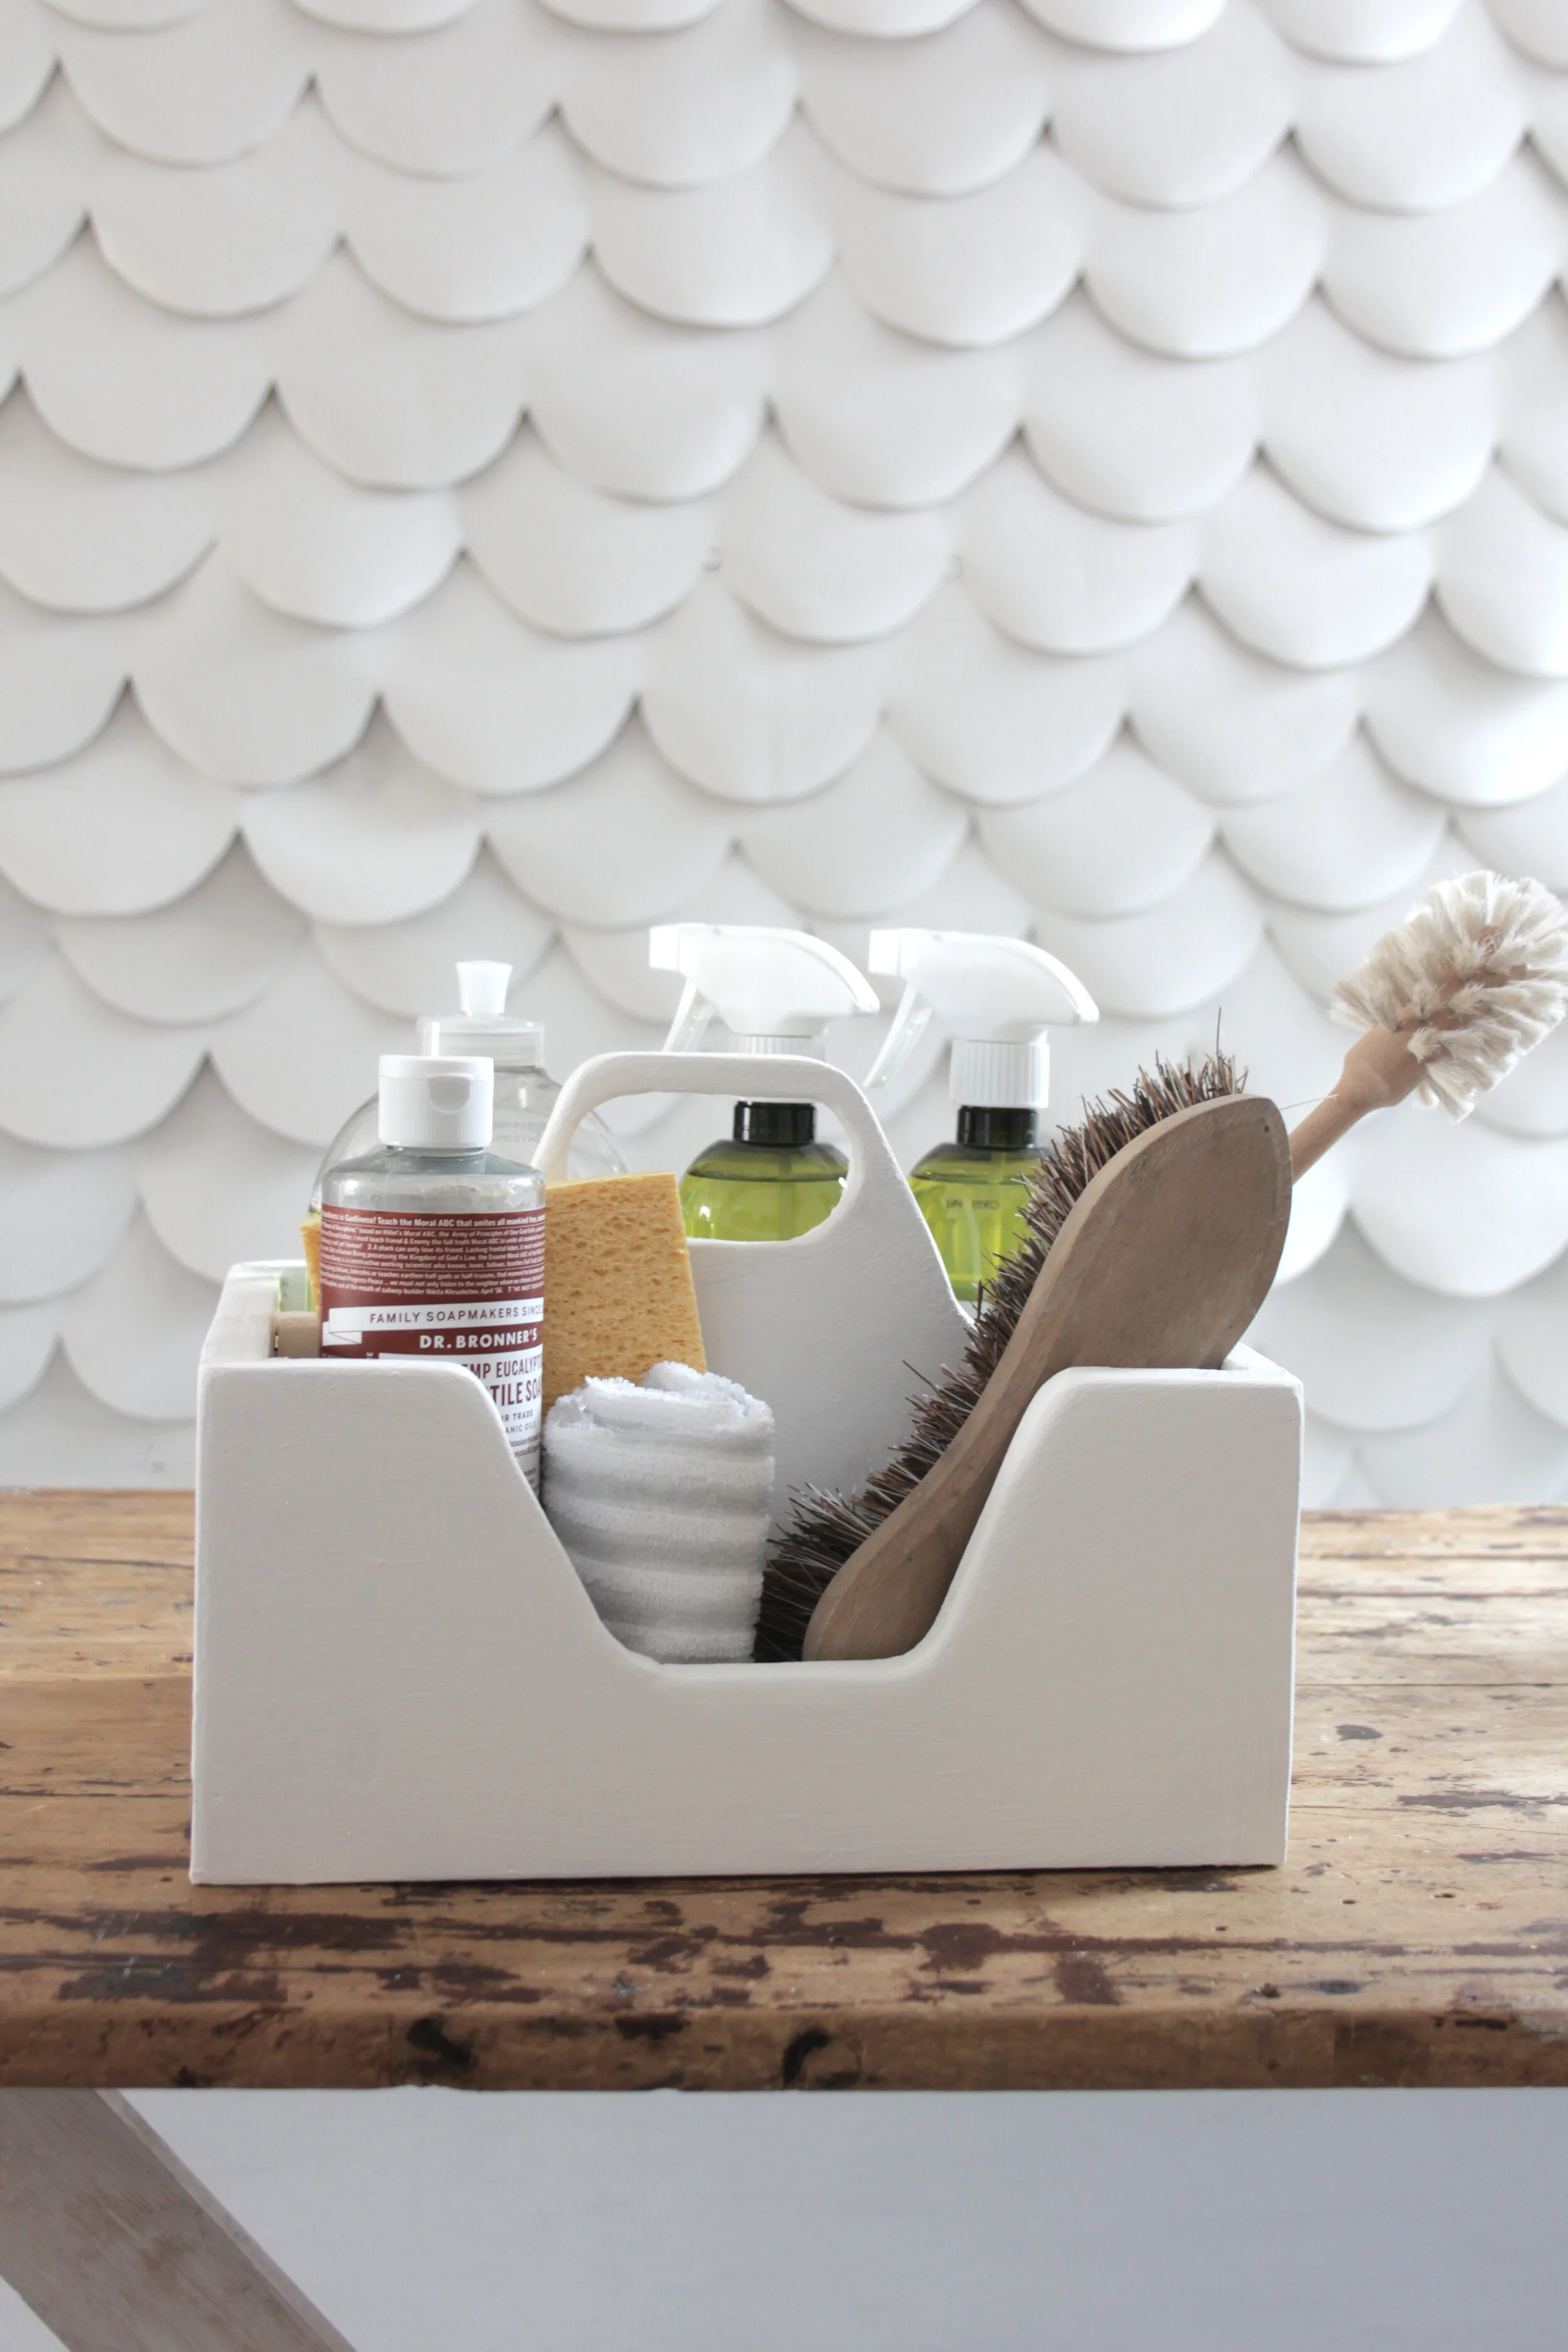
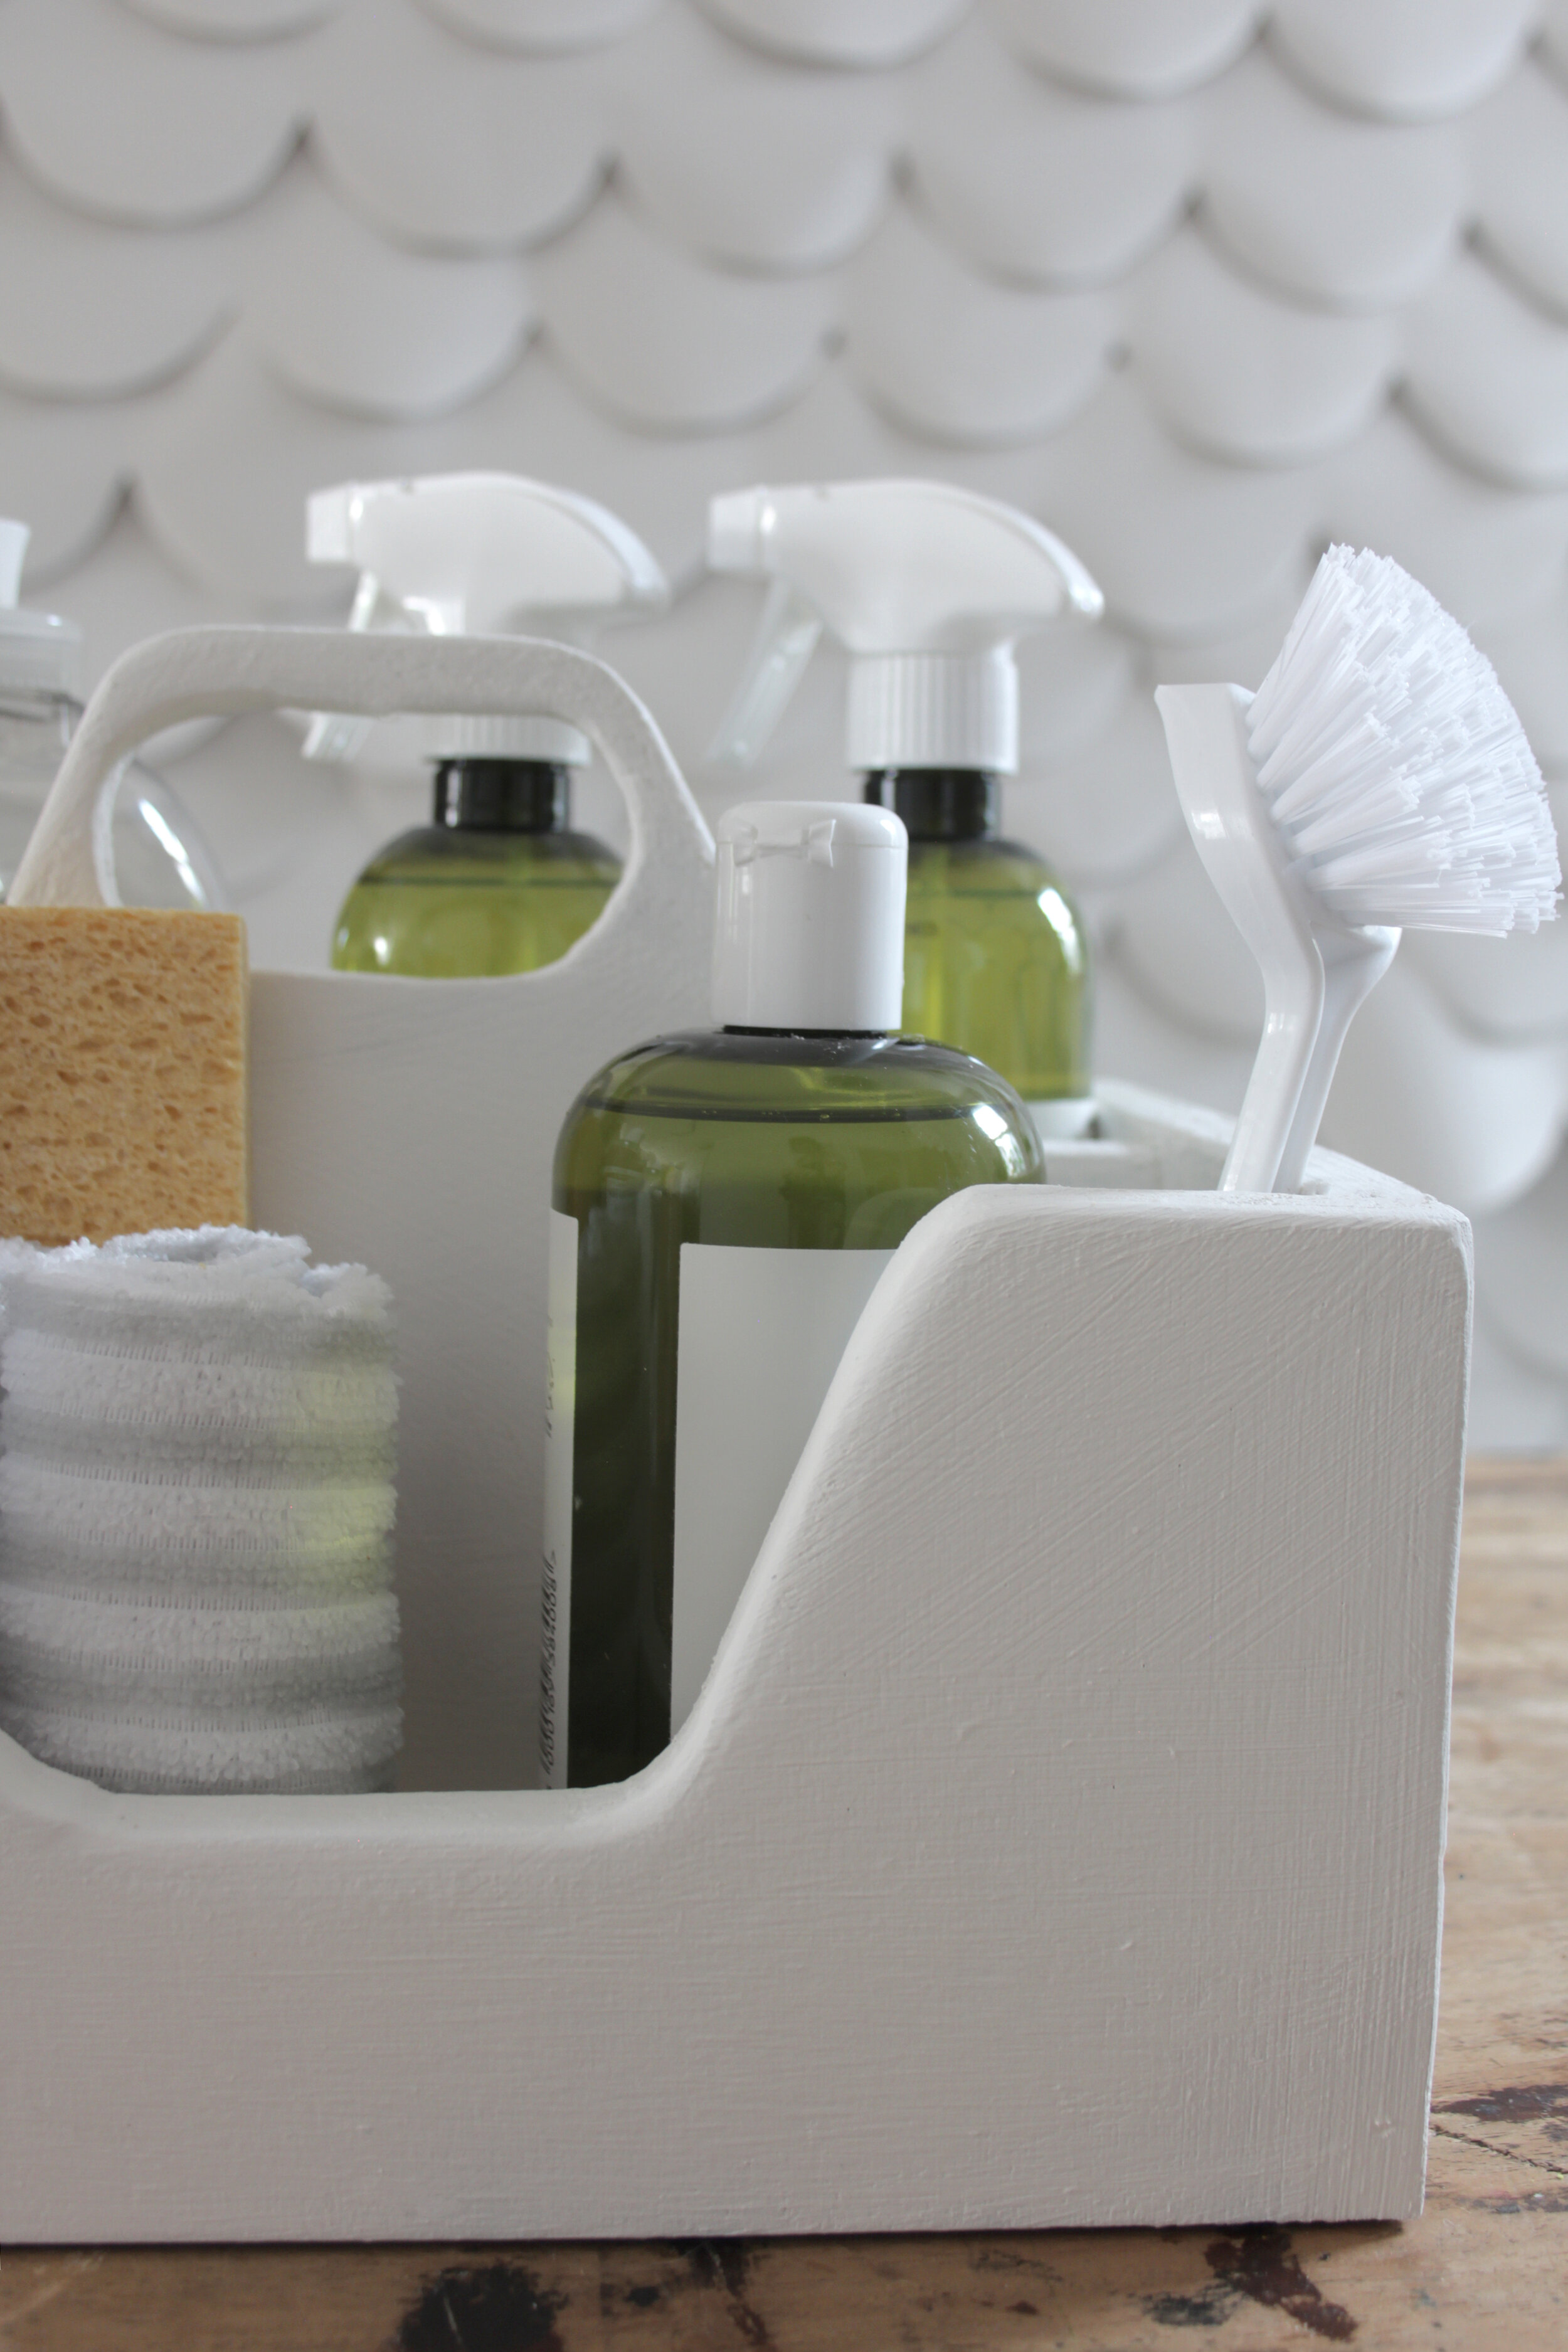
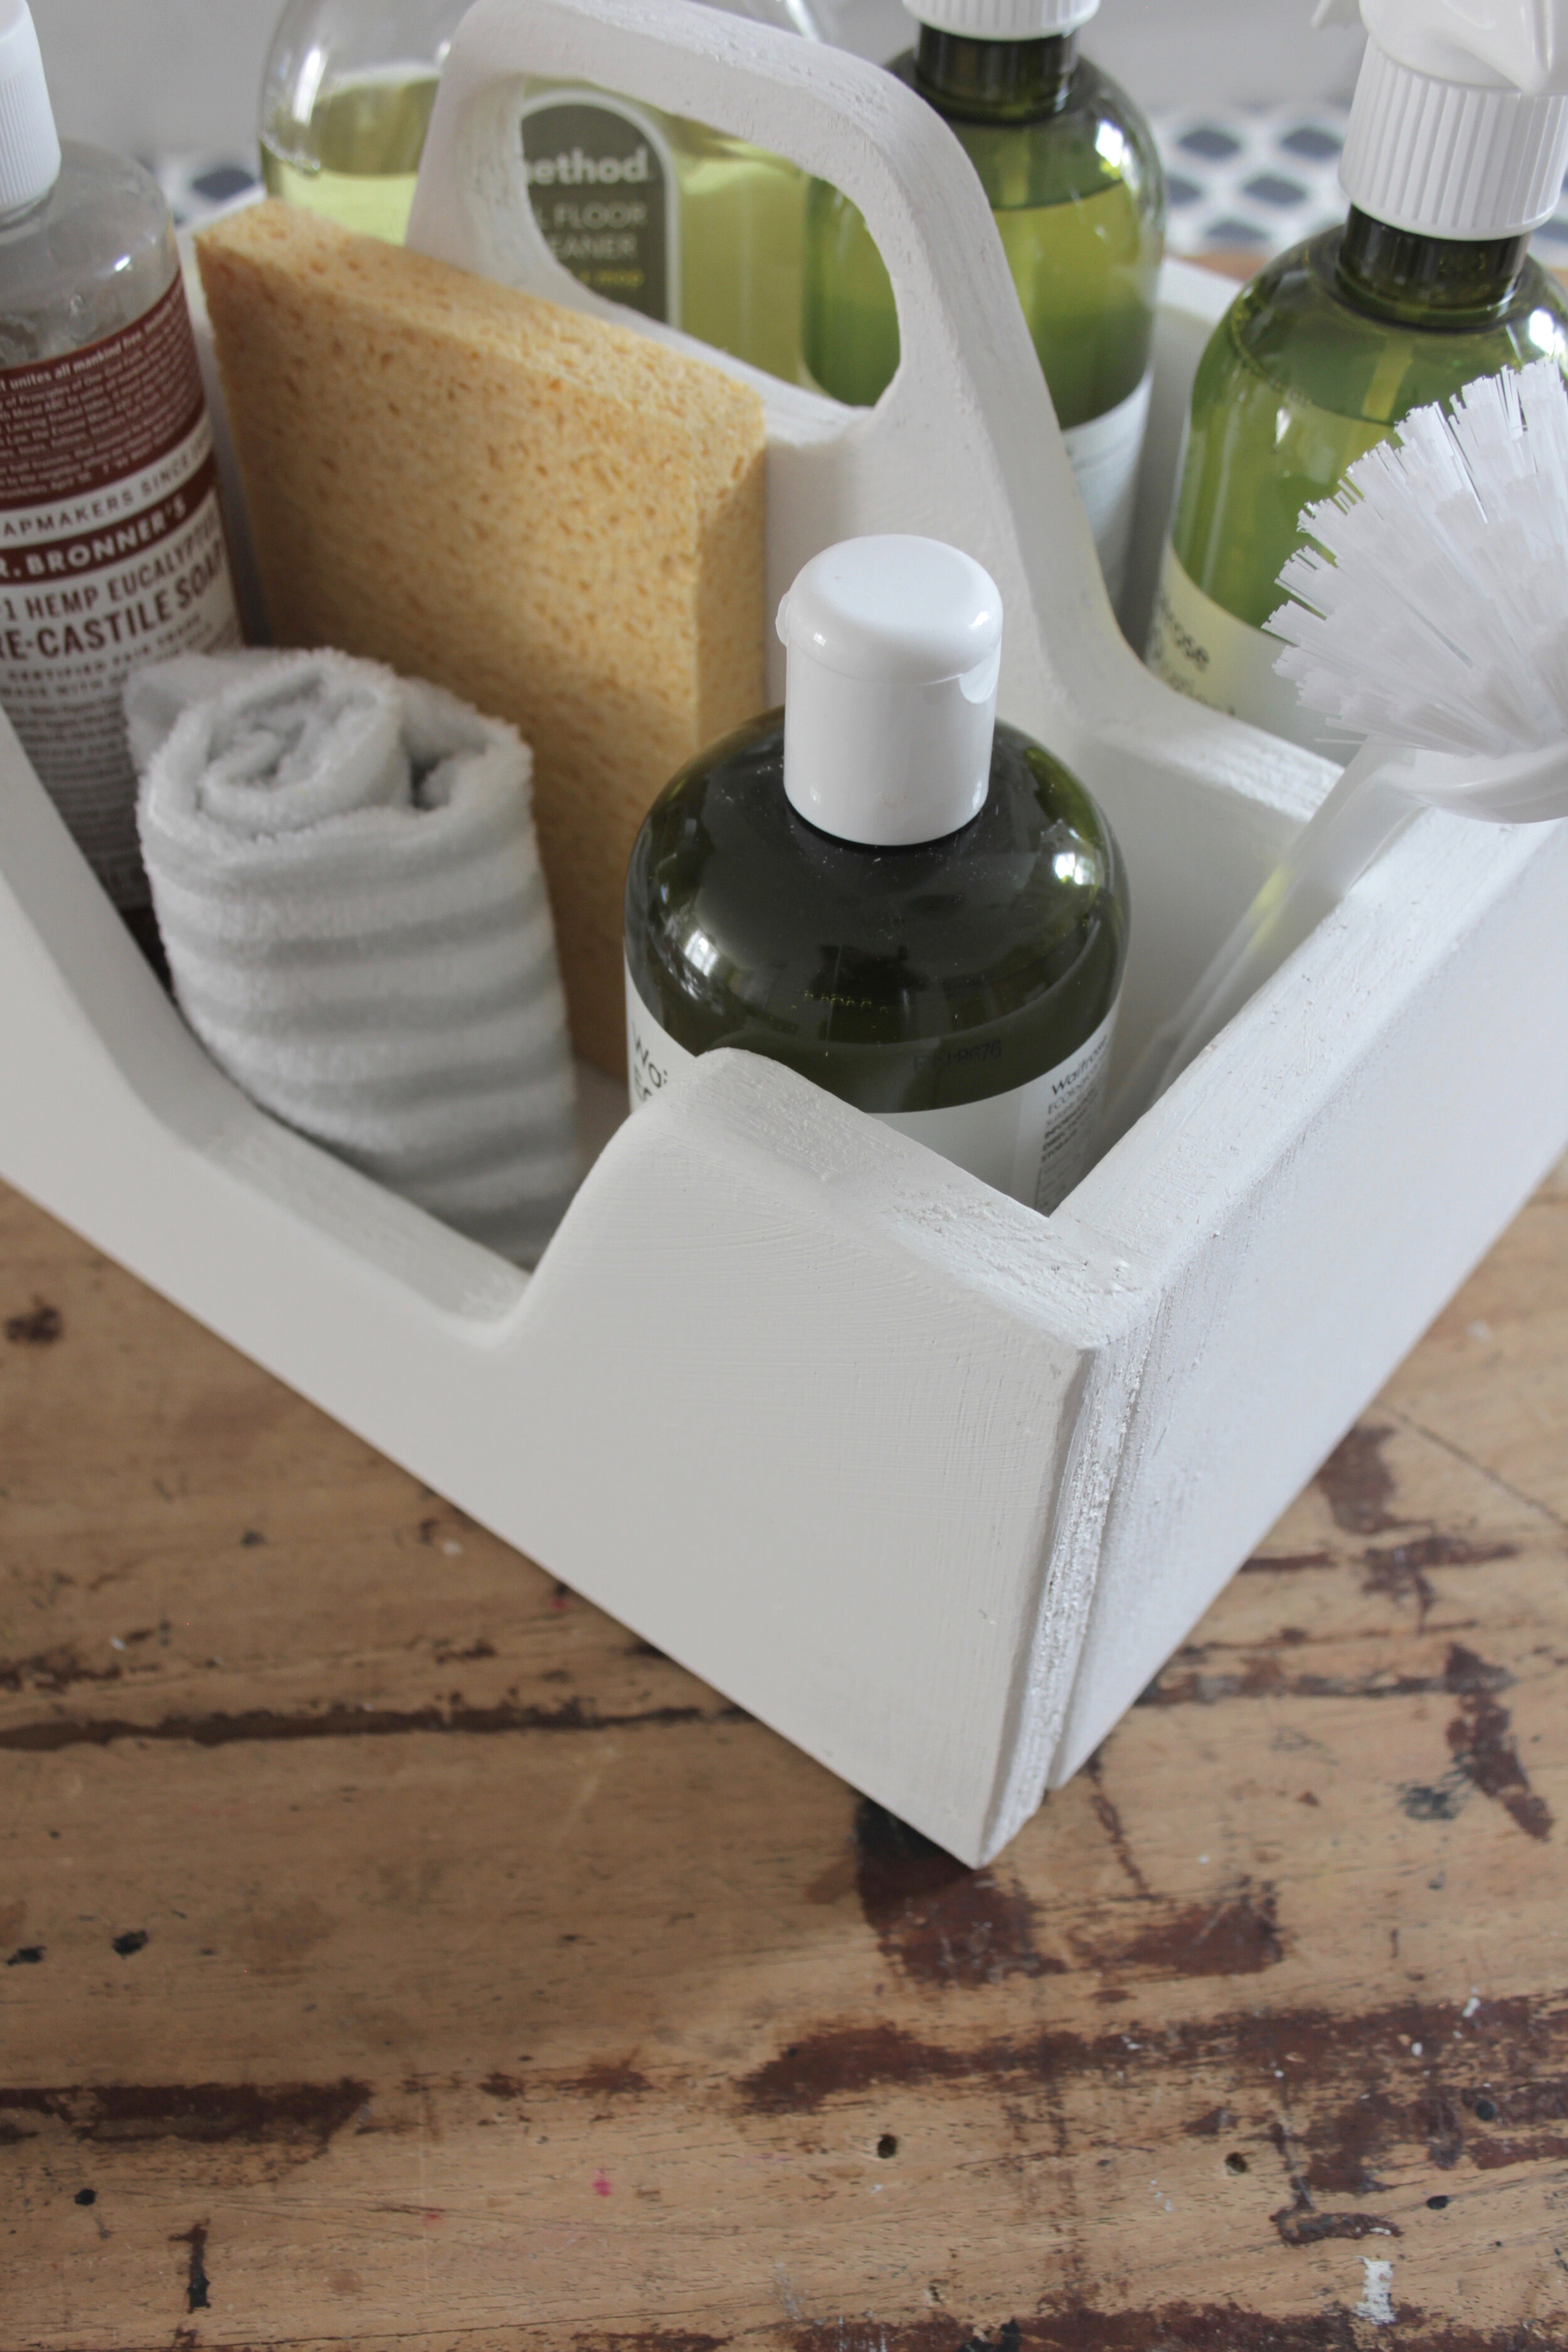
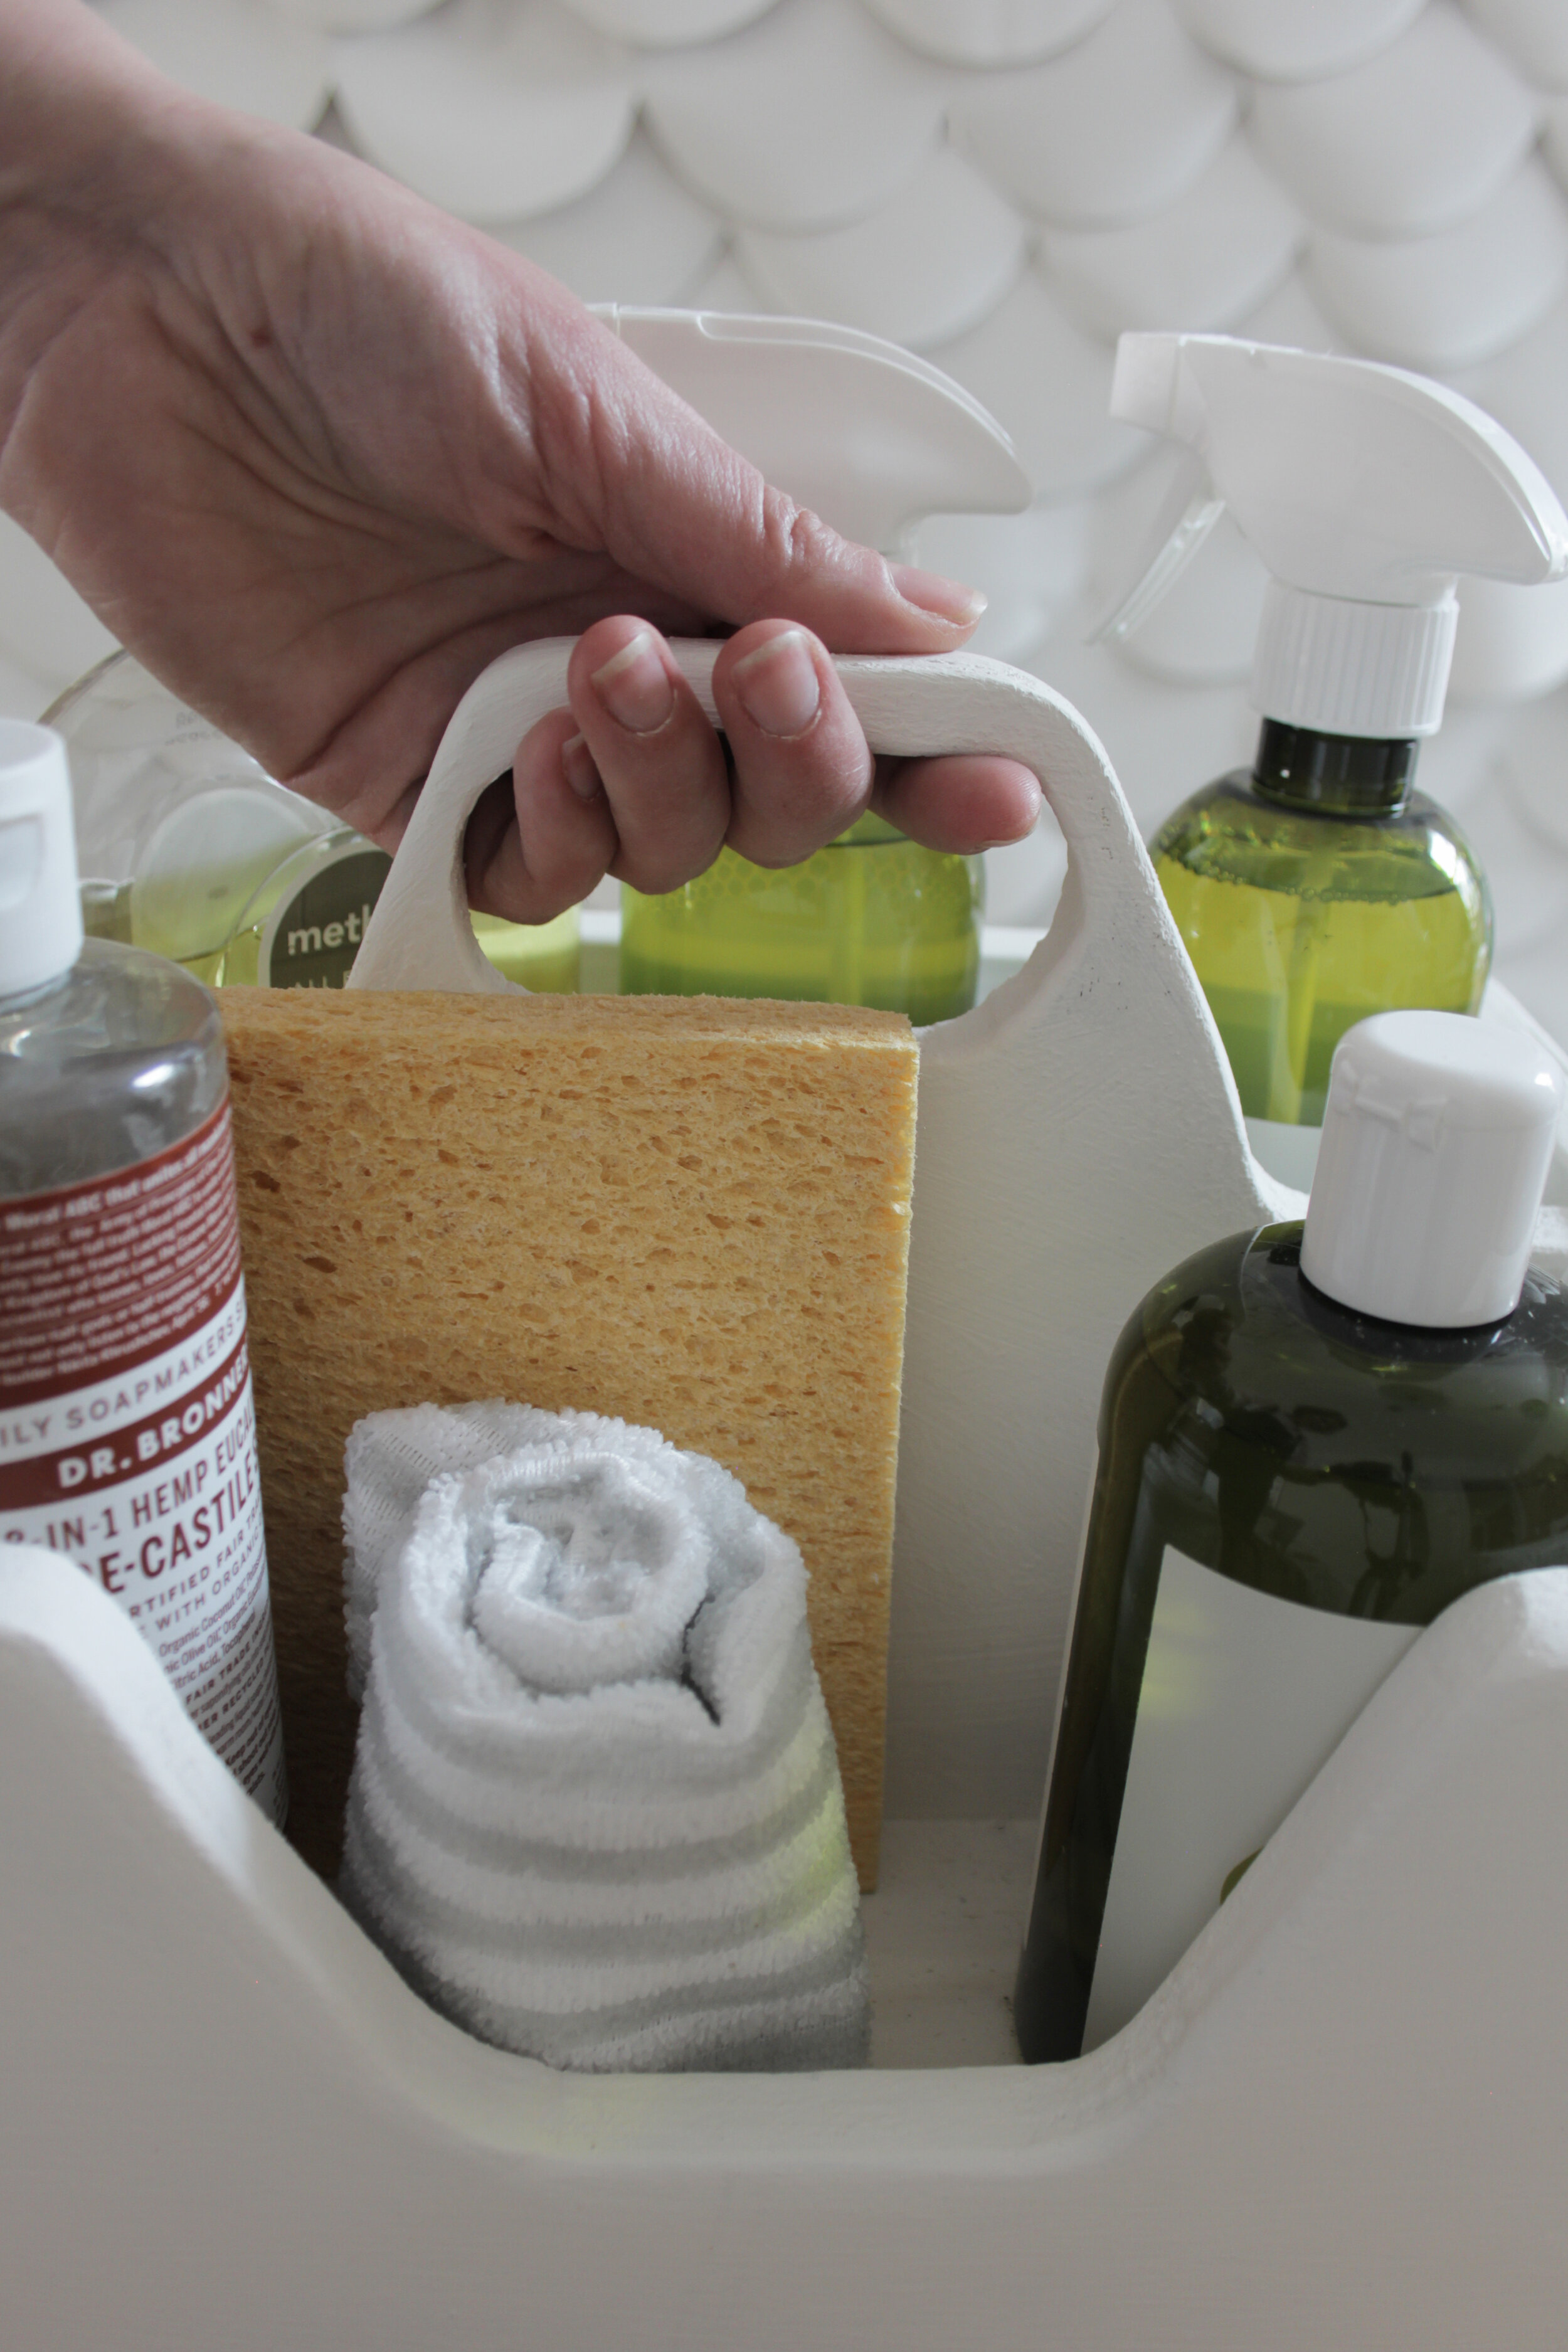
Open all the windows, wash your curtains, shake out the rugs and give the whole place a good deep clean. To keep all your supplies close to hand while you blitz through your home I designed this handy caddy. It holds all your cleaning products, brushes and cloths to make cleaning a lot easier.

As you might know I like using what you already have so I made my caddy from a piece of 18 mm thick plywood that I had left over (it’s an old desk top). You can use a thinner plywood too to make the caddy but don’t go thinner than a 9 mm ply.
You will need:
A piece of plywood (18 mm thick) Saw, hand saw and jigsaw
Sander
Drill with wood drill piece
Nail gun or hammer and nails Glue clamps
Paint, I used a white chalk paint
You do:
Draw out the pieces you need onto your plywood. One 30cm x 14cm piece, two 20cm x 14cm pieces and two 30cm x 14cm pieces, draw all these as one big rectangle. Draw the handle 7cm from each corner and 8cm deep, this will then cut out the groove for the front piece (see left picture below)
One 26.4cm x 20cm - this will form the base. (If you are using a different thickness of plywood, you will need to subtract the thickness of the plywood from each edge)
Sketch the handle opening on the wood, mine is 8.5 cm by 4.5 cm, but you can make this any shape you like. Just make sure you don’t make the sides of the handle too thin.
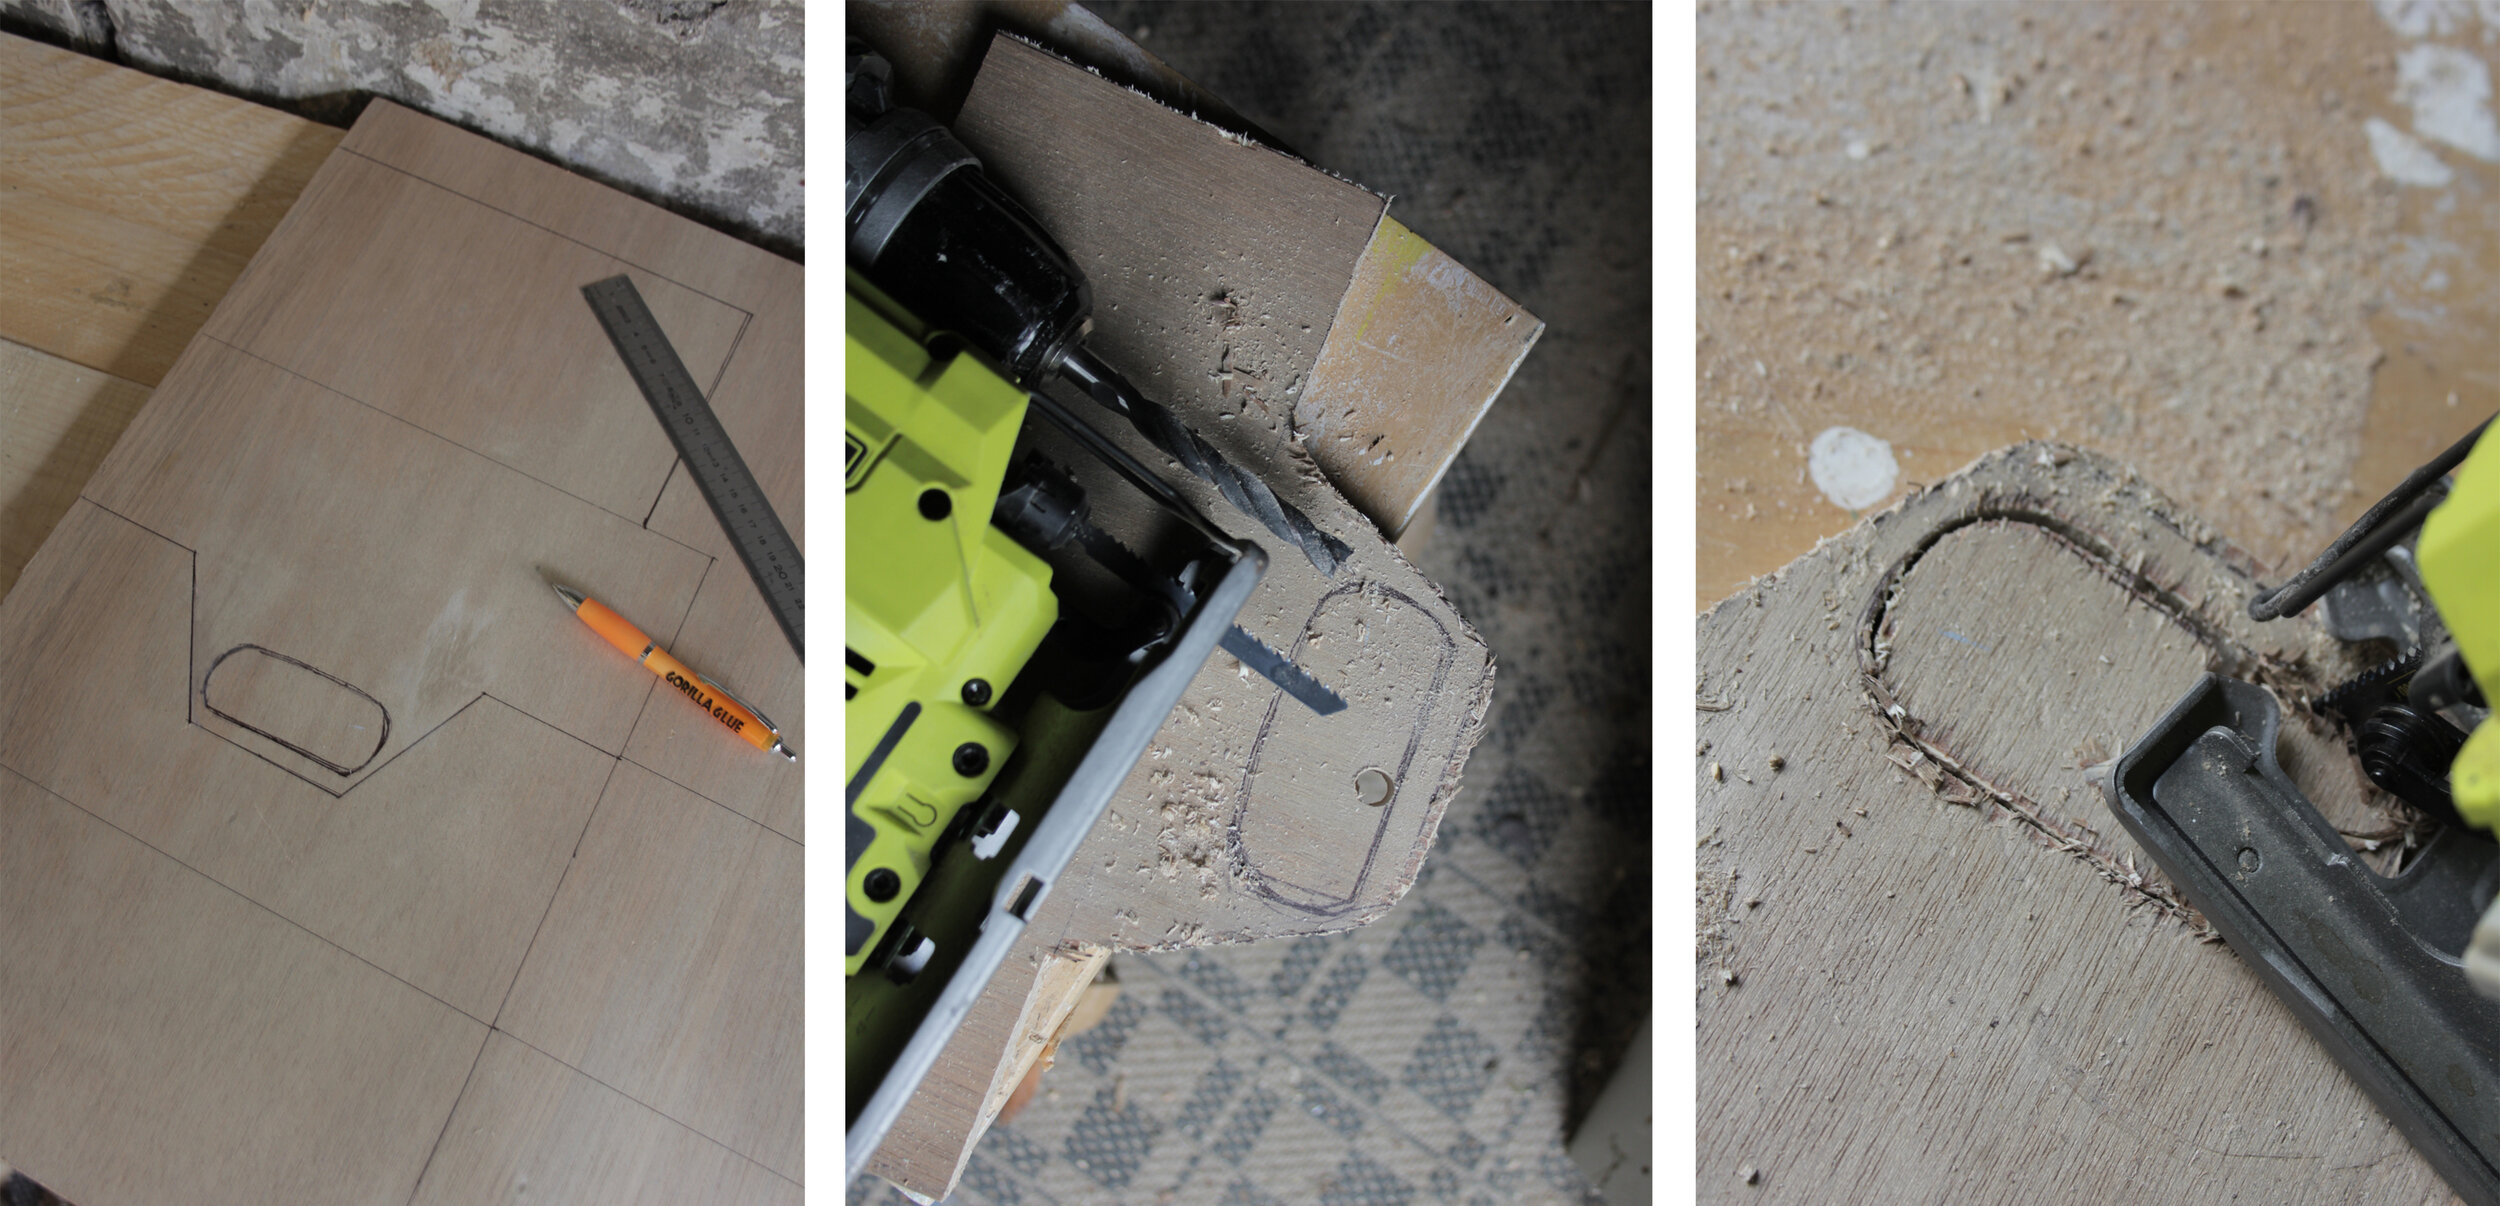
Saw out your pieces. To saw out the handle, drill a hole on the edge of your sketch line so you can fit your jigsaw blade through and slowly cut out the oval shape.
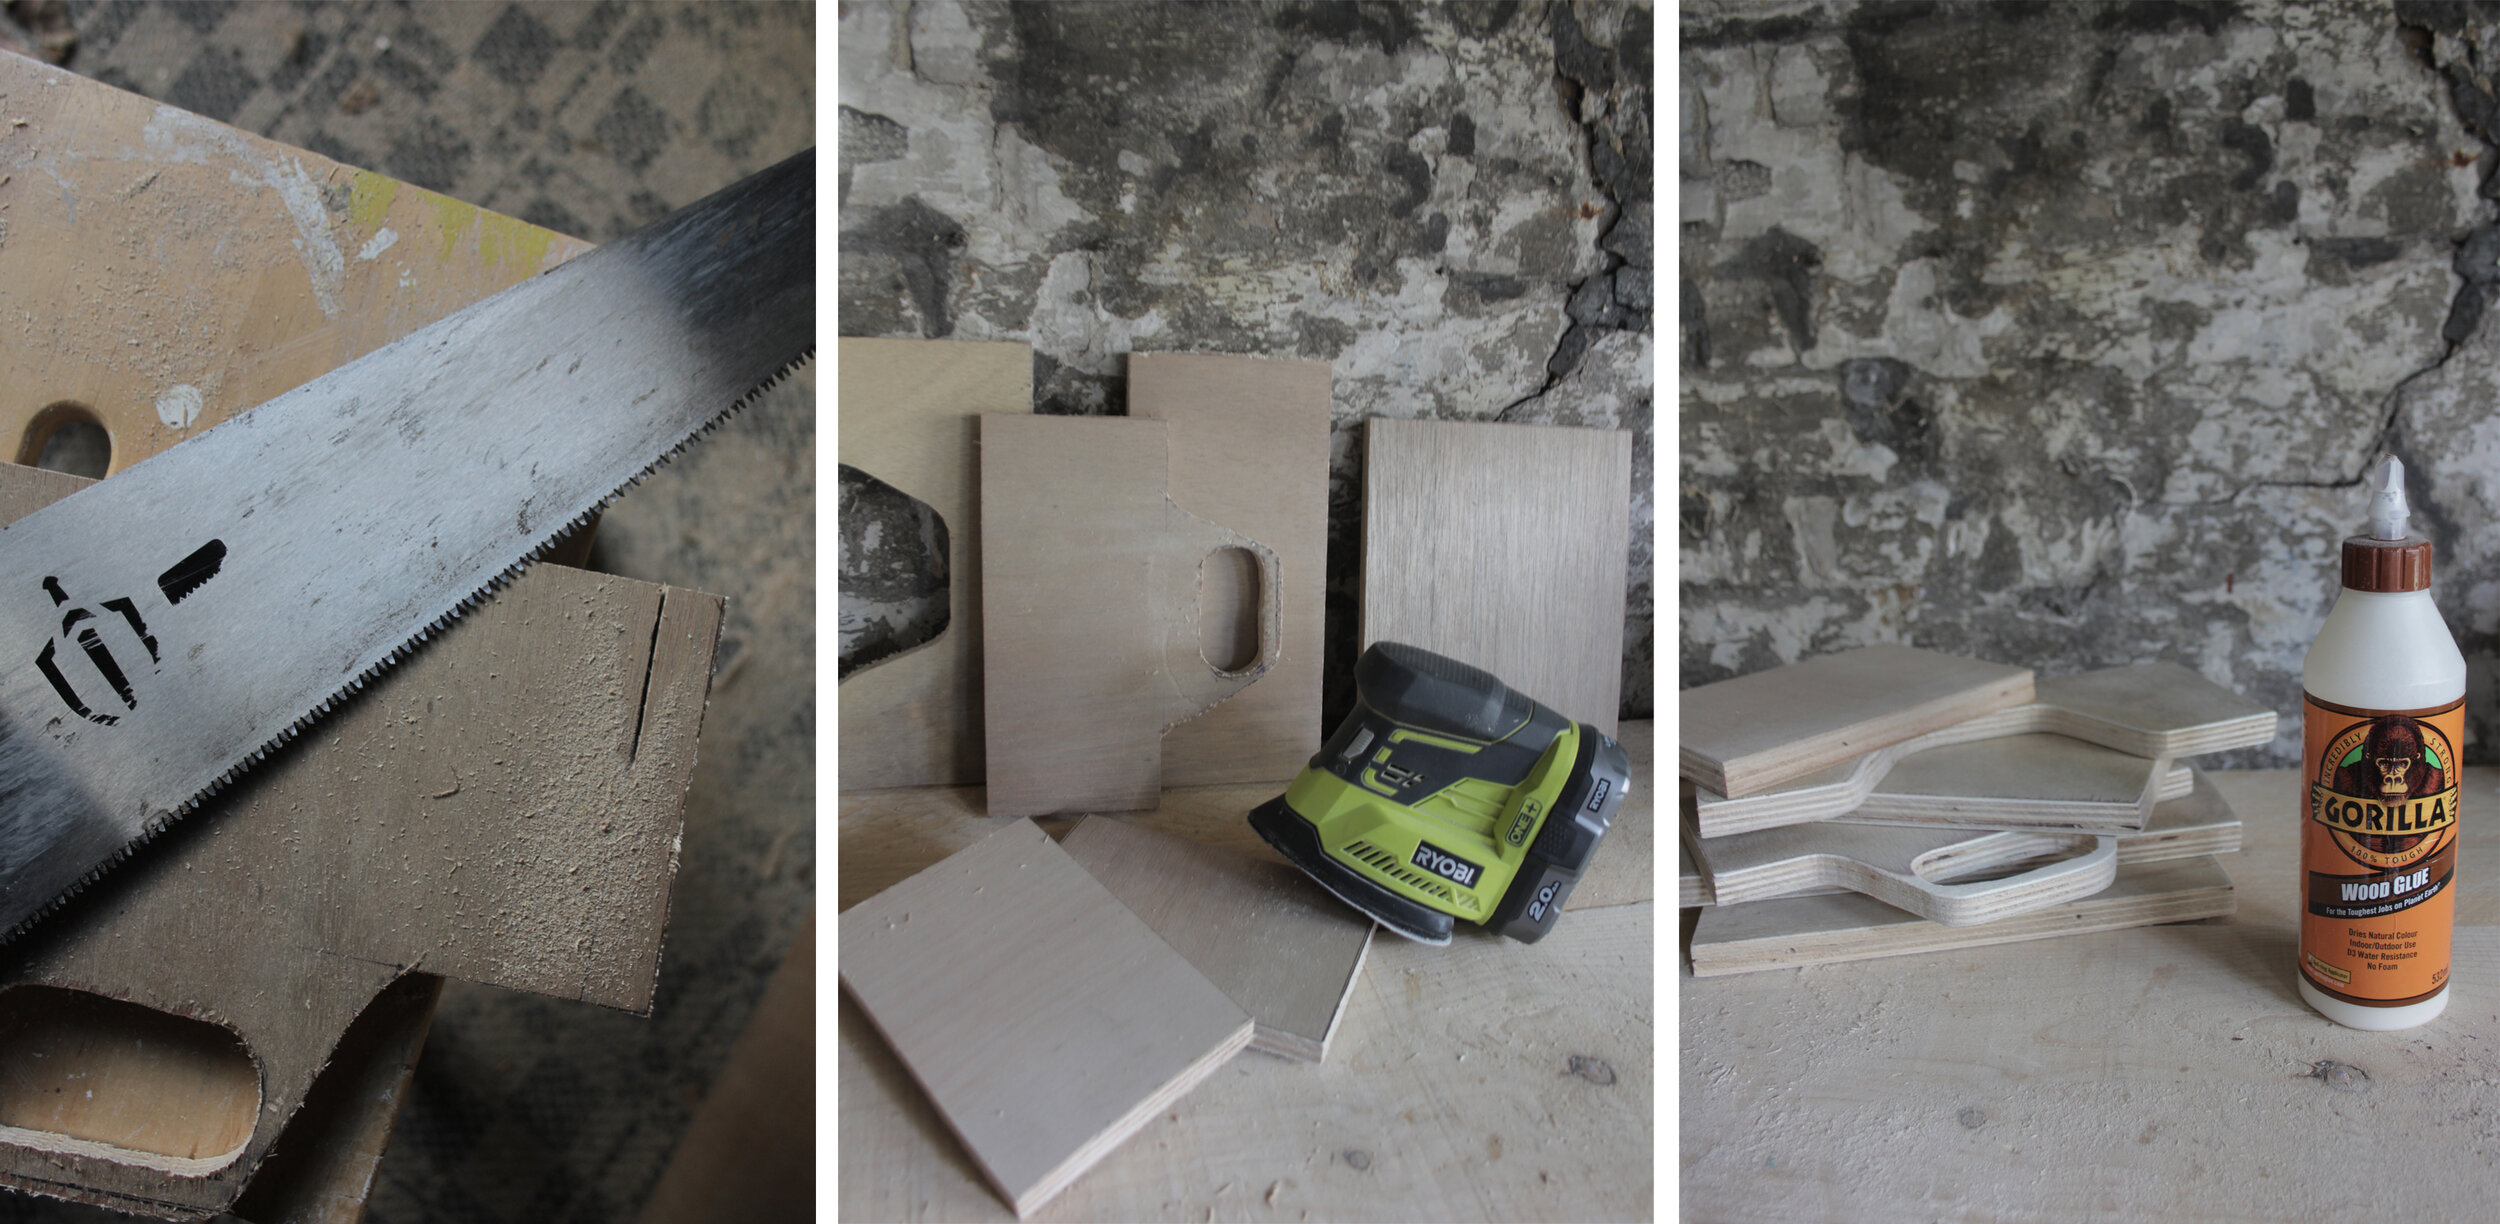
On the handle piece cut away 1.8 cm (or your wood thickness) from each short end, this will make your handle piece sit inside your caddy.
With your shapes cut out give them all a good sand with a medium grid sandpaper.
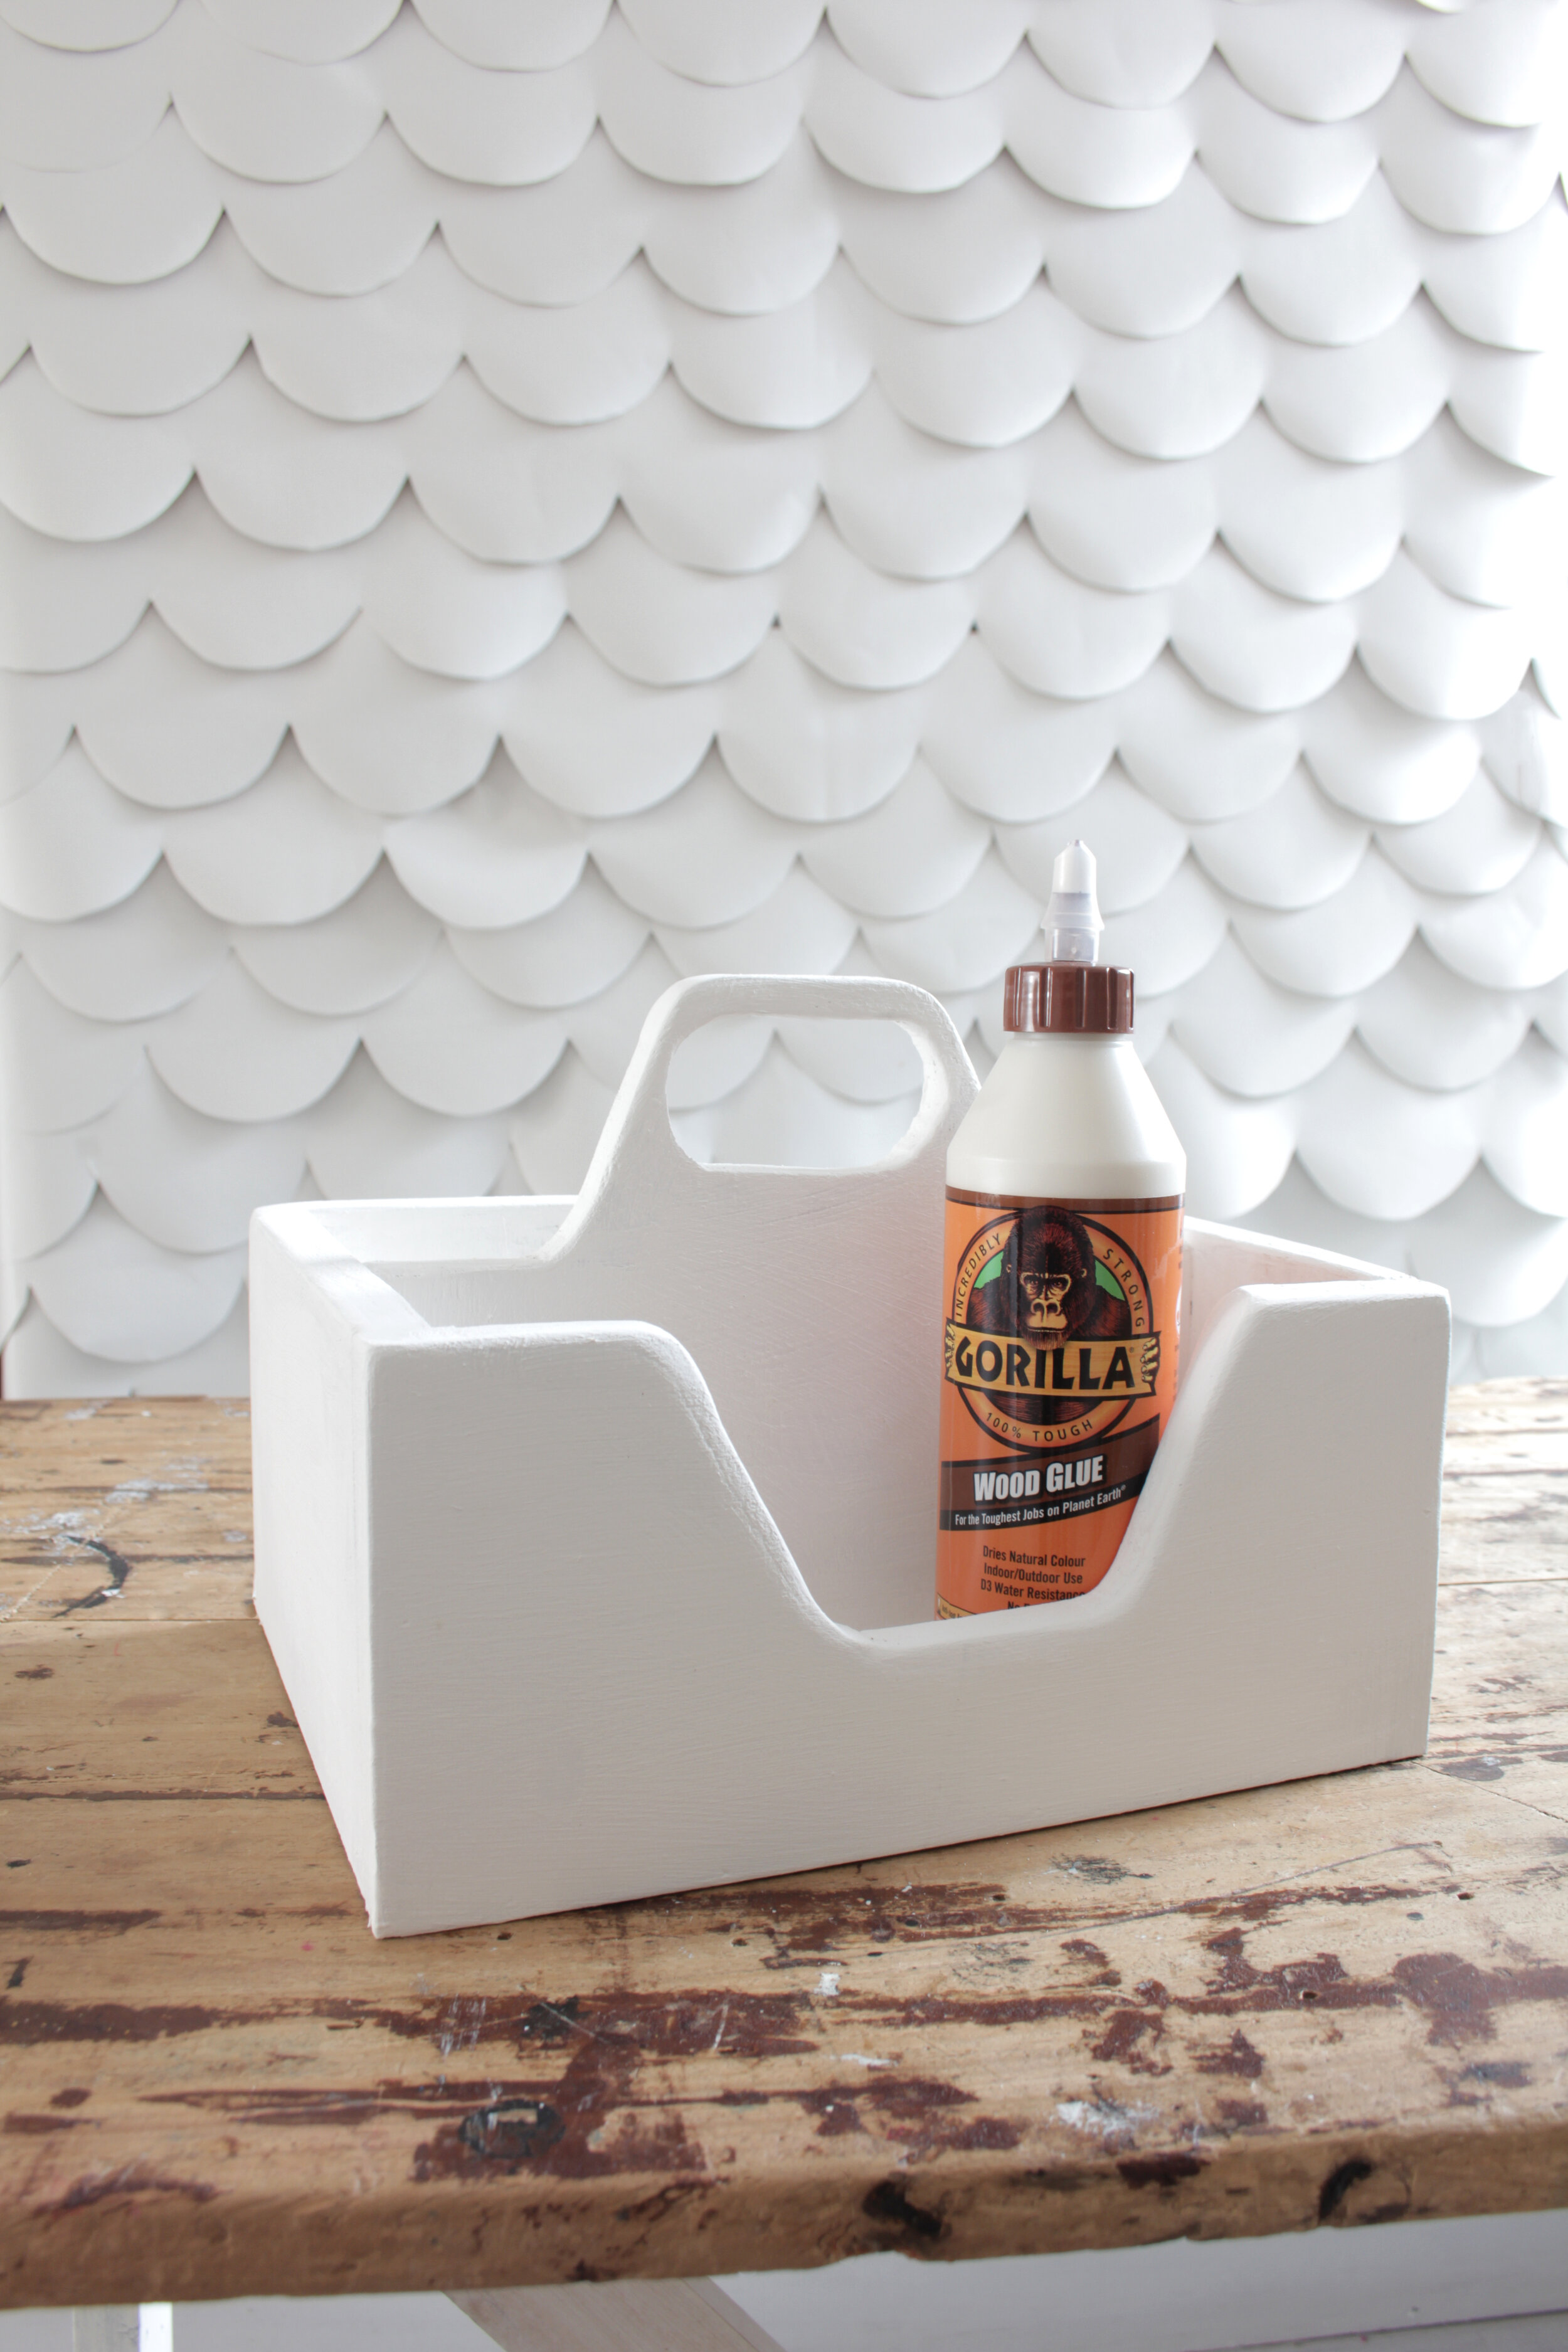
It’s time to glue your caddy together with Gorilla Wood Glue.
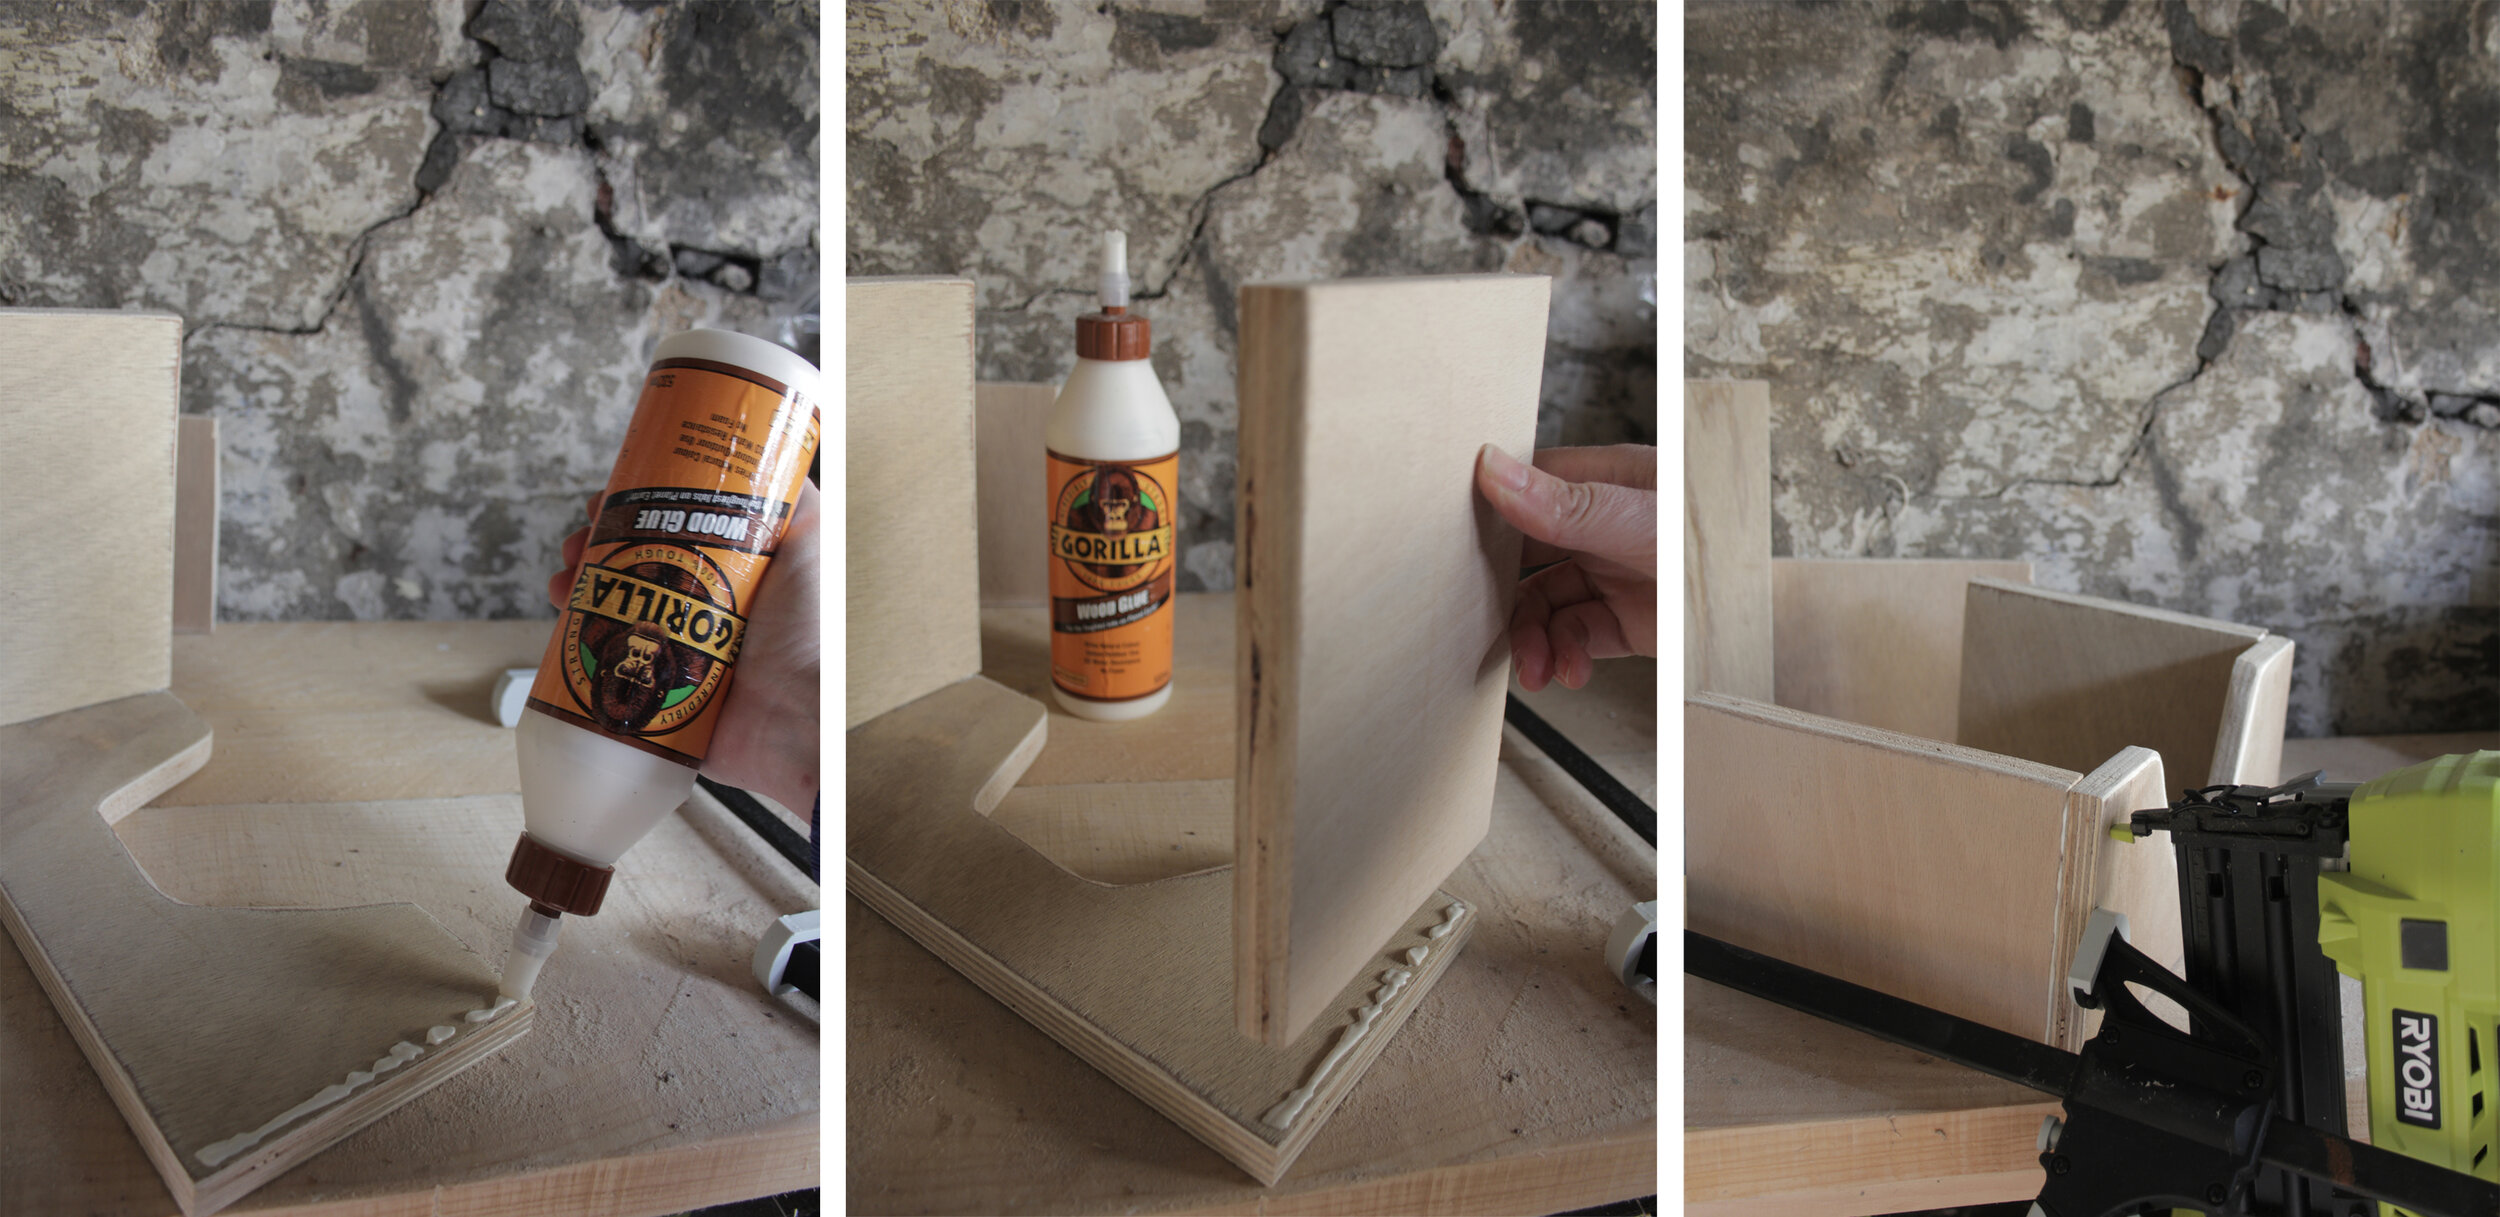
Apply Gorilla Wood Glue to the inner short edges of the front piece and line the side up. Clamp these in place with a glue clamp, wait 20-30 minutes before nailing the pieces together so the glue has a good chance to begin curing. I used a nail gun for this but you could use a hammer and nails for this too. Three nails per joint will do.
Do the same to the back piece of your caddy, glue and nail in place.
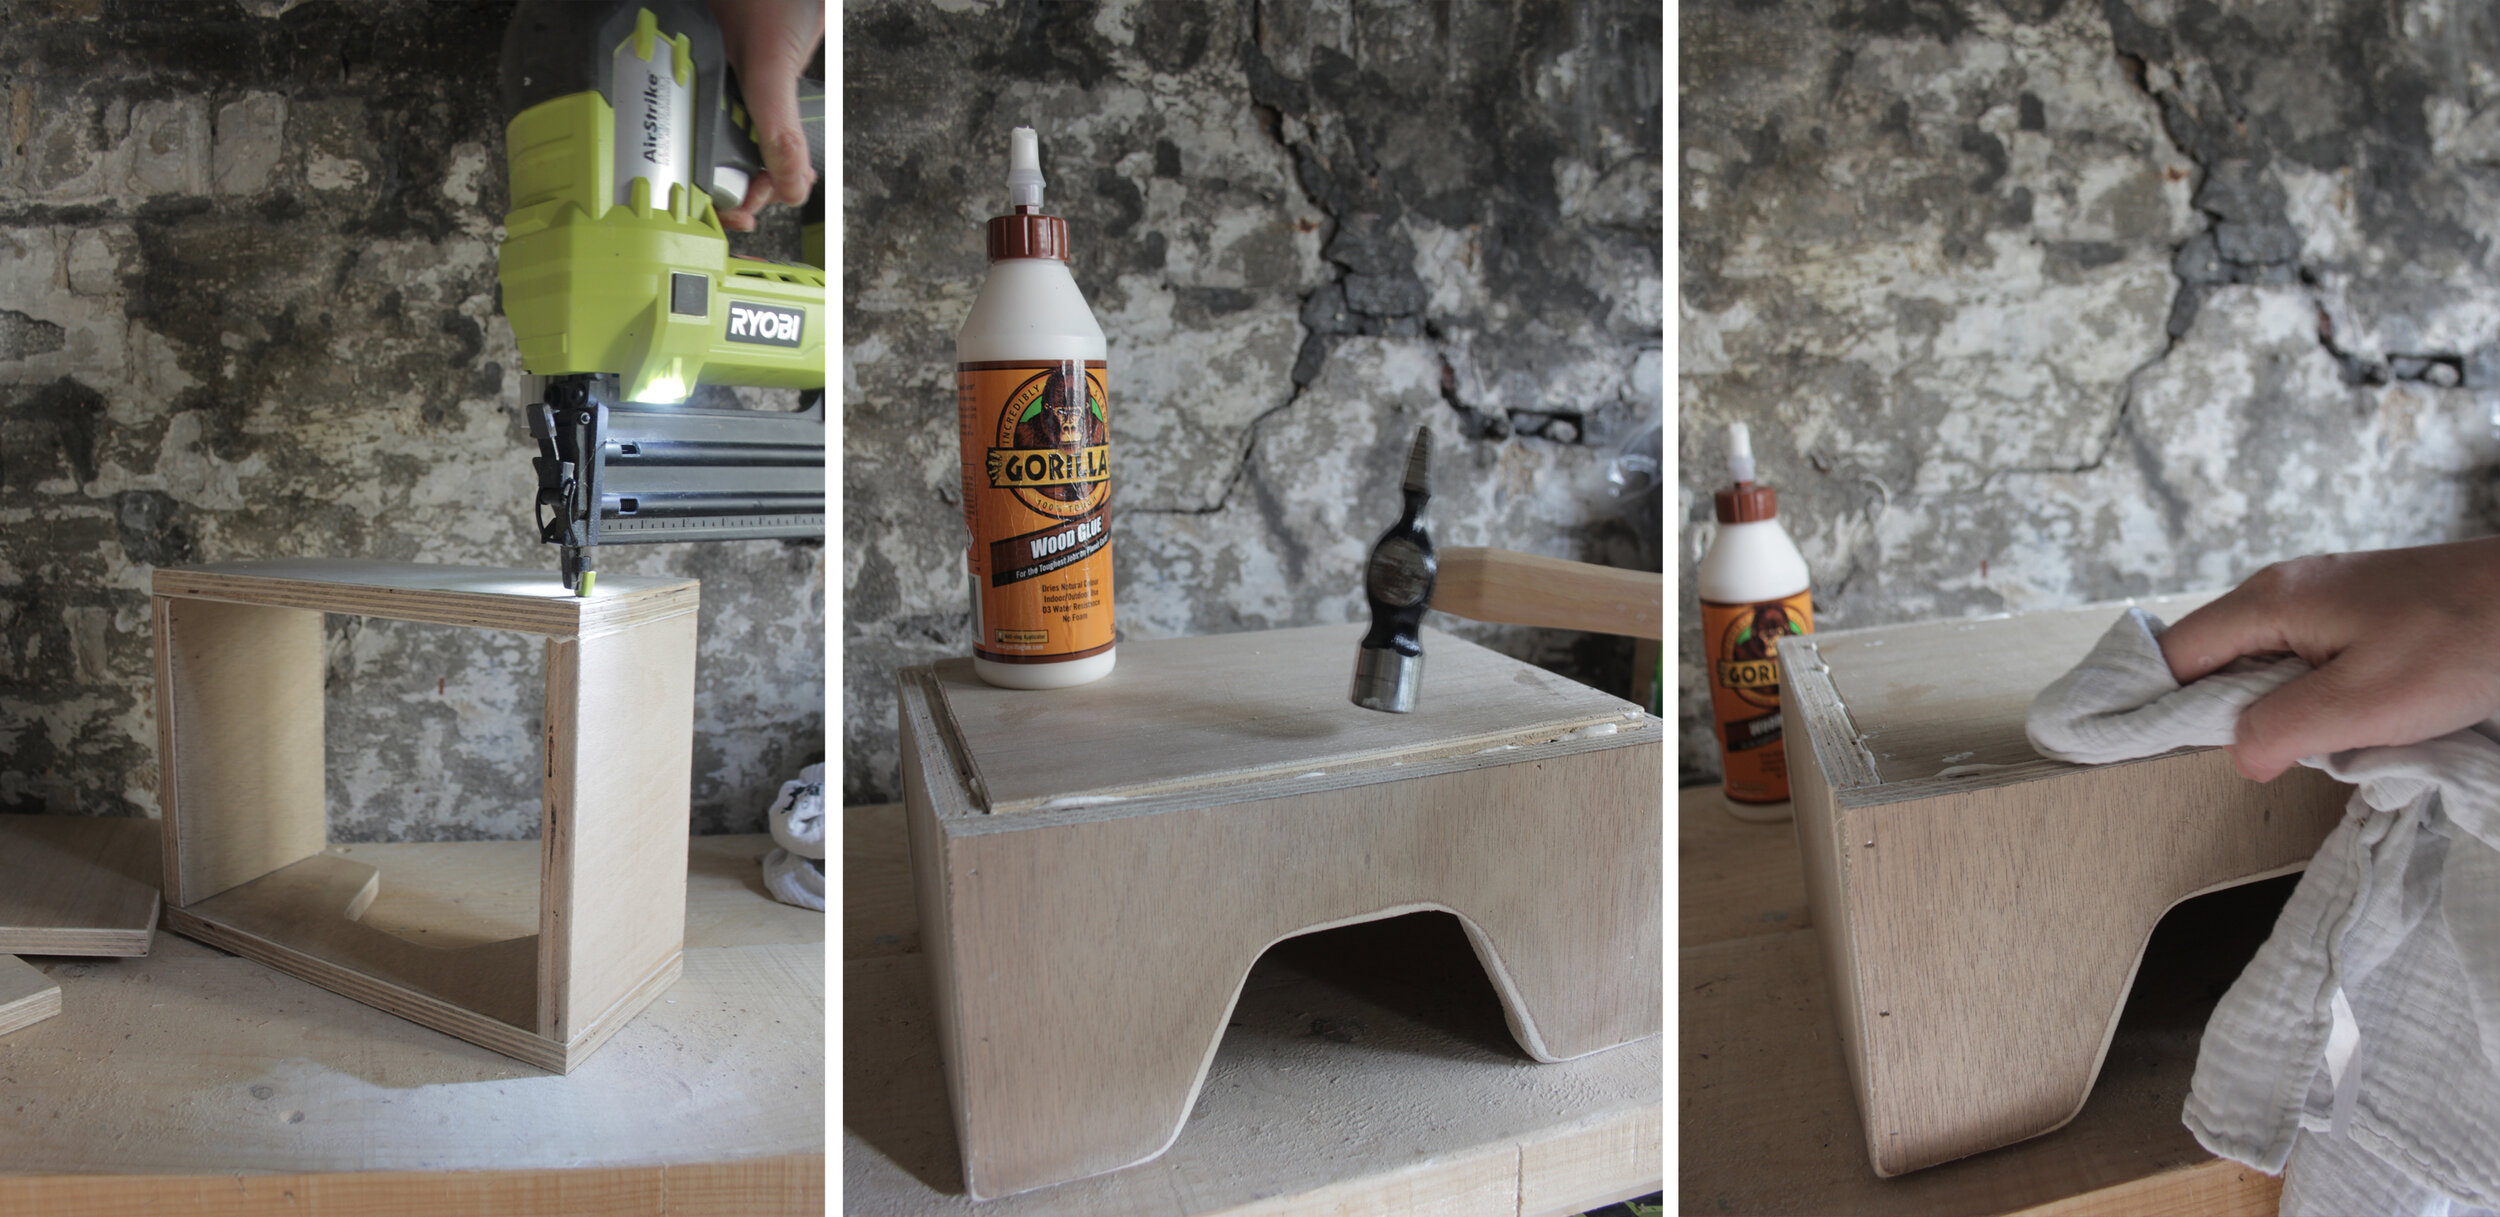
Apply glue to all four sides of your bottom piece (the 26.4 cm by 20 cm one) line up to the bottom of your caddy and use a hammer to gently tap it in place, it should be a tight fit. Wipe away any glue spills.
Nail the base plate in place with 3 to 4 nails per side.
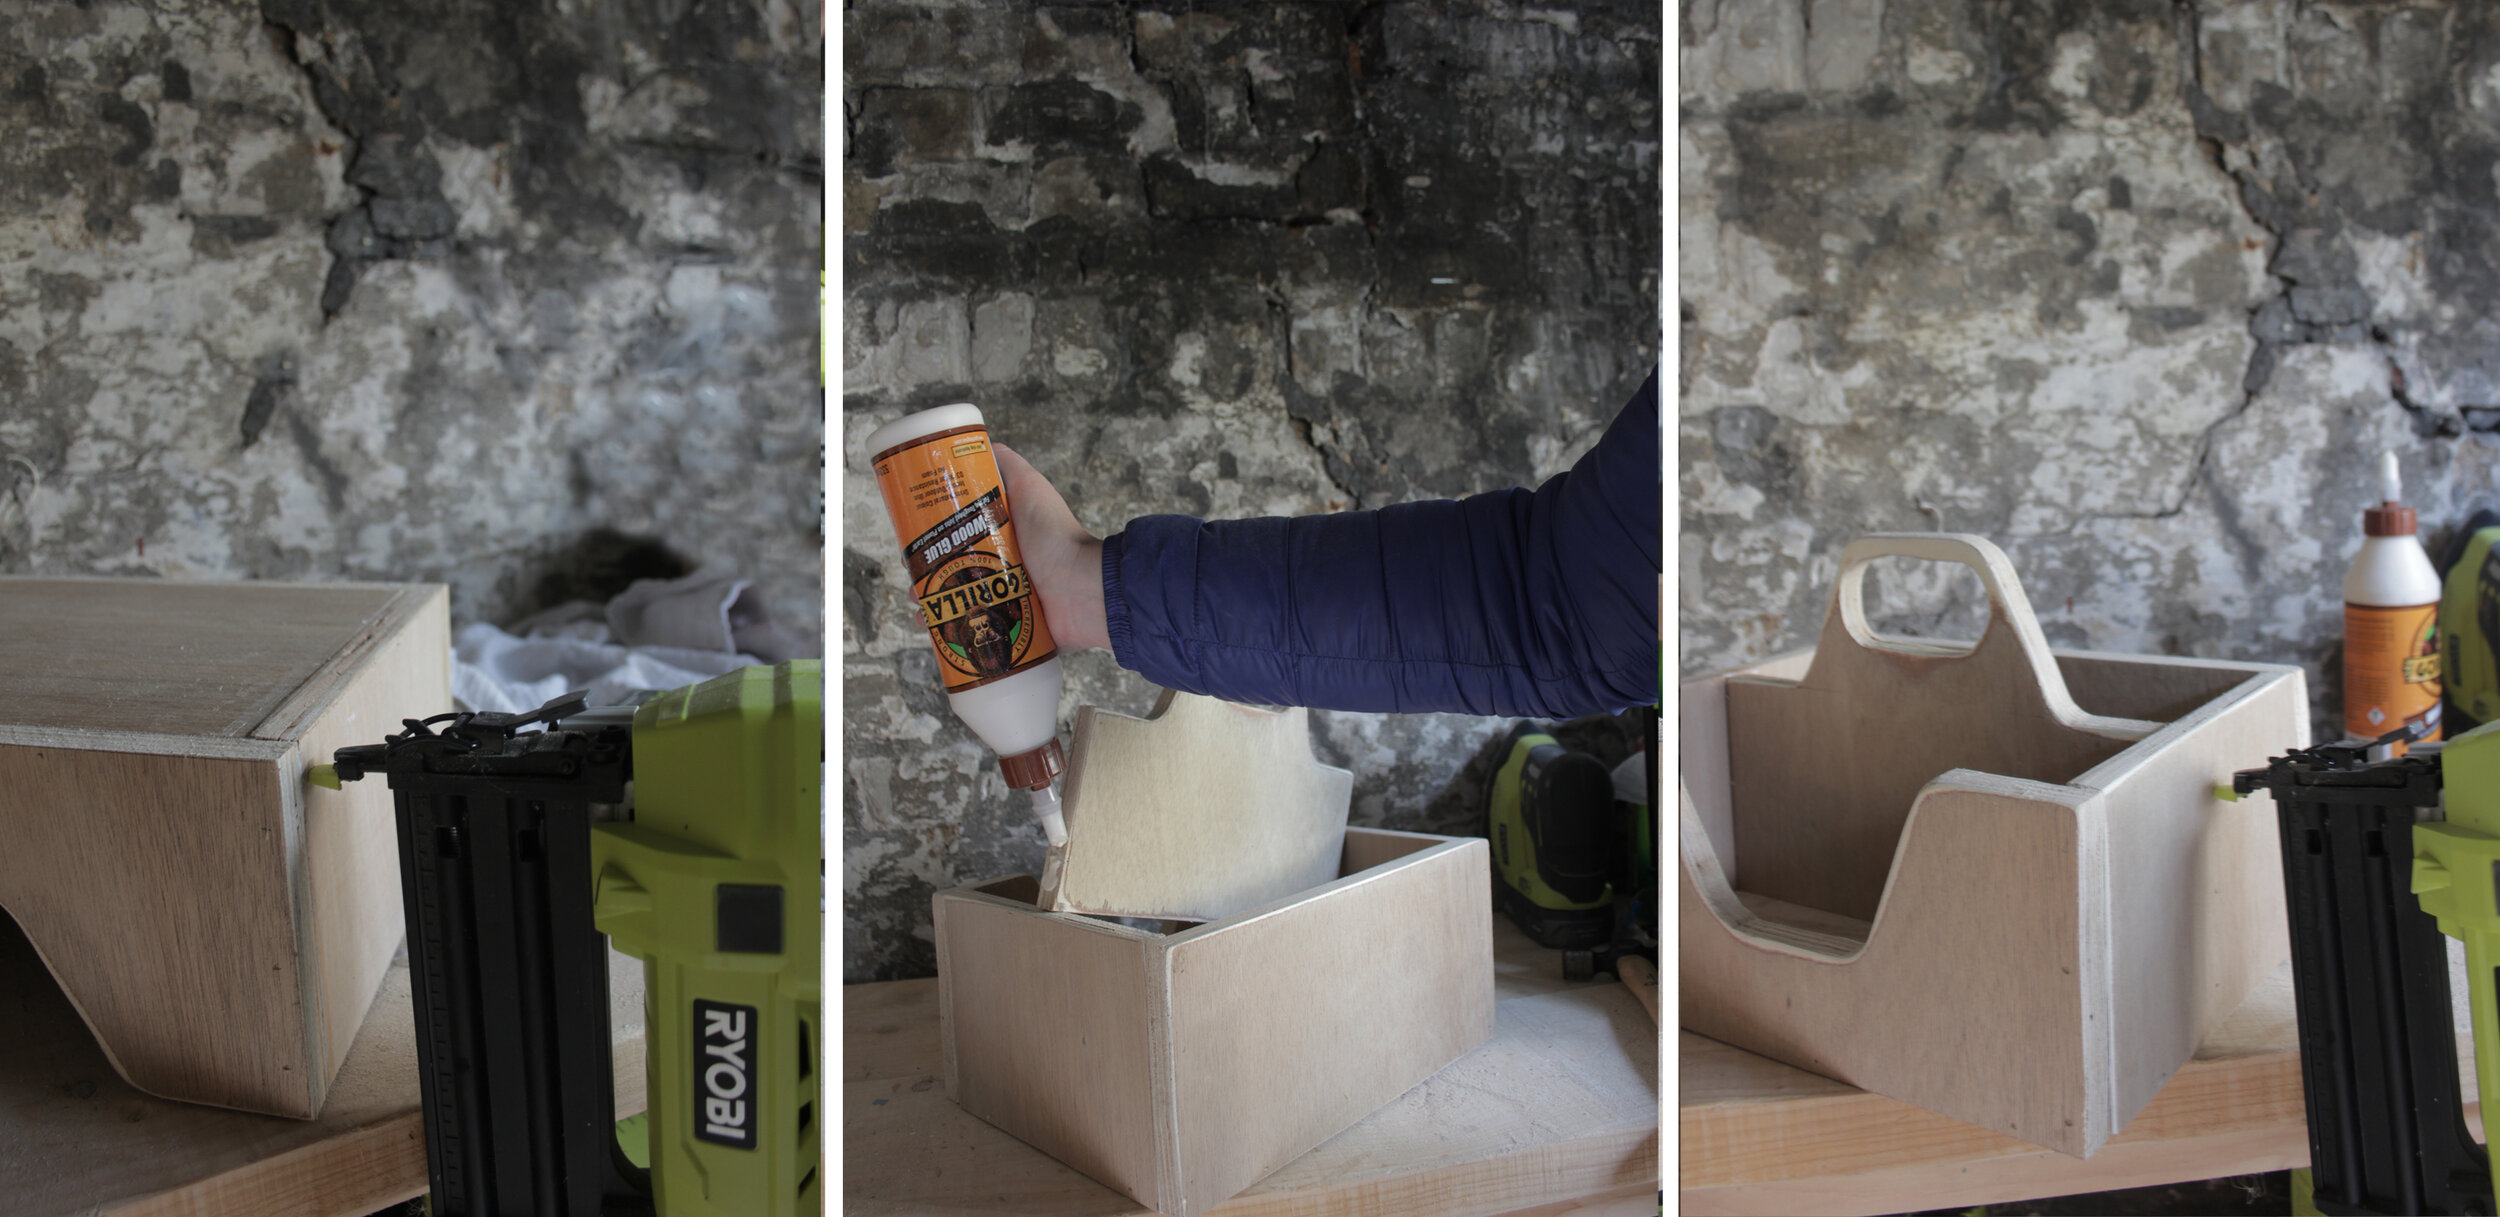
Apply glue to the sides of the handle piece and push in place in the middle of the caddy. Once again use nails to secure the handle in place, wait 24 hrs for the Gorilla Wood Glue to fully cure.
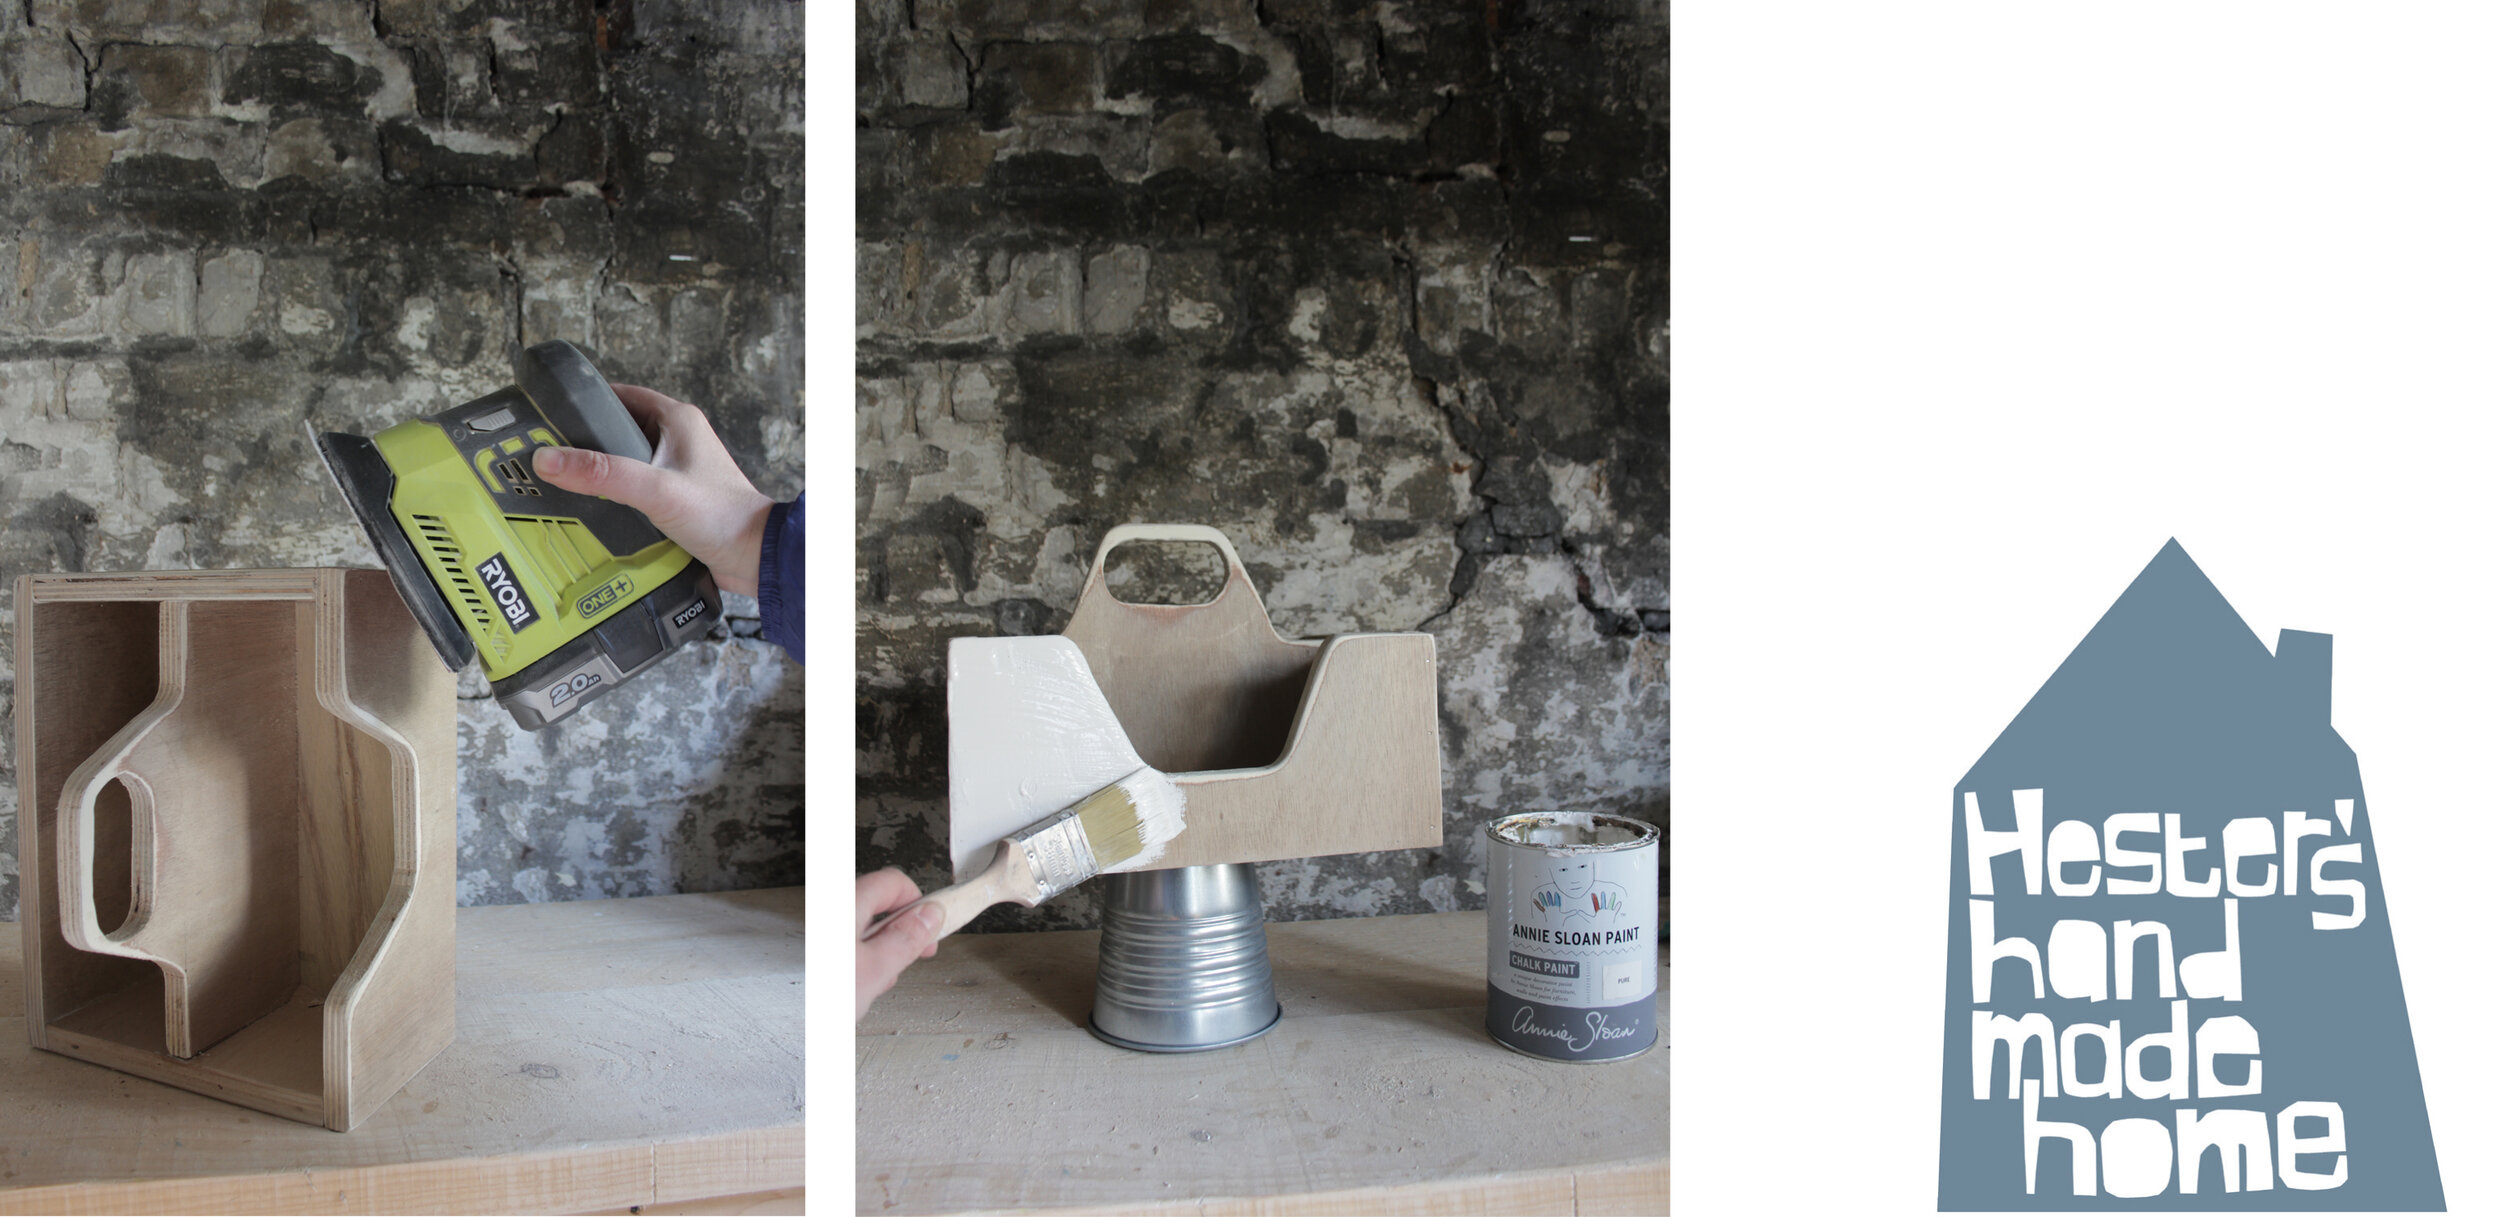
Give the caddy a final sand with a fine grid sandpaper.
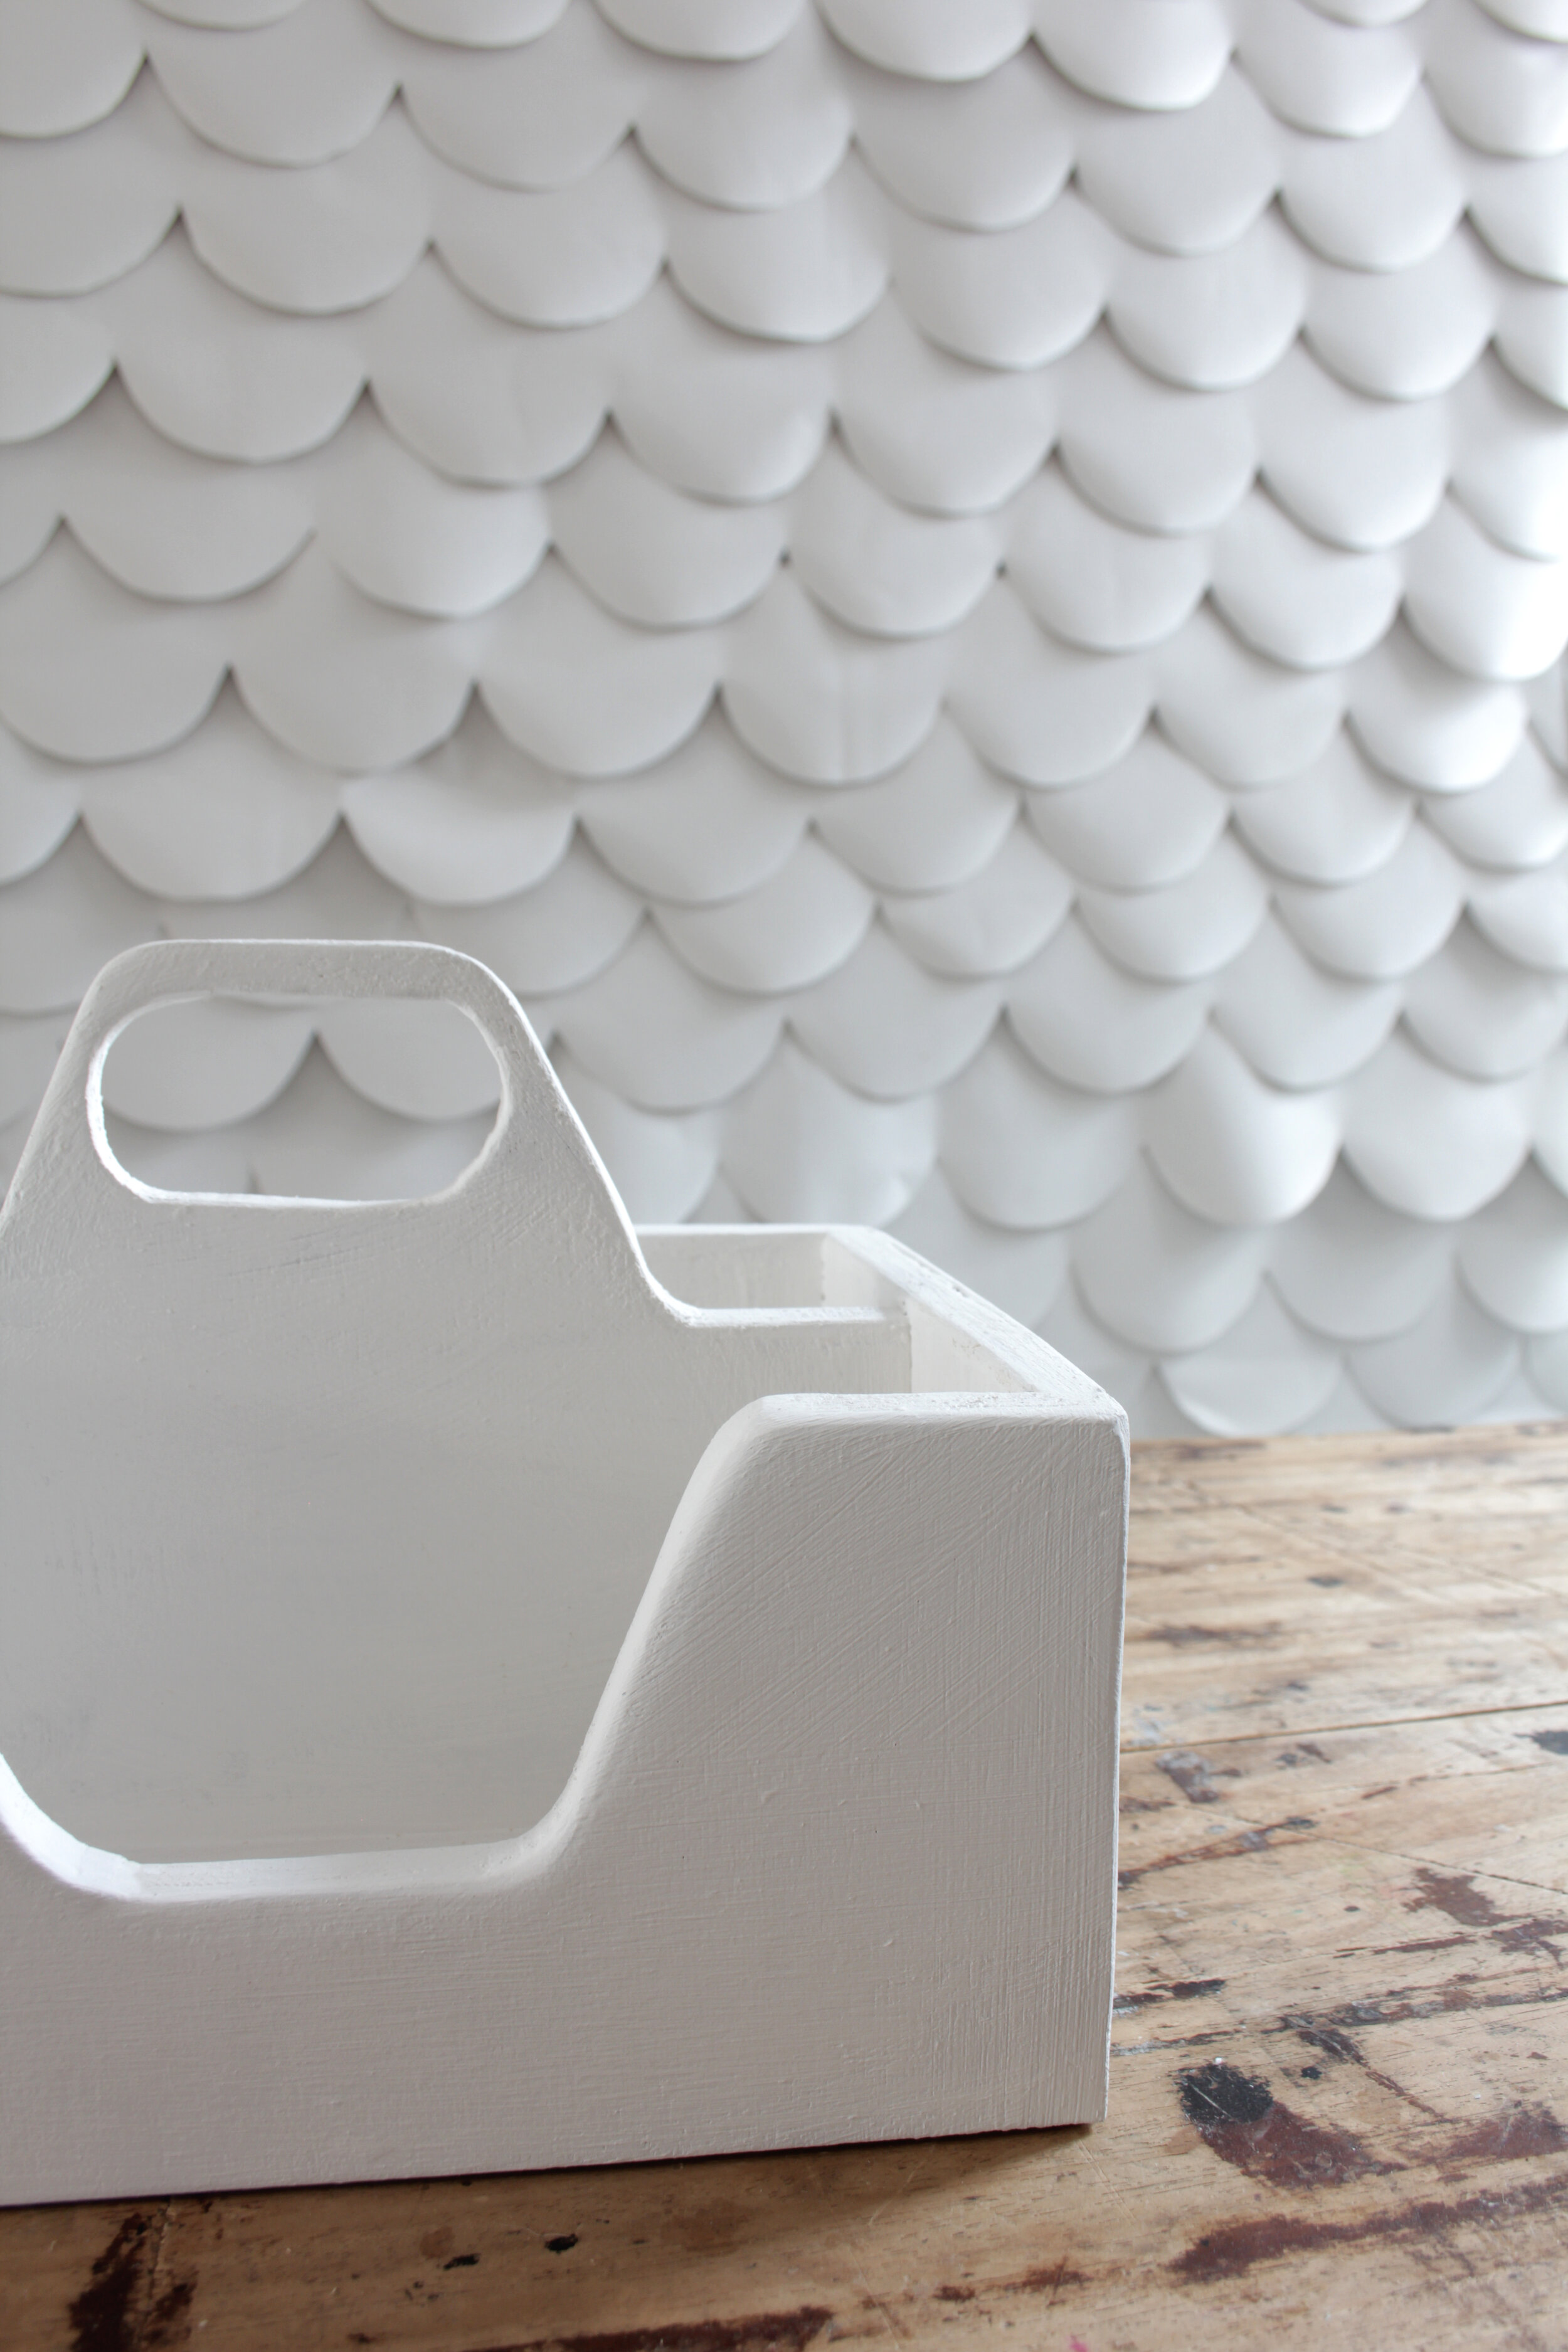
You can leave the caddy natural or paint it any colour you like, I liked the idea of having it a fresh white colour and used a white chalk paint. Give the caddy two coats of paint, letting the first coat dry completely before painting the second one.
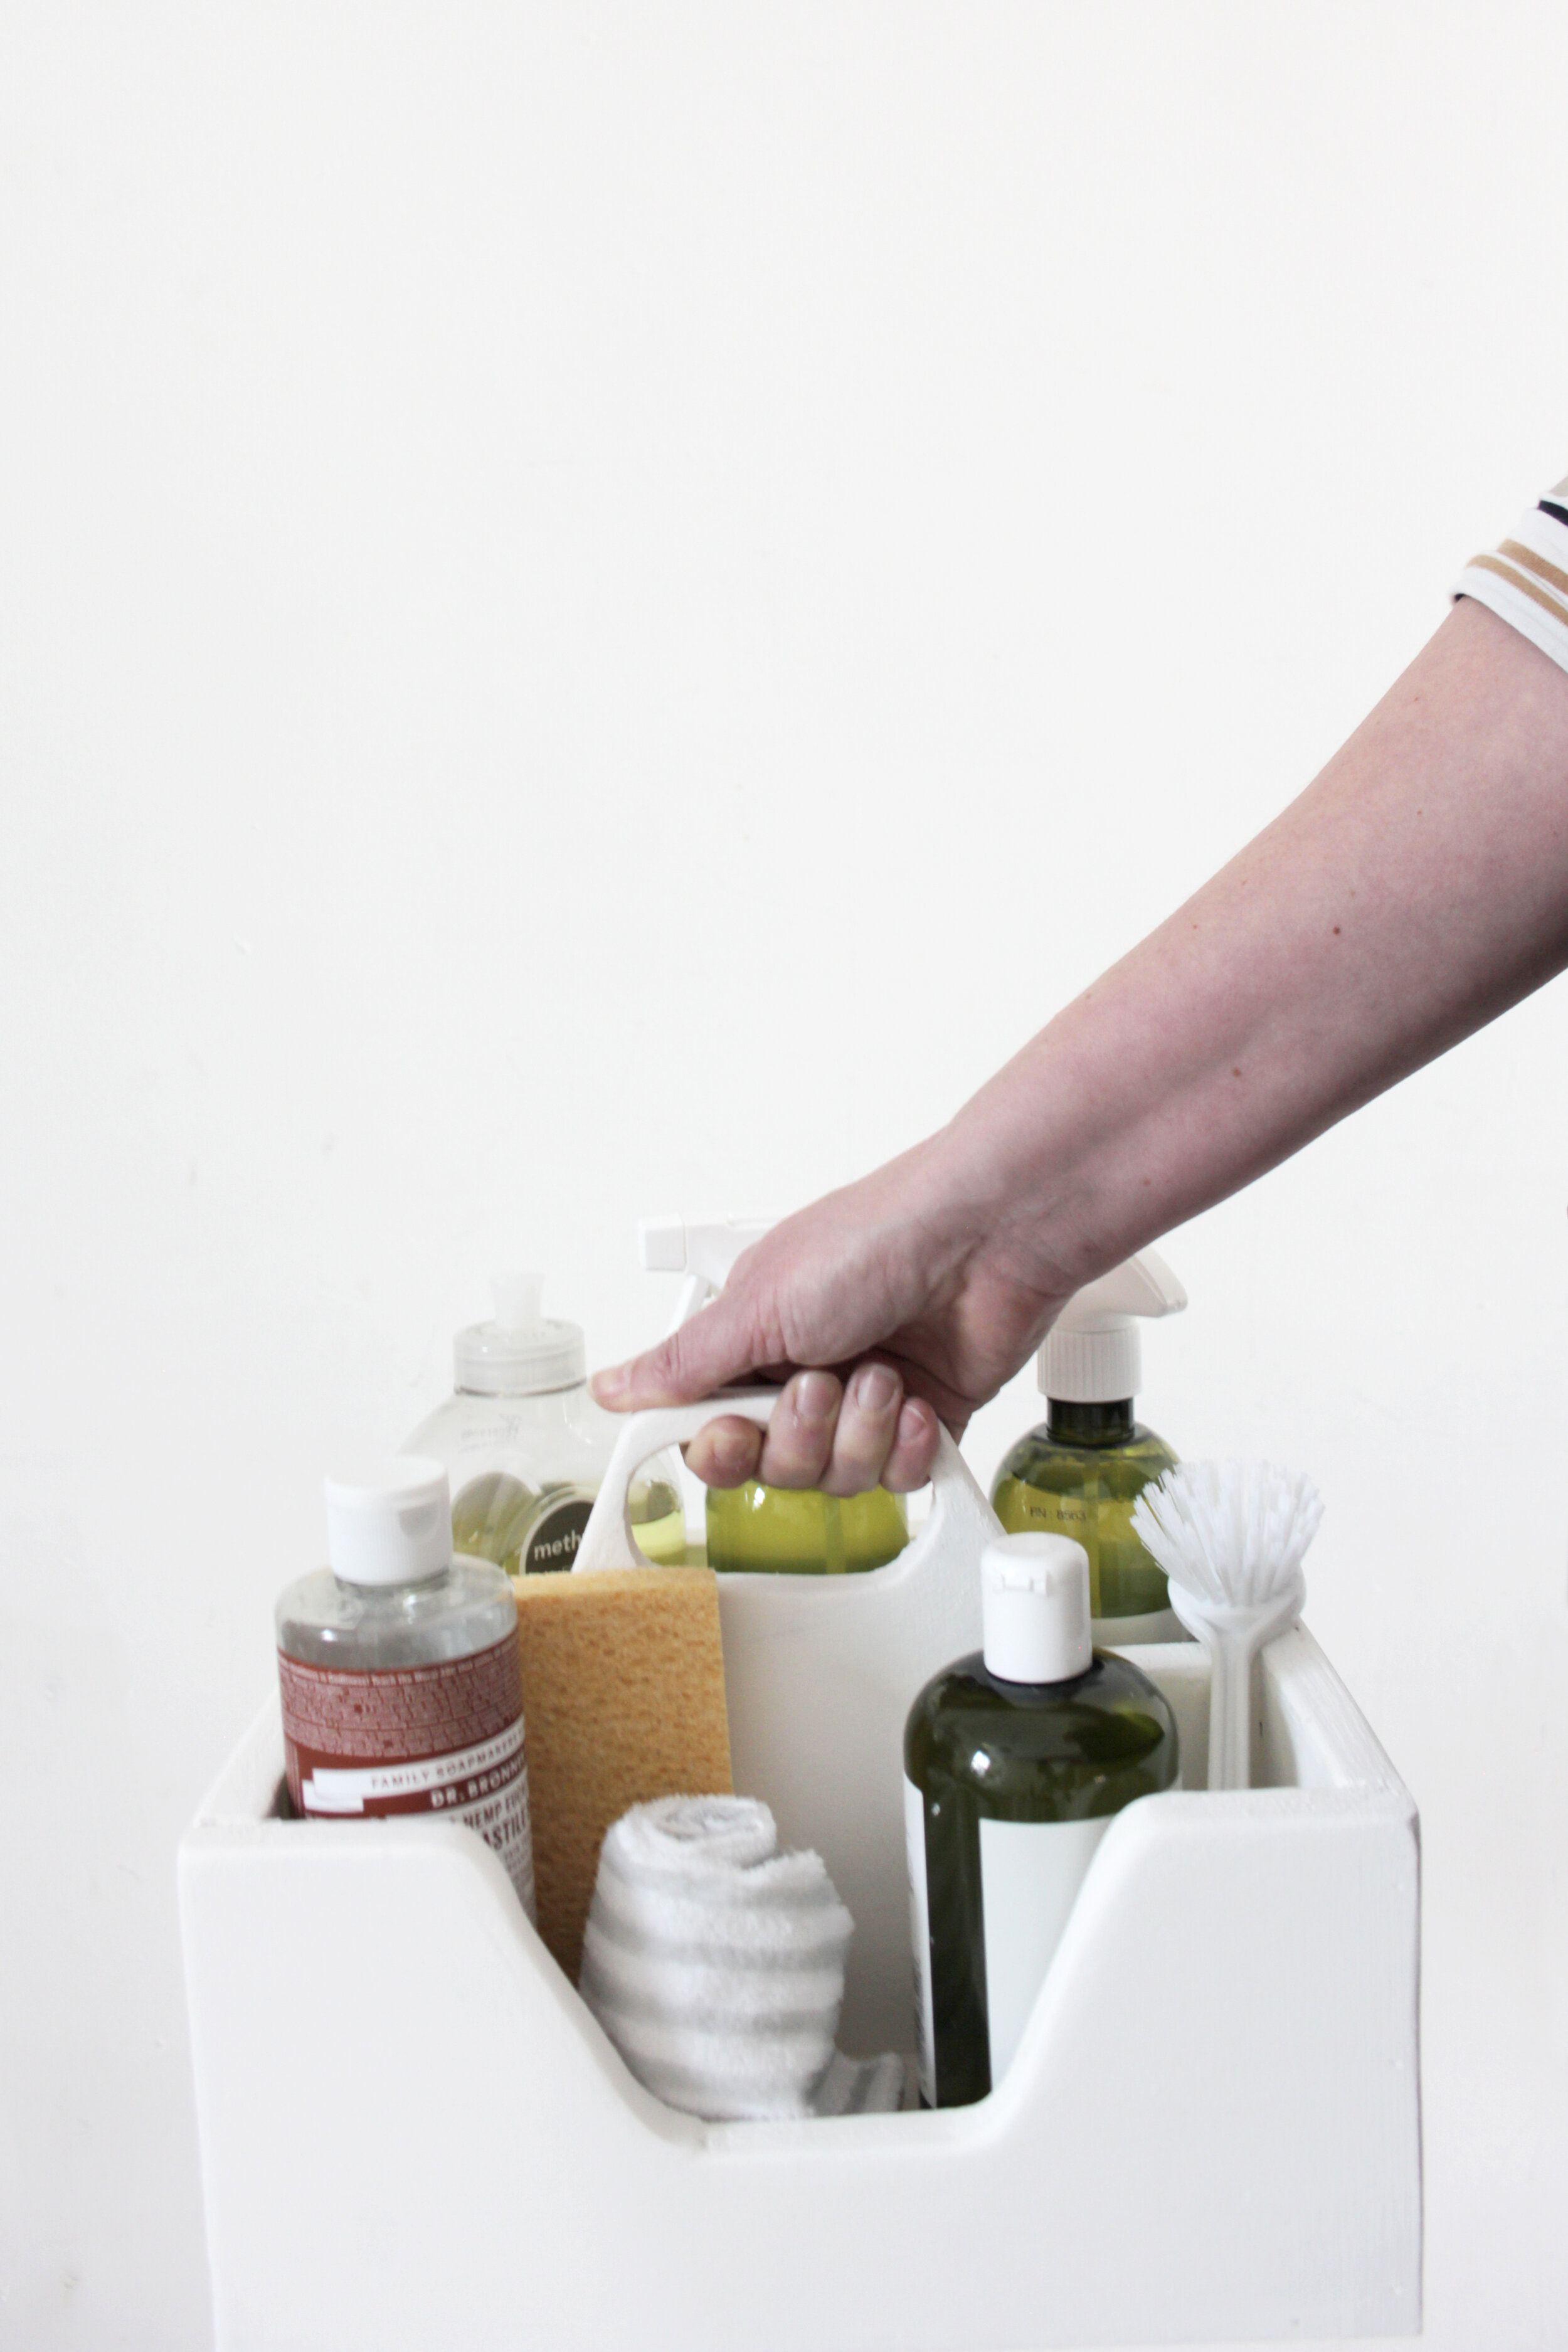
Let the cleaning commence!
You can of course use this caddy for a whole lot of other things too. It would look great on your dining table with condiments and napkins, on your side table filled with jam jars full of flowers or on your coffee table to keep your remote controls and magazines all in one place.
What would you use your caddy for?

